

I have extolled Storyspace 3 and its unique heritage. It is time to use it.
As it is many years since I last did any work in Storyspace, this is going to be a beginner’s tutorial, starting from scratch. It is also likely to be sub-optimal in parts, and I welcome the comments and corrections of those who have used Storyspace daily for much of the last couple of decades (and anyone else who can help). It is thus as much a tutorial for me, as for you.
Although hypertext and Storyspace are most commonly used for works of fiction, I am going to try to use them to build a non-fiction work, based on my Trees in the Landscape series here.
Why non-fiction hypertext?
I have recognised limitations with blog formats and HTML which prevent the reader from getting the best out of the content here. I am sure with some Java(Script) and other wizardry I could address them, but I want something better: more sophisticated and flexible hypertext.
One writing device which I love to use is the sidenote. I often want to tell my reader about things which I find interesting, and which they may also enjoy, but which are at the side of my main argument. These sidenotes often get far too long even for flexible publishing systems such as TeX, and need to be built into page structure. So one thing that I want to use is the linked aside, which is as deep and long as the reader wants.
Another problem with blog/HTML is that there are potentially many different cross-references in my sections. In my recent article on van Rysselberghe, I referred to some of van Gogh’s paintings, which appeared in another article. Some readers may want to remind themselves of those referenced paintings, others will not. Using standard HTML links, I can only take the reader to that article, perhaps the location within it that I am referring to. Instead I would like to link to just part of that, and give the reader the option of being sidetracked further.
In its current structure as a series of articles, you also lose all sense of the contemporary. You might see a painting by Monet from the late 1860s, and want to view some of Corot’s paintings from the same period. There are ways of doing this, but again I want the reader to have the freedom to call up such comparisons when they want.
The final aim that I have in moving to proper hypertext is that I want to allow readers to choose whether to skim through the words and concentrate on the paintings, rather than force them to scroll through lots of obligatory material such as biographies and my rambling comments.
Help resources
Storyspace 3.0.0 contains quite a lot of help resources, but these are not entirely obvious and as accessible as I would like. Being a bit old school, one of the first things that I have done is extract Mark Bernstein’s superb exposition on hypertext and Storyspace, Getting Started with Hypertext Narrative, and the main Storyspace 3 help docs, and put them in my Storyspace working folder (in ~/Documents) for ease of reference.
You can do that by opening the Storyspace 3 app (select it in the Finder, and using the Finder’s contextual menu command Show Package Contents). You will find two important files there: Storyspace.app/Contents/Resources/Base.lproj/Getting Started.pdf, which you should copy (not move) to your working folder, and Storyspace.app/Contents/Resources/Storyspace Help/print-export-source.html, which you should open in your browser. Once open, print it to a PDF file and that is an excellent out-of-app reference. Then close that file, and get out of the app smartly.
Linear beginning
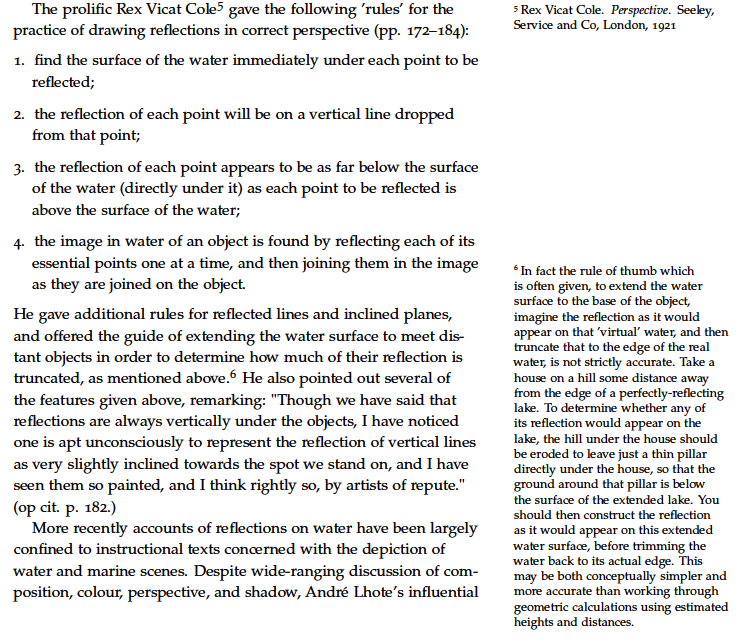
To begin at the beginning, you should then create a nice, simple, linear linked piece of hypertext. In a new document window, the basic techniques and tools are already labelled for you, as a prompt. The standard opening writing space (or note, or node) is named start, and you should select that in the Map view (on the left). Ensuring that the Outline view (right) is in Edit mode, select the title start and edit that to the book title, Trees in the Landscape. Then put a short opening colophon into the writing space itself, below.
You can also be a bit fancy (even at this early stage) and set Authors and BookTitle attributes. To the right of the title, in the Outline pane, is a + button. Click on that and a pane pops up. In the left side of the pane, scroll down and select References, and a list of attributes appears on the right. Check (tick √) Authors and BookTitle, then click away from that pane. You can now edit those attributes at the top of the Outline view. If they are hidden, click on the disclose triangle just below the + button.
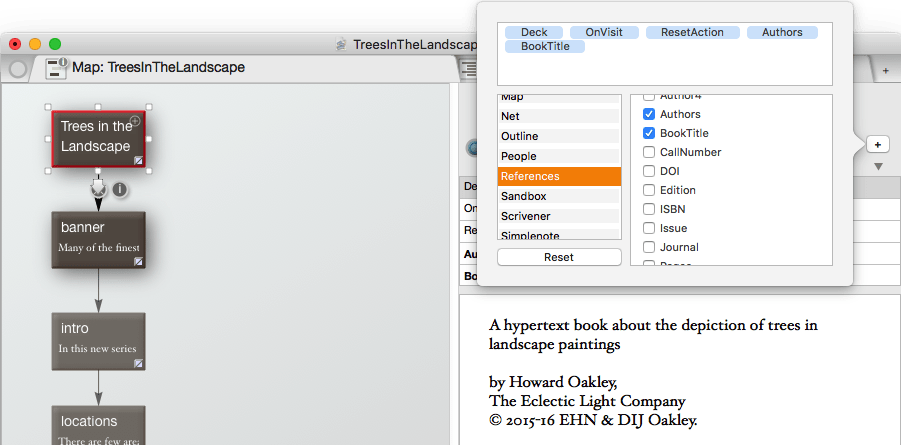
Now create a simple series of writing spaces to contain the sections of text which make up the prefatory material, before the first chapter proper. These are easy to produce: double-click on the Map pane to create the space, then in the Outline pane set its title and insert content. Line these up vertically – Storyspace obligingly shows alignment guides to help – in the correct order.
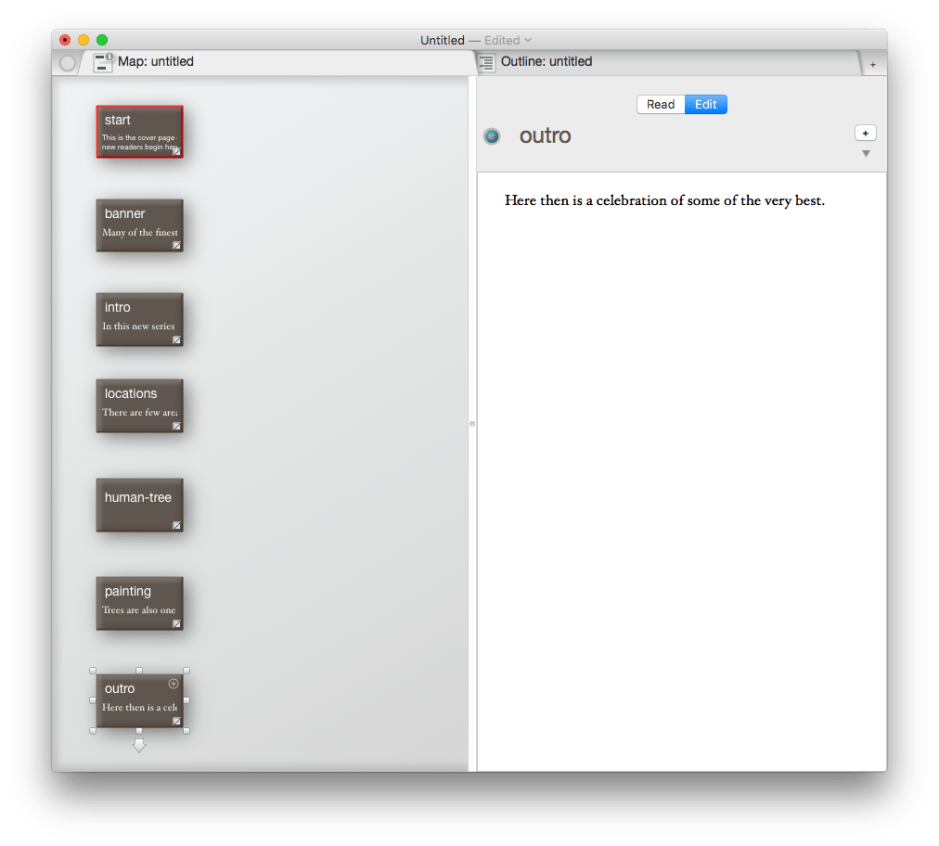
To chain them together, select the first, and drag the arrow which appears below it to drop on the one below it. A pane will pop up inviting you to make that link: click on the button to complete the link and dismiss the pane. Repeat until the chain is complete.
Once you have entered the content for each of those writing spaces, select the first again, and in the Outline (right) pane, switch to Read mode. When you press the Return key, you will be automatically taken to the next linked writing space, and so through to the last.
Breaking out
Consider now the reader who does not want to have to see and skim through your rambling thoughts about why you wrote this book, and what it is really about – and the readers who want to know a bit more about some of your assumptions or reasons. Let’s try to accommodate everyone by providing a fast track, with a series of sidenotes, giving the reader choice.
To do this, you need to restructure your linear chain. The title will remain at the top, and your opening writing space, but they will be brief, and by default take the reader down to the parting wish at the bottom. The opening writing space will then contain short mentions about each of the topics you are going to elaborate in your sidenotes, and link to them.
In my case, that central writing space, linking between the title and the end of the introduction, has a single-sentence paragraph for each of the additional, more detailed writing spaces: the scope of the whole book, what this introductory chapter is about, and further general ideas.
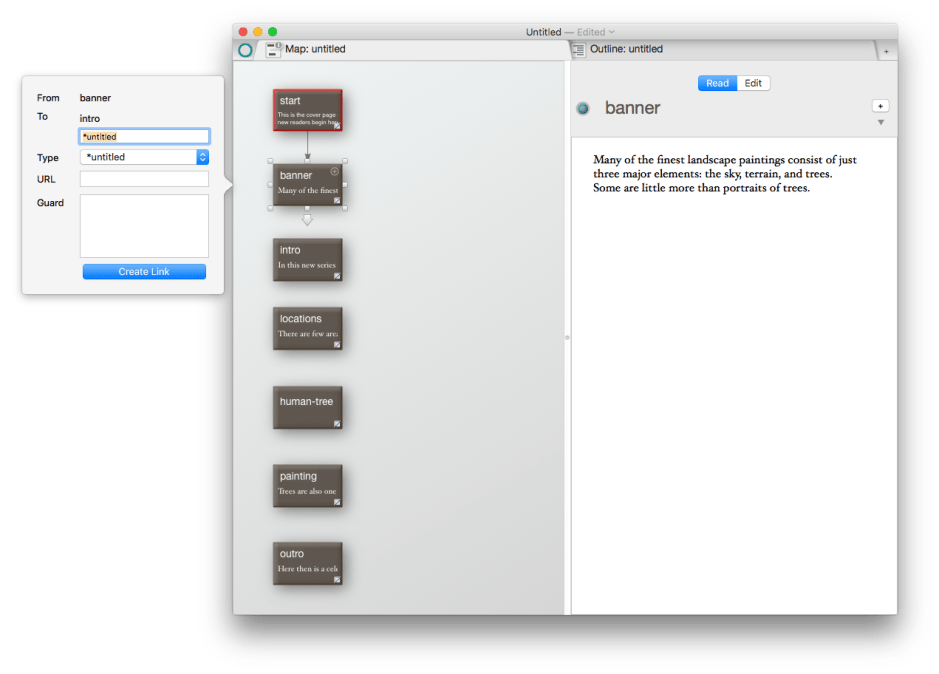
Where you need to break existing links, select the upper (from) writing space in the Map, and a Ⓧ (X) will appear in the middle of that link. You can either click on the Ⓧ, which will immediately remove that link, or the ⓘ (i) next to it, which opens a pane in which you can click the delete button. Once the chain is broken fully, move those writing spaces which are going to be optional links to the right. This should leave you with just three remaining links in the chain on the left: the title, the main writing space from which others will be linked, and the final one. Ensure that they are joined up by links now.

The next task is to develop the content of the ‘sidenote’ writing spaces to the right.
First, switch the Outline view to Read mode, and select the title writing space in the Map view. Press Return to step down through that chain, and ensure that is what you want the hurried reader to see. Ensure that there are sentences or words which will sensibly link through to the writing spaces to the right.
Then open each of those in turn, and develop their content. They need to stand alone to a degree, so that they do not depend too much on other content, but enrich and develop from it. Think carefully about how they will link into the writing spaces on the left.
These new links, out from the writing space(s) on the left to those on the right, are going to be text links. At first making them might appear a little opaque, but it is very straightforward when you know how.
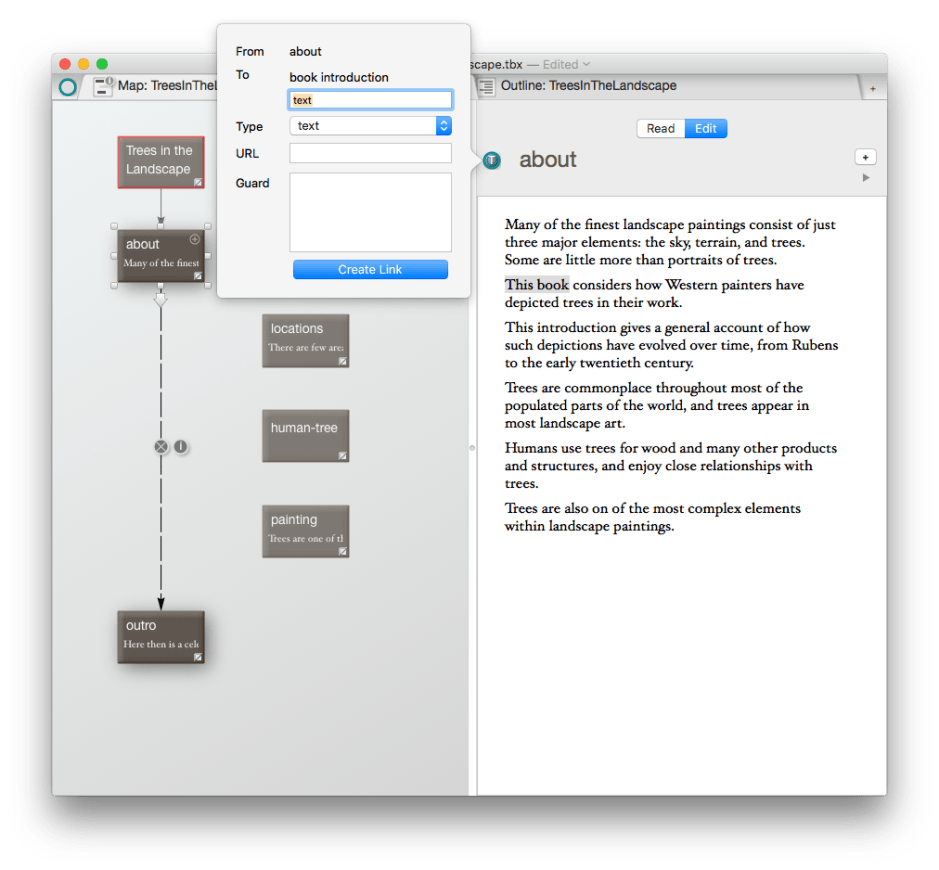
Select the central writing space in the left, so that its content is shown in the Outline view. Locate a section of text which you want to link to one of the writing spaces in the right group, and select it in the normal way using cursor drag. The blue button to the left of the writing space name now contains a T to indicate that text link is parked there. Then drag from that T to the destination writing space in the Map view to make that text link.

Repeat this, also making the links from those writing spaces back to the central one, until you have laid out the paths which you think your readers will wish to be open to them. Switch over Read mode, and try them out.

For your convenience, here is a Zipped archive of my work so far: TreesInTheLandscape.tbx
