
There was a time when the Displays pane had two tabs, Display and Color. Select the latter, and you could choose a colour profile for that display or calibrate it to create a new one.


These days, even with a shiny new Apple Studio Display, calibrating your display seems to have fallen by the wayside. While it might have gone from that pane, it’s still available, just well hidden. In this article I explain how you may still be able to calibrate your display to produce a new custom colour profile. Although this might not work with all models running Monterey, it appears to do so with the iMac Pro, M1 MacBook Pro 14- and 16-inch, and Macs connected to a Studio Display.
The Display Calibrator app is tucked away in the path /System/Library/ColorSync/Calibrators, and operates in two modes, Basic and Expert. To engage the latter, you’ll need to open it with the Option key held down, and on its introductory page you’ll see the Expert Mode checkbox ticked. For the rest of this article, I’ll continue in Expert Mode.

Click Continue to move to the Set Up window.

The first instruction here concerns the contrast control, which is absent on the displays I’ve tested this with. However, this is probably the right time to open the Displays pane, disable automatic brightness adjustment, and set the brightness control as instructed.
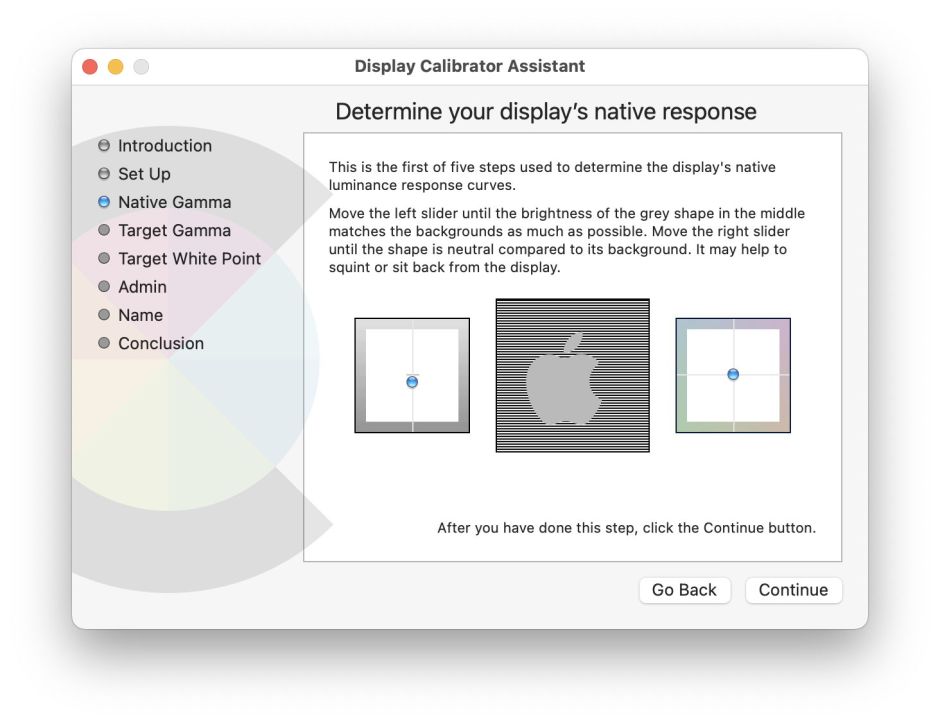
The next five windows are used to establish the native Gamma for the display, and require adjustment of two controls. That on the left slides up and down to adjust the brightness, while that on the right moves in two dimensions to reduce any colour tinting.
The gamma is the determinant of the non-linearity of the relationship between input and output values of luminance and tristimulus values. When it’s 1.0, the relationship is linear.
Once those are complete, set the desired gamma setting for the display. In most cases that should be Standard at 2.2, unless you’d prefer 1.8, or its native value.

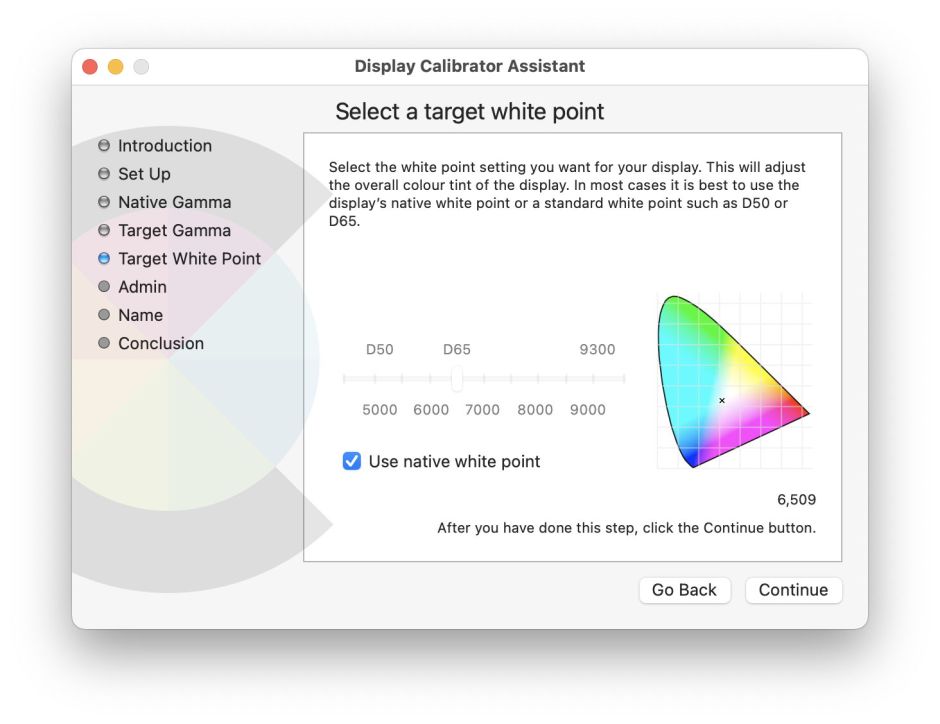
You then get to choose the White Point, which is typically around the D65 mark, and equates to the colour temperature in K. That completes the display calibration, with the remaining windows just for administration.
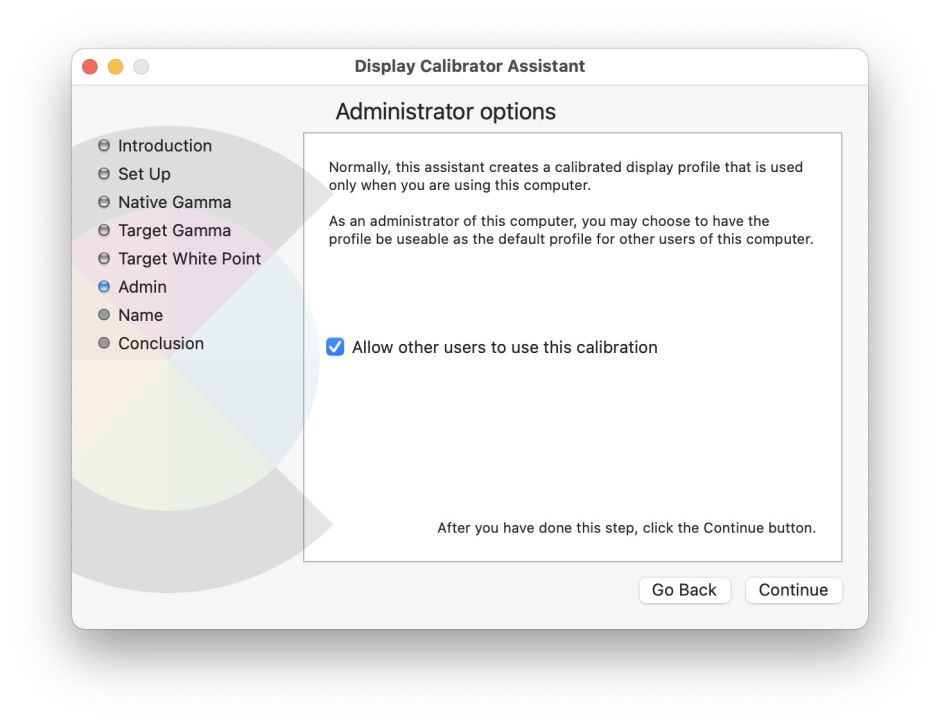
Unless you’ve a good reason to limit access to this colour profile, it’s best to make it available to all users, so that it’s stored in the main /Library folder.
Naming the profile is next, following which you’ll be asked to authenticate if this profile is going into the main /Library folder.

The final window gives details of your new colour calibration profile. Click Done when you’re ready to move on to the next stage.

To set your display to use that profile, open ColorSync Utility in the /Applications/Utilities folder. Select the Devices view, and in the list at the left, click on the disclose triangle to show the contents of Displays. That should include one item, which you select to reveal both the Factory Profile and the Current Profile. The latter should already be set as the profile you have just created. If not, click on the popup next to Current Profile, select the Other… item, and pick your new profile. You’ll then be asked to authenticate to make that the Current Profile.

You can inspect details of your custom profile by clicking the Open button. You can then compare the values in your profile with those in the factory profile. Another interesting comparison is available in the Profiles view. Here, open the Computer item at the left, and Displays. You should see your profile listed, and can view its details and Lab plot.
Colour professionals can use special display calibrators, which measure the colours generated on the display. If extremely accurate colour reproduction is important to your work, you may well need to buy one. In my experience using them, they’re only excellent so long as their software remains supported. For the vast majority of users, they’re expensive and bring few benefits.
I’m grateful to Sowelu on MacRumors for pointing the way, and to Ric Ford for drawing my attention to this.
