

I’m now in the middle of the long migration from my trusty iMac Pro to my flashy new Mac Studio Max, complete with its Studio Display. One of my essential tools is DriveDx, which I use to check the health of my many external SSDs. As several of those connect via USB-C, that means installing the SAT SMART kernel extension. To do that on my Mac Studio, I’d have to reduce its security and allow the loading of third-party kernel extensions, something I’m not prepared to do with my production macOS. So my plan was to build an external bootable SSD which runs at reduced security with SAT SMART installed, and to start up from that when I want to perform periodic checks on those SSDs.
External bootable disk
The first step is to create an external bootable SSD, something I’ve already walked through, although I’m aware of many users who report that they can’t get it to work. As I’ve lost count of the number of times that I’ve tried doing this over the past year and a bit, it’s now a well-worn path. Having discovered that SATA/USB-C SSDs are faster when connected to either of the front USB-C ports on a Mac Studio Max, that was my starting point.
Using the current Monterey 12.3.1 Installer app downloaded from the App Store with a freshly formatted SSD, I launched the installation process as normal, and selected the SSD as its target.
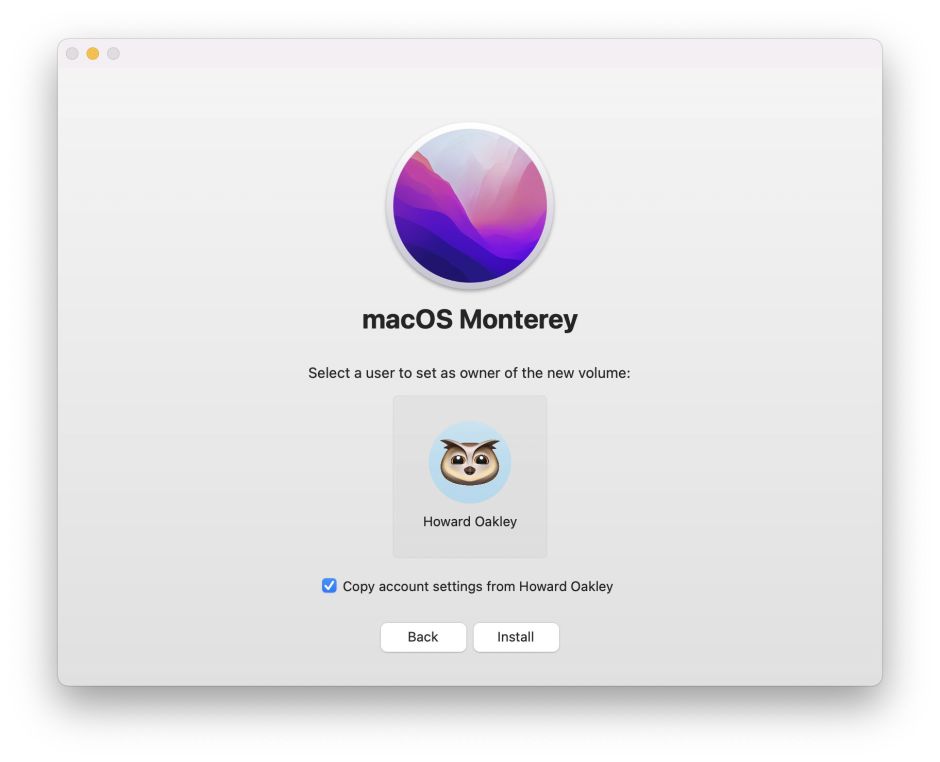
As expected, this worked through the process of setting the owner of the new bootable system.

The end of the first phase requires long waiting, in which the claimed “about 43 seconds” translates into ten minutes or more. At the end of that, my attempt failed.

This error message is inevitably confused and confusing. There had been no mention of any preparation taking place, and this was an initial installation not an update.
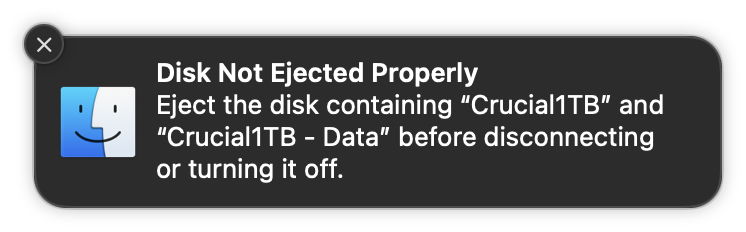
According to this notification, the external SSD had been disconnected without being properly ejected, which was news to me as it was still physically connected to the port.
While you might be luckier than me, I wouldn’t bother trying to use one of the front USB-C ports, or one on the back of the Studio Display, for a bootable external disk. Connecting the SSD to one of the Thunderbolt ports is a much better bet.

Sure enough, after reformatting the SSD and running the Installer again, with the SSD connected to a Thunderbolt port the first phase of installation completed successfully, following which came the sequence of black screens and white-on-black progress bars until the new system had to be personalised and configured.
Enable third-party kexts
With my external system up and running, the next step was to downgrade its security and enable the loading of third-party kernel extensions. You have to do those before trying to install a kext, or an app which installs a kext.
This has changed in Monterey: in Big Sur, the only Recovery system available was that in its own container on the internal SSD. With Monterey, you must do this in the Recovery volume paired with the system you want to downgrade. That means ensuring you’re running the correct system, shutting down, then starting up with the Power button held to engage Recovery mode.
You next select Options, and once you’ve worked your way to the main Recovery window, select the Startup Security Utility from the menu. Once you have elected to downgrade security there, two options become available: the upper one allows the user to have third-party kernel extensions loaded; the lower is the equivalent for remotely managed systems. Tick the upper, then set it and restart back into normal user mode.
Install the kext
With security downgraded, you can now install the kernel extension. In this case, the good folk at Binary Fruit provide an installer from within DriveDx. Once that’s run, you should be prompted to allow the kernel extension in the General tab of the Security & Privacy pane.
This is where my plan fell apart, though. As DriveDx advises, before installing the SAT SMART kext, you must eject all external disks. When I tried to install the kext, nothing happened in the Security & Privacy pane. Although the kext was installed in /Library/Extensions, macOS wouldn’t invite me to allow it to be loaded, as my Mac was running from an external SSD.
So my conclusion is that it’s not possible to build a bootable external SSD which has the SAT SMART kext installed to allow checking the health of external SSDs. If you want to use that kext, the only route is to downgrade the security on a macOS installation on the internal SSD. That’s a bridge too far for me. Until this essential functionality is either built into macOS, or available in a modern extension which doesn’t require downgrading security, I’m unable to check the health of external SSDs on any of my M1 Macs. I think maybe this is a job for the Intel MacBook Pro which I plan to retain as a fallback.
Full migration to Apple Silicon Macs still isn’t feasible.
Conclusions
- If you want to create an external bootable disk, connect the SSD to one of your M1 Mac’s Thunderbolt ports, not one of the USB-C ports on the front of a Mac Studio Max.
- Creating an external bootable disk really isn’t that difficult if you line your ducks up first.
- When downgrading security to allow third-party kexts, ensure you start up from the correct Recovery volume.
- You can’t install the SAT SMART kext on an external disk.
- M1 Macs can do most things fine, but there are some tasks you’ll probably still need an Intel Mac for.
- Keep an Intel Mac ready with tools like DriveDx which can’t yet do their job fully on an M1 Mac.
