

There are two details to my Swift scrapbook which need further attention: the issue of smart quotes and plain text raised in the postscript to my previous article, and how to adjust the order in which its snippets will be exported to WordPress ‘markdown’ for use here in my blog.
Plain text
macOS contains some wonderfully smart features which try to save us from wasted effort. Several of them act on the text which we enter, and perform tasks like:
- converting plain quotation marks
'and"into typographically-appealing ‘’ and “” – smart quotes, - converting multiple dashes
--into typographic versions like an em-dash —, - automatically correcting spelling by substituting from our chosen dictionary,
- applying text substitutions which we set in the Text tab of the Keyboard pane, such as replacing
htewiththe.
For most of the text which we enter, these are valuable, although spelling correction remains irksome at times, creating sporadic ‘Cupertinos’, humorous word substitutions. When entering programming code, we want every character to be treated literally: smart quotes can upset compilers and result in bugs, for example.
macOS performs these substitutions as we enter text; it does not store our original keystrokes, so once it has smartened our quotes, only we can unsmarten them. Thankfully Tinderbox and Storyspace provide controls which determine whether macOS performs text substitutions.
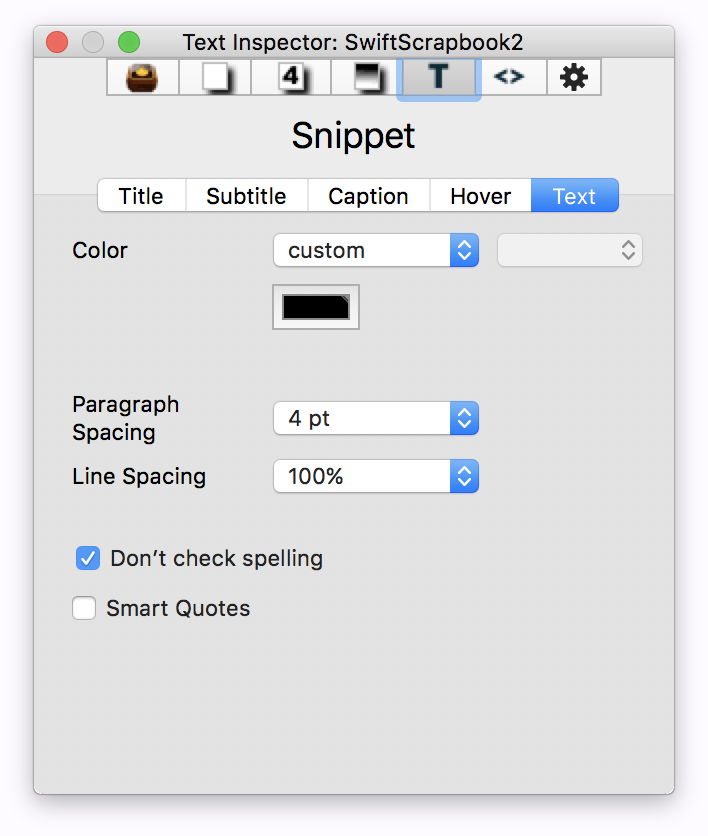
As all notes containing code are children of the Snippet prototype, an easy way to stop that code from being mutilated is to select that prototype, switch the Inspector to the Text tool, and to the Text tab. Uncheck the Smart Quotes item at the foot, and ensure the box above it is checked to disable spell-checking.

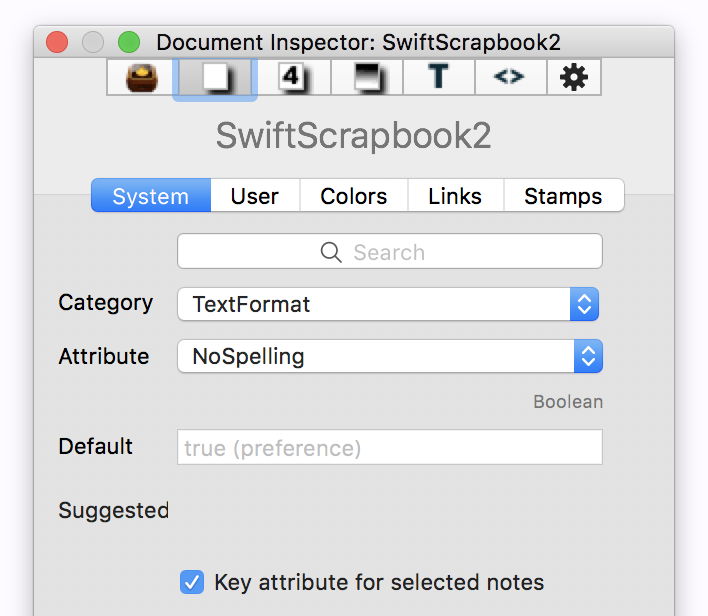
These are convenient interfaces to two attributes, which you can set directly if you prefer. To do that, with the Snippets prototype selected, switch the Inspector to the Document tool, and to the System tab. In Category, select TextFormat, then select the SmartQuotes attribute, and make it a key attribute for Snippet.

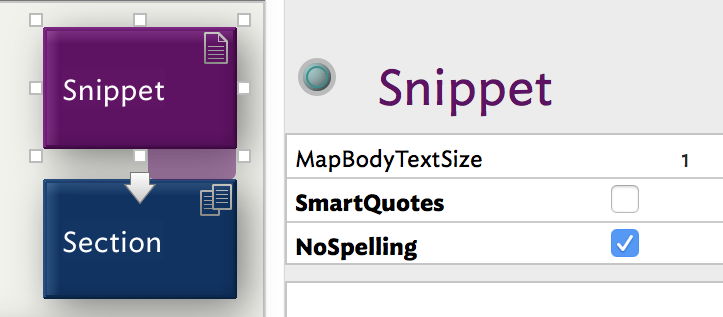
When that attribute is displayed for Snippet, uncheck it there, and all children of Snippet will then have smart quotes turned off by default. As the Section prototype is a child of Snippet, both of these attributes will be inherited by Section too.
You can do the same for the NoSpelling attribute, although in this case we want it set to true, or turned on.

An alternative would be to make Snippet a child of another prototype which already has smart quotes turned off. One worth thinking about is the Code prototype, available from the built-in prototypes in the File menu. However, Code comes with other defaults which may or may not be to your taste: it uses a monospaced font (Andale Mono) which you might prefer, but I rather like the new default fonts instead.
If you have already entered quotation marks, changing the smart quotes setting does not go back and undo your smart quotes, because macOS has already made those substitutions. You may need to check any existing notes for potential problems.
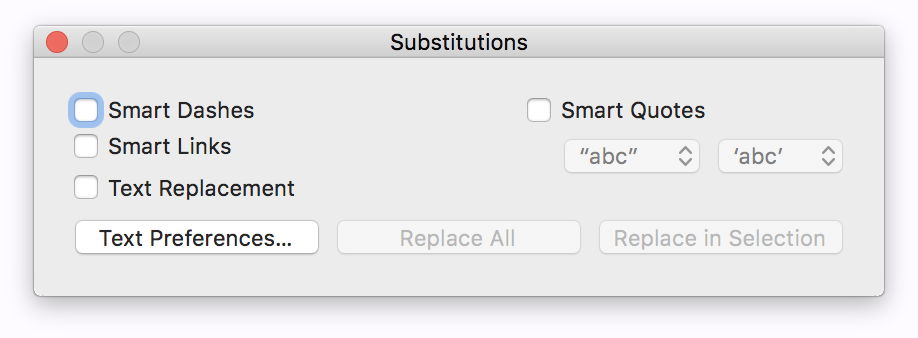
There are also controls over text substitutions in the Substitutions command in the Edit menu. Although these can be helpful at times, they do not persist in the way that Tinderbox’s own settings do. If you want to turn smart quotes off, use one of the above methods and it will not revert when you’re not looking.
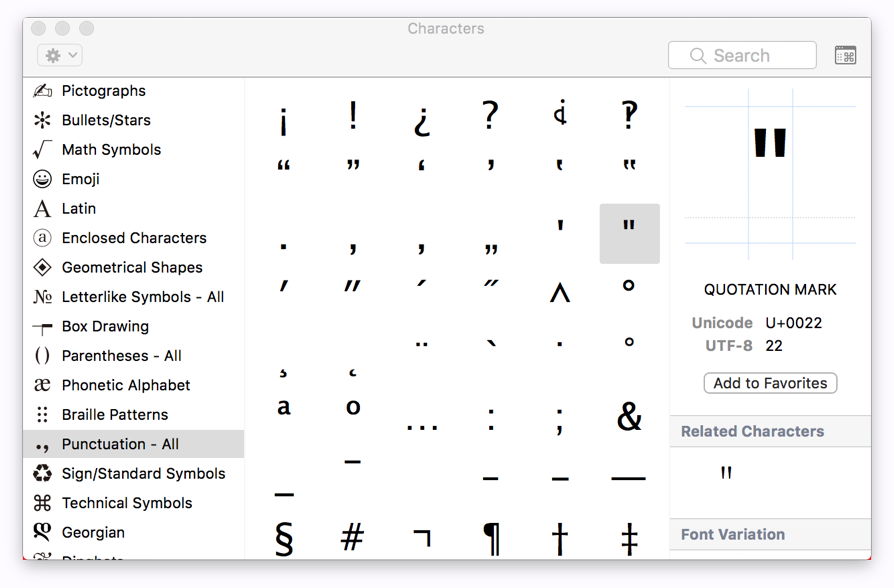
There are two tools of last recourse when dealing with text substitutions: the Emoji & Symbols pane, which gives you direct access to specific Unicode characters, and a good text editor, which can be set to perform no substitutions at all. They should help you get your settings correct, and dispel any doubts.
The above applies to both Tinderbox and Storyspace, although I suspect that you are more likely to be concerned about this in Tinderbox documents, like my Swift scrapbook. These controls over smart quotes also govern the substitution of dashes.
Sort order of notes
We saw in the previous article that the order in which HTML was exported for notes did not depend on their relative positions in the Map view, but the order in which the notes were added. In fact, the ultimate determinant is the order in which they occur in the Outline view. As that can be changed, it is possible to put your notes into whatever order you want, and that will determine the order in which their content will be exported as HTML.
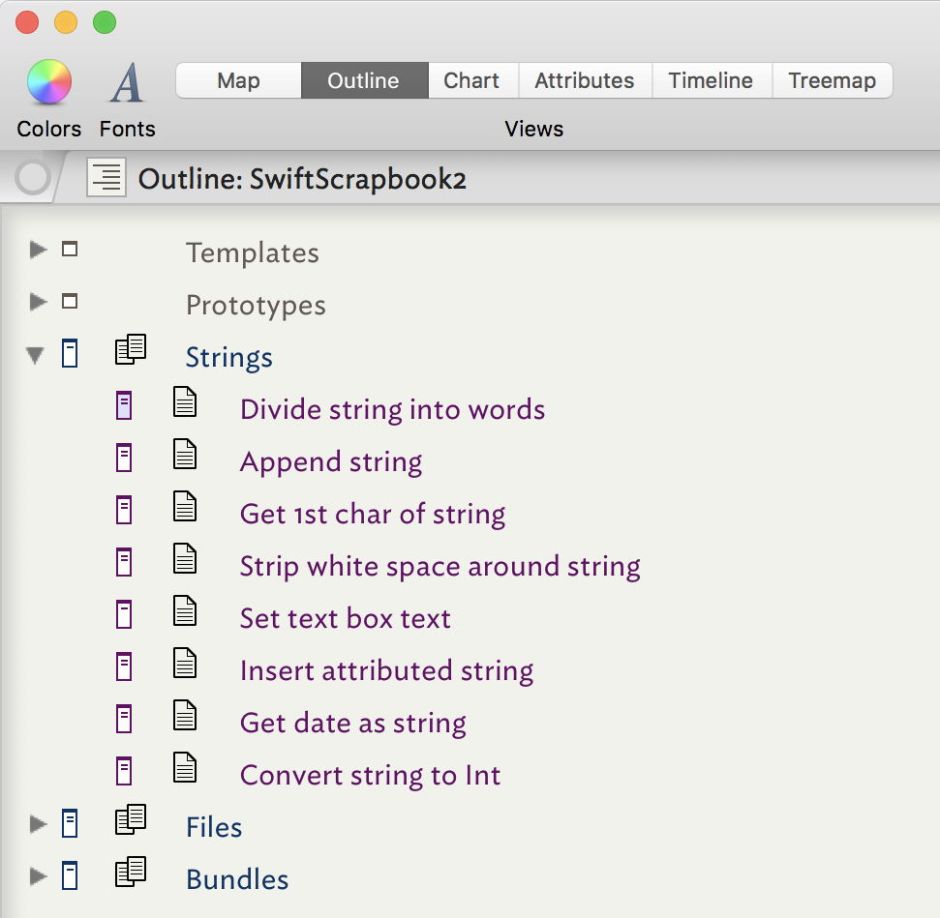
To do this, switch from the Map to the Outline view, and open one of the containers, such as Strings. The order in which the notes are listed here is that which will be followed when exporting as HTML.
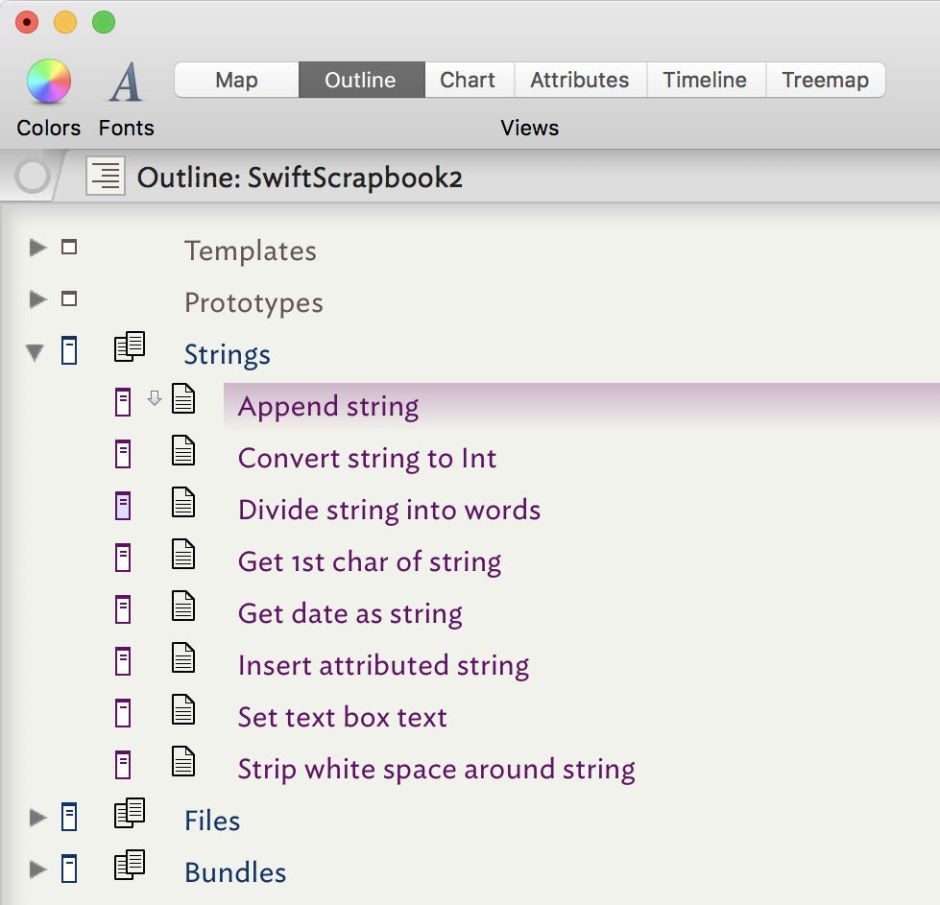
Simply drag and drop individual notes to sort them. Here I have put them in alphabetical order, just for demonstration.

Switch back to the Map view, and their placement has not changed, except in the listings on containers, which now follow that in the Outline view, which is rather neat and informative.
When you export to HTML, you will now see individual notes exported in the same order as in the Outline.
I am very grateful to Mark Anderson for pointing these valuable matters out.
