
While there are straightforward ways to install the current version of macOS, when you want to install an older version on an Apple silicon Mac, the process becomes more complicated, and if you’re unlucky won’t work at all.
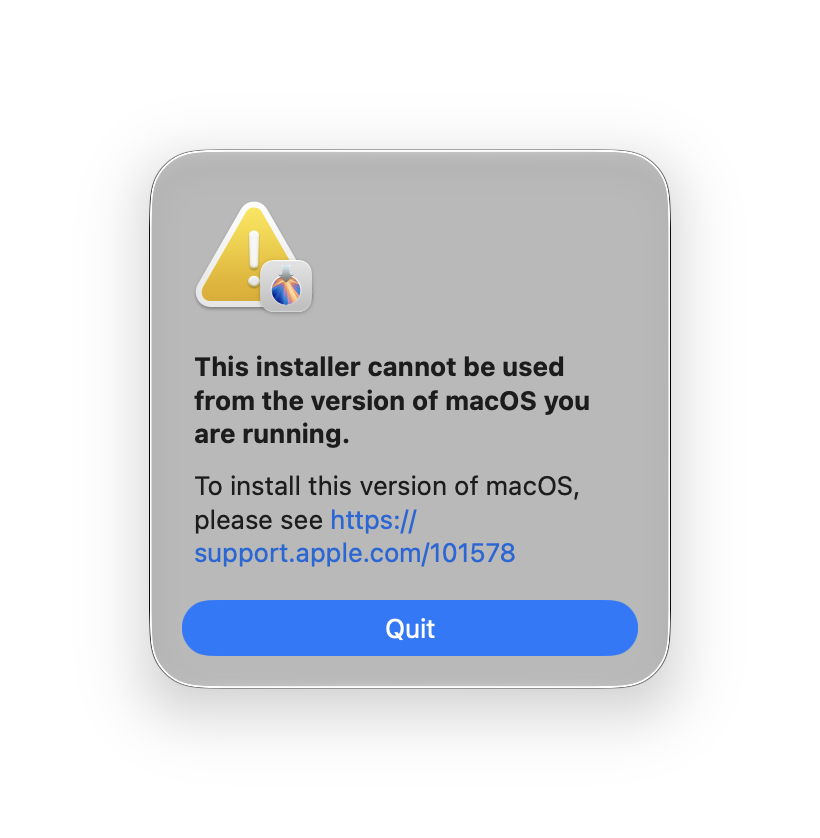
If you download and try to run an Installer for an older major version of macOS from that running, you’ll be told that you can’t use that Installer app. Apple provides a convenient link to its article explaining how to work around this, but this is a good time to reconsider whether you really want to go on, or just use a Virtual Machine. Although it might seem more daunting, a VM is far quicker, simpler and much less likely to fail, although it still can’t run many App Store apps, or use AI.
Which version of macOS?
There are two fundamental limitations as to which version of macOS you could install:
- For a regular macOS installation, you can’t run any version older than that originally shipped with that model. If yours has an M4 chip, then the earliest it could possibly run is macOS 15 Sequoia, for example. Check this if necessary using MacTracker.
- For a VM, regardless of which chip the host has, the earliest version of macOS that can be virtualised is macOS 12 Monterey. Virtualisation is the only way you could run macOS 13 Ventura on a host with an M4 chip.
Principles
For the purposes of this article, I’ll assume you want to install an older version of macOS on an external disk. There are variants when you want that older version to share your Mac’s internal SSD, or you want to revert that primary installation of macOS to the older version.
There are two main obstacles to installing an older version of macOS on an external disk:
- Running the Installer. The only way to do that is to create a bootable external installer disk, ‘boot’ from that in Recovery, and perform the installation from there.
- Creating LocalPolicy for the system. This is essentially the same as for creating any additional bootable system in an Apple silicon Mac.
Build a bootable external installer disk
You need some form of external storage for this. Traditionally this has been a USB ‘thumb drive’ or memory stick, but it can equally be a partition on an SSD, or possibly even a hard disk. The essential requirements are sufficient space of at least 32 GB, and that it’s formatted in HFS+J – good old HFS+ with journalling as we used before High Sierra. I normally create a 100 GB HFS+J partition on an external SSD, as I don’t use thumb drives any more. Ensure the volume’s name is MyVolume for simplicity and ease of using the command below.
Although Apple doesn’t state whether external bootable installers must be connected to a port other than the DFU Port on a Mac, I make sure that I avoid using that port just in case.
Next download the installer. Mr Macintosh offers a fully comprehensive range of choices, or you can use
softwareupdate --list-full-installers
in Terminal to fetch a list of those available directly from Apple, and
sudo softwareupdate --fetch-full-installer --full-installer-version [version]
to download the one you want.
With that Installer app installed in your main Applications folder, and the HFS+J storage connected to make into a bootable external installer disk, run a command of the form
sudo [path to installer app]/Contents/Resources/createinstallmedia --volume /Volumes/MyVolume
For example, for the Sequoia installer that command should read
sudo /Applications/Install\ macos\ Sequoia.app/Contents/Resources/createinstallmedia --volume /Volumes/MyVolume
Enter your password when prompted, and confirm you do want to turn MyVolume into a bootable installer, then you’ll be told
Erasing disk: 0%... 10%... 20%... 30%... 100%

Copying essential files...

Copying the macOS RecovervOS...

Making disk bootable...

Copying to disk: 0%... 10%... 100%

Install media now available at "/Volumes/Install macOS Sequoia"

Sure enough that volume previously named MyVolume should now be your bootable installer with the appropriate name.
Connect and format your external disk
To prepare for installation of macOS, connect the SSD or other storage to which you want to install macOS. This must be to one of your Mac’s ports other than its designated DFU Port, as explained here. If you try to install macOS to storage connected to the DFU Port, it’s most likely to fail at the very end of installation.
If you’re about to perform the installation using a laptop Mac, it’s now a good idea to connect it to mains power, and to use that throughout the installation process. Although Apple doesn’t state this is a requirement, it may reduce the chance of failure, and you will be prompted to use mains power if your Mac is running on battery.
Boot from and run the external installer
An Apple silicon Mac can’t really boot from this type of external installer, but appears to load its Recovery system and run from that, offering the macOS installer for you to use. To do that,
- Shut your Mac down and wait a few seconds.
- Press and hold the Power button until it reports that it’s loading options.
- You should then see at least three icons, one for Options, another for Macintosh HD, and that for your external installer. Select the latter, and click the Continue button underneath.
You’ll then be asked to authenticate, and with any luck the external installer will be run and start taking you through its installation. If that doesn’t happen, or throws an error, you should see the main Recovery window, with installing your old version of macOS offered as an option. If so, select that and click Continue.
Damaged installers and other failures
In testing here with macOS Golden Gate 27.2 the only bootable installer that didn’t fail was that for 27.2 (the only one that doesn’t require this elaborate procedure). When this procedure was used with the latest Tahoe and Sequoia installers, they were reported as being damaged and couldn’t be used. The fault here could lie with the installers, the storage partition, or macOS 27.2, but I think the last is the most likely. Hopefully Apple will fix this in 27.3, perhaps?
It’s worth noting that this isn’t the first time this has happened: I reported similar problems in macOS Sequoia 15.3.2, for example.
macOS installation
If you’re fortunate enough to get installation started, it will then follow the same course as when installing macOS to an external disk, as detailed here. Take care to ensure you select the right volume on which to install macOS at the start of the process.

This requires the creation of LocalPolicy for that bootable system, the last hurdle between you and success. Provided the external disk isn’t connected to your Mac’s DFU Port, you should have a good chance of completing installation at last.

