
Apple silicon Macs are designed to boot almost as securely from external disks as they do from the internal SSD, and that makes setting up a bootable external disk a little more complicated. This article explains how you can do that for macOS 27 Golden Gate.
In this respect, Apple silicon Macs have three central principles:
- They always start the boot process from their internal SSD. If that’s not functioning correctly, then they can’t boot at all.
- They will only transfer the boot process to an external system when the user has access to a private key making them an Owner of that system, through the Mac’s LocalPolicy system. That’s the part that can cause problems.
- Bootable external disks can only be set up (and updated) when connected to a port that isn’t designated for use in DFU mode, although once installed and configured, they can be used through the DFU port as well. This is also a cause of failed installations.
Planning
There are alternatives to booting from external storage. If there’s sufficient space, you can install multiple versions of macOS on the internal SSD, or you can run macOS as a guest operating system in a virtual machine (VM). VMs are limited in some important respects, though, as they can’t run most apps from the App Store or use AI, although they can access iCloud and iCloud Drive.
Like any other Mac, Apple silicon models can only boot from versions of macOS they’re compatible with. You can check which your Mac can run using Mactracker. A VM is the only solution for running older and incompatible versions of macOS, and installing versions of macOS that are compatible but older than the currently installed major version can get messy. This is because its installer may be blocked by the more recent macOS, for which you’ll need to create a bootable installer disk and run the installation from that. Apple describes how to do that in this support article. For the remainder of this article, I assume that you’re installing a copy of Golden Gate to an external disk.
Connect and prepare the external disk
First catch your disk, and connect it to one of the non-DFU ports on your Mac. For example, on my Mac mini M4, that’s either the left or right Thunderbolt port, as the middle one is designated its DFU port. On all other Apple silicon Mac minis, that’s either the centre or right port as you look from the rear, as their DFU port is the one on the left. If you try to install or update macOS on a drive connected to an Apple silicon Mac’s DFU port, then it’s doomed to fail, and that’s the most common cause of failure. More information on the DFU port is here.
Reformat that disk as you want to use it, with at least one APFS container containing a single APFS volume in regular APFS format, not encrypted.
Download and run the installer
Next catch your installer. Oddly, Apple has stopped providing the current release of macOS through the App Store, so the simplest way to download it in the GUI is from the links provided by Mr. Macintosh, and there are alternatives, including softwareupdate in Terminal. You want a regular installer app, not an IPSW image file that you would use to create VMs.
Run the installer app from your main Applications folder.
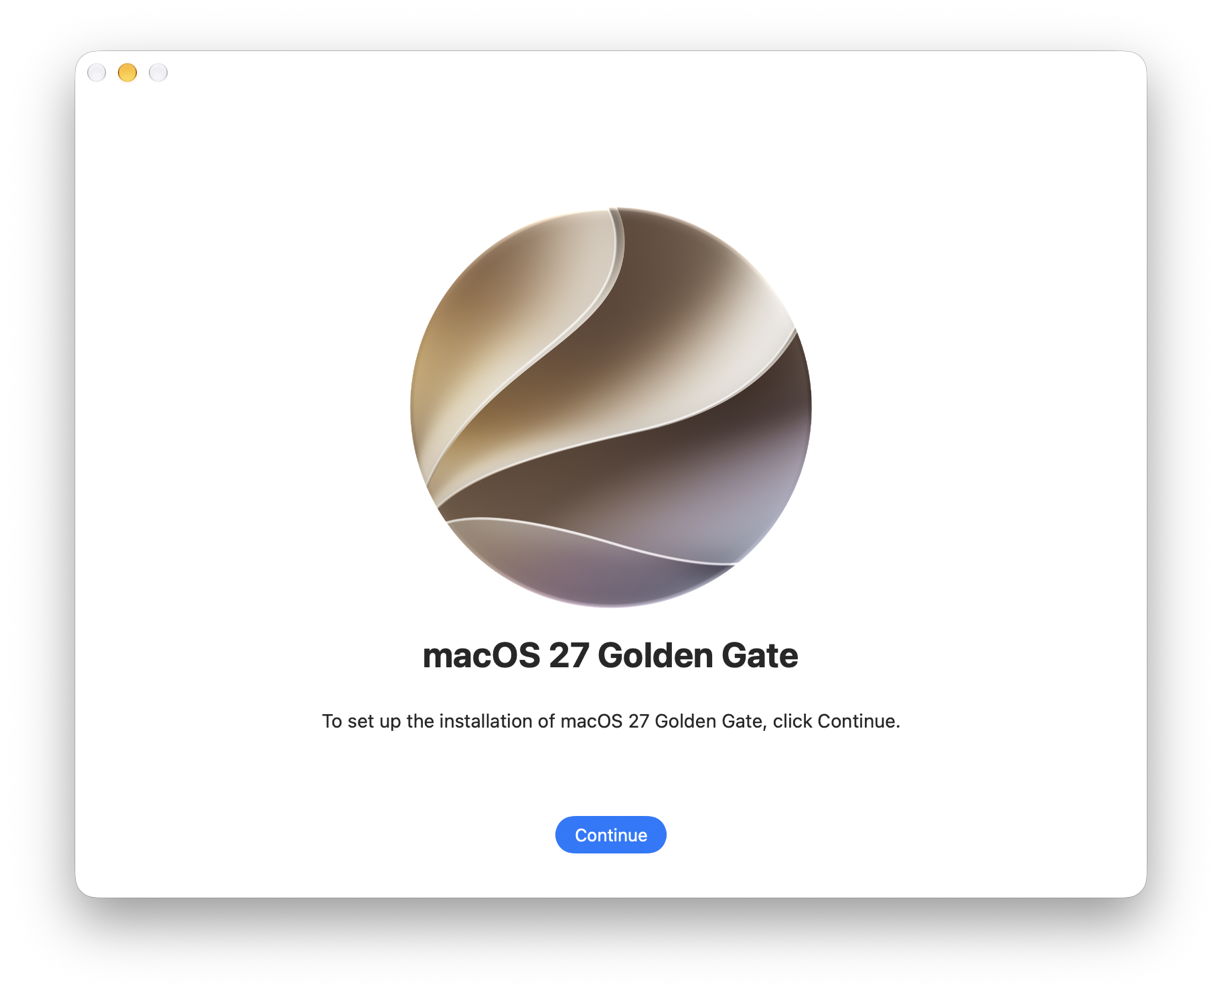
When it asks you whether you want to install macOS on your current system, click on Show All Disks…
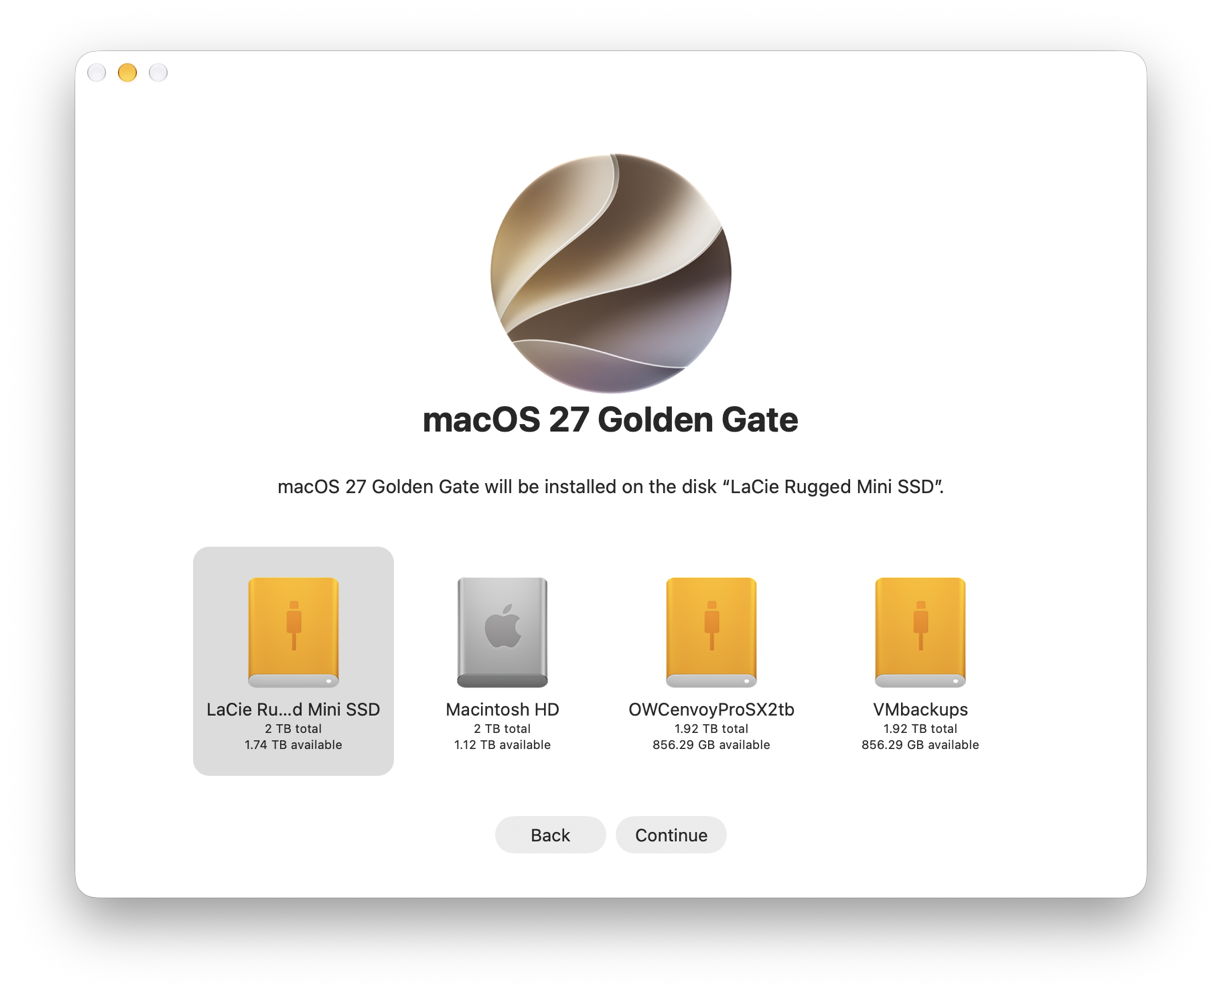
Select your external disk from the list and click Continue. If your disk isn’t recognised or listed there, reformat it and start again.
Ownership
This is the important part of the installation; if it fails, the external disk won’t be bootable.
For the macOS system on your external disk to be bootable, it needs a LocalPolicy created for it on your Mac’s internal SSD. To ensure only fully authorised users can configure and change LocalPolicy, those Image4 files are signed, and an Owner Identity Certificate (OIC) is attached to them. Creating and maintaining LocalPolicies requires a user to have access to the private Owner Identity Key (OIK) in the Secure Enclave, making that user an Owner.
Any user with access to the Volume Encryption Key for the internal storage also has access to the OIK, and has Ownership. By default, that includes all users added after FileVault encryption is enabled on a Data volume, for example. To be able to boot from that second OS, it requires a LocalPolicy with an OIC attached, and Ownership has to be handed off to an Install User created when that OS is installed.
Handing off Ownership to the Install User is more of a problem, as users are only created when the installation is complete. To accommodate that, macOS offers to copy a user from the current boot system as the Install User, and the primary admin user, on the second OS. Provided you agree to that, the Install User created is actually a Key Encryption Key (KEK) for your password and hardware keys, which is then used to encrypt the OIK as it’s handed over to the new copy of macOS on the external disk. Thus, the installer requests that user’s password to gain access to the OIK for the new macOS in the Secure Enclave.
Following these steps should ensure this works correctly.
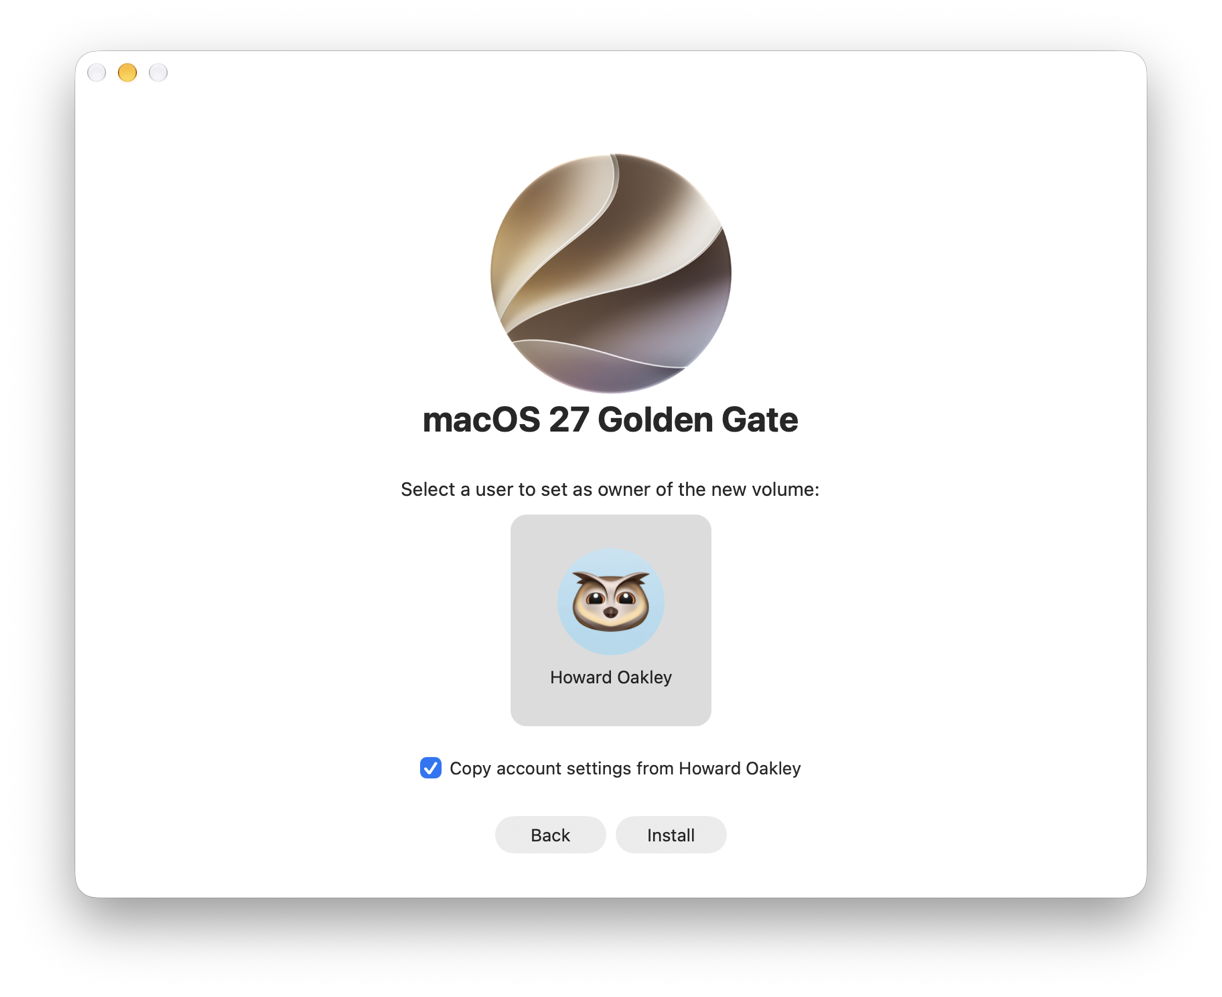
When prompted to select the user to be Owner of the new boot volume group, pick the current admin user, and tick to copy their account settings.
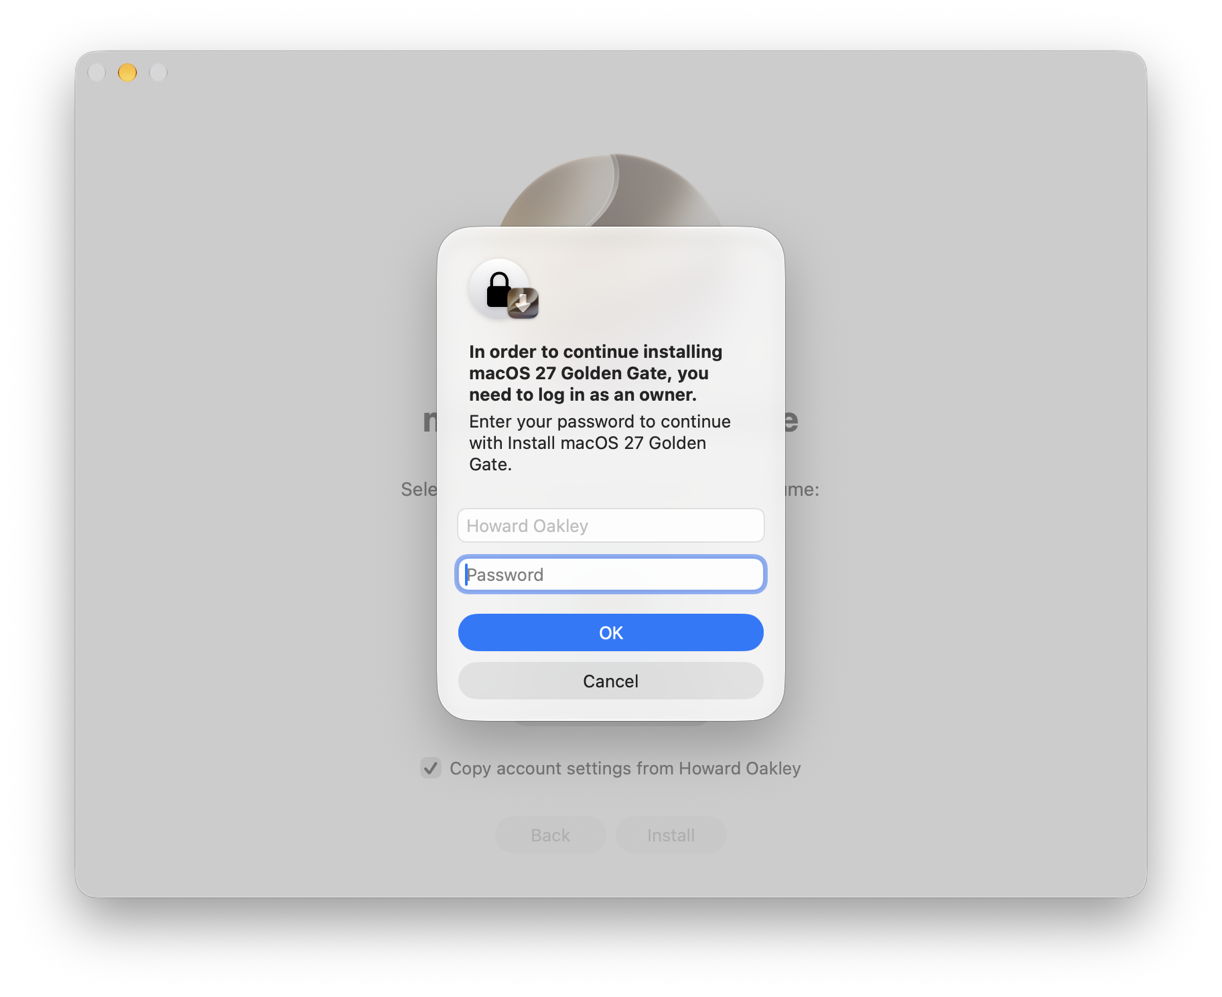
You’ll then be prompted to enter that user’s password to authenticate as the Owner.
Completing installation
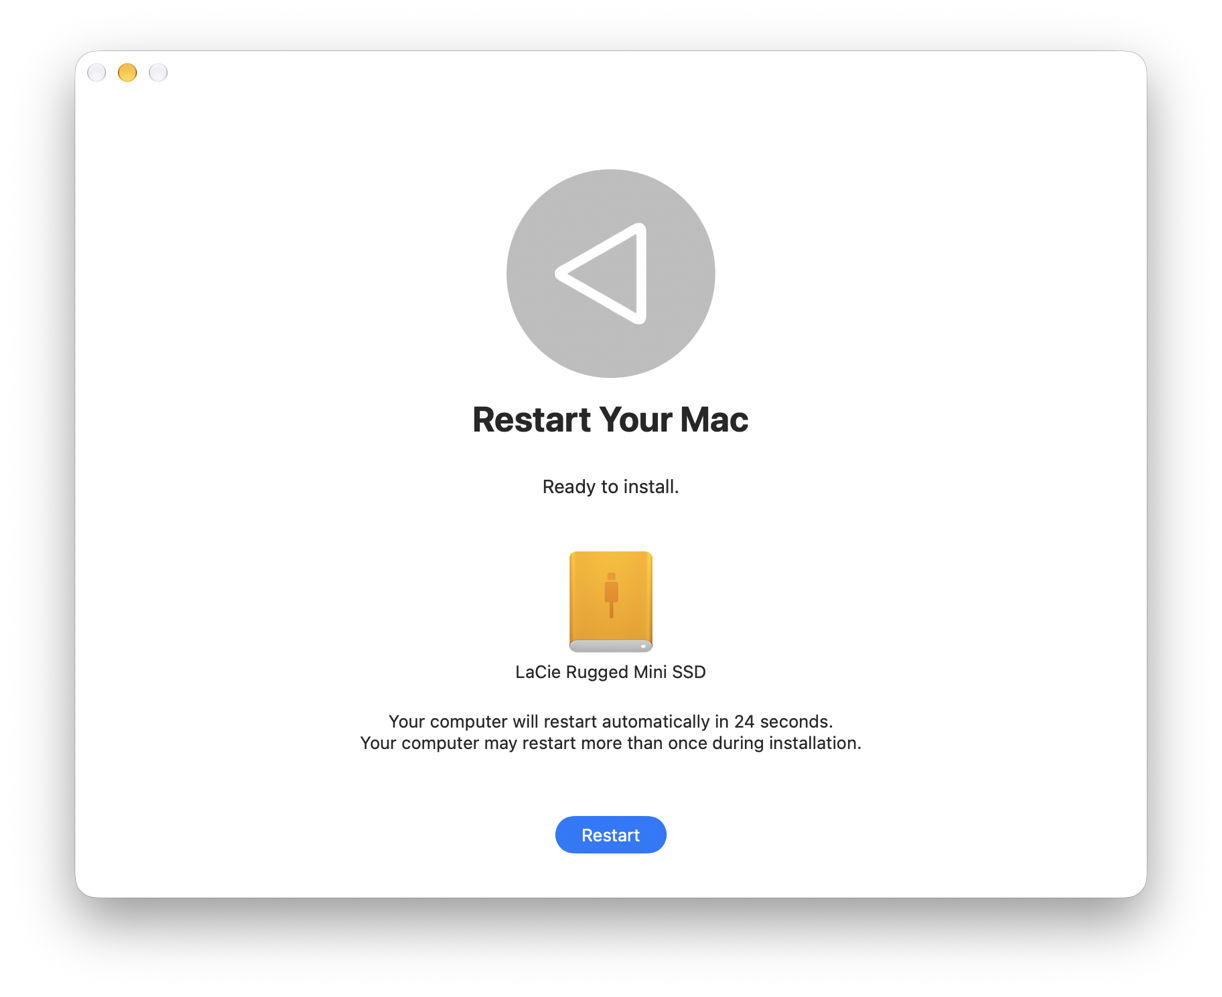
Installation follows, and is (as ever) highly non-linear, and may even appear to stall. Persevere, and it will then close apps and restart to complete.
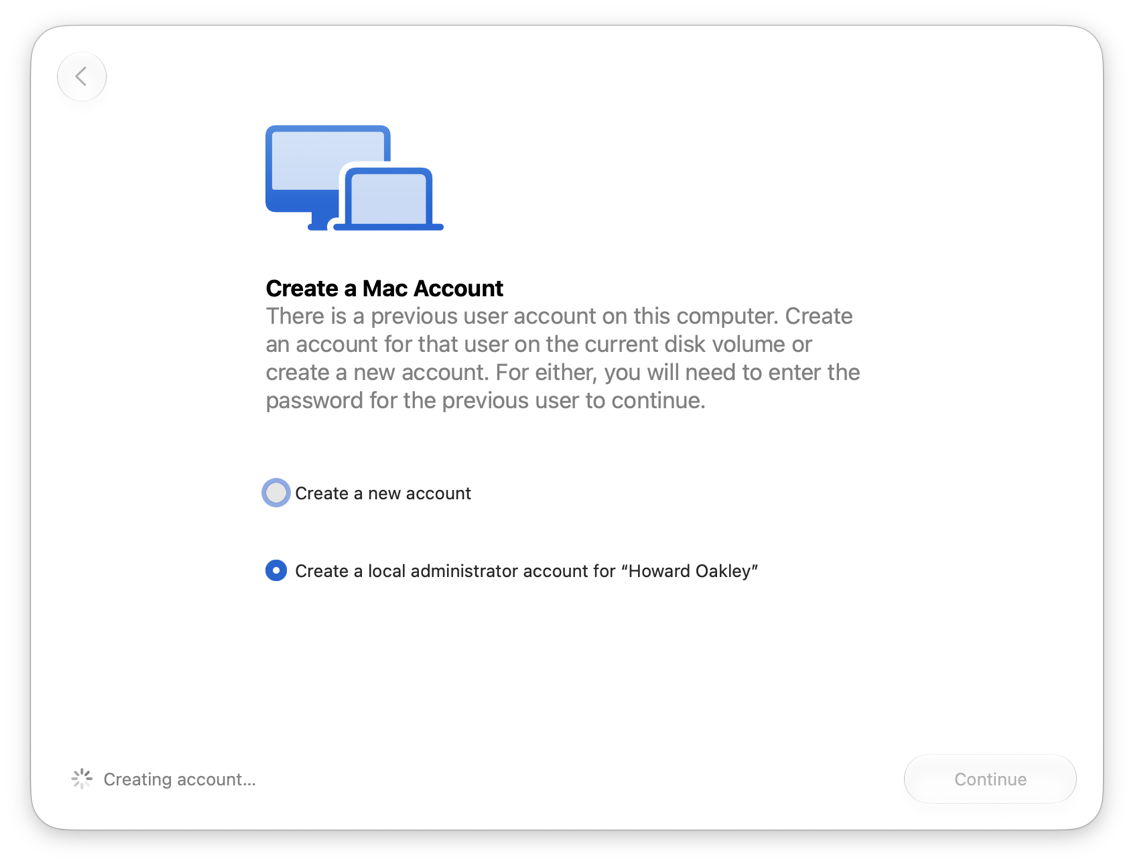
When you’re eventually prompted to Create a Computer Account, it’s simplest to create a local admin account for the Owner.
The new copy of macOS will then take you through personalising your new system, and, if you’ve added support for your Apple Account, it will do the 2FA dance for iCloud and Apple Account, and so on.
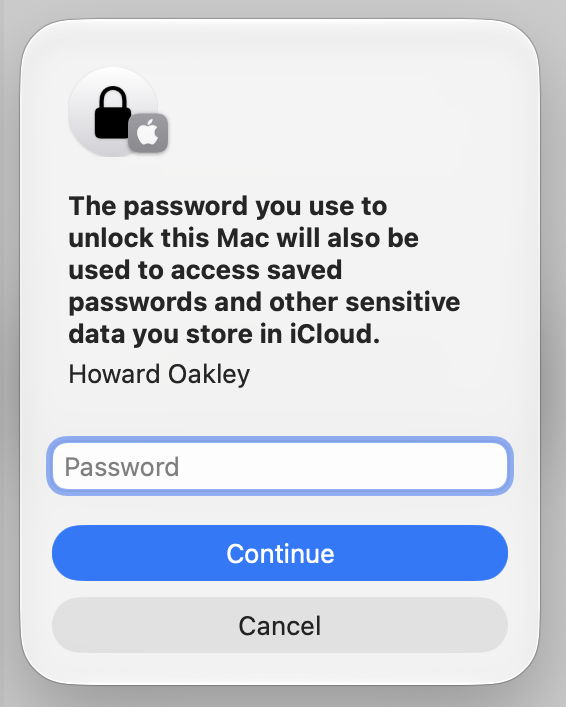
Once configured, you can share that external disk between Macs, but each time you boot from it on a different Mac, you can expect to repeat that 2FA dance before it can use iCloud and Apple Account features.
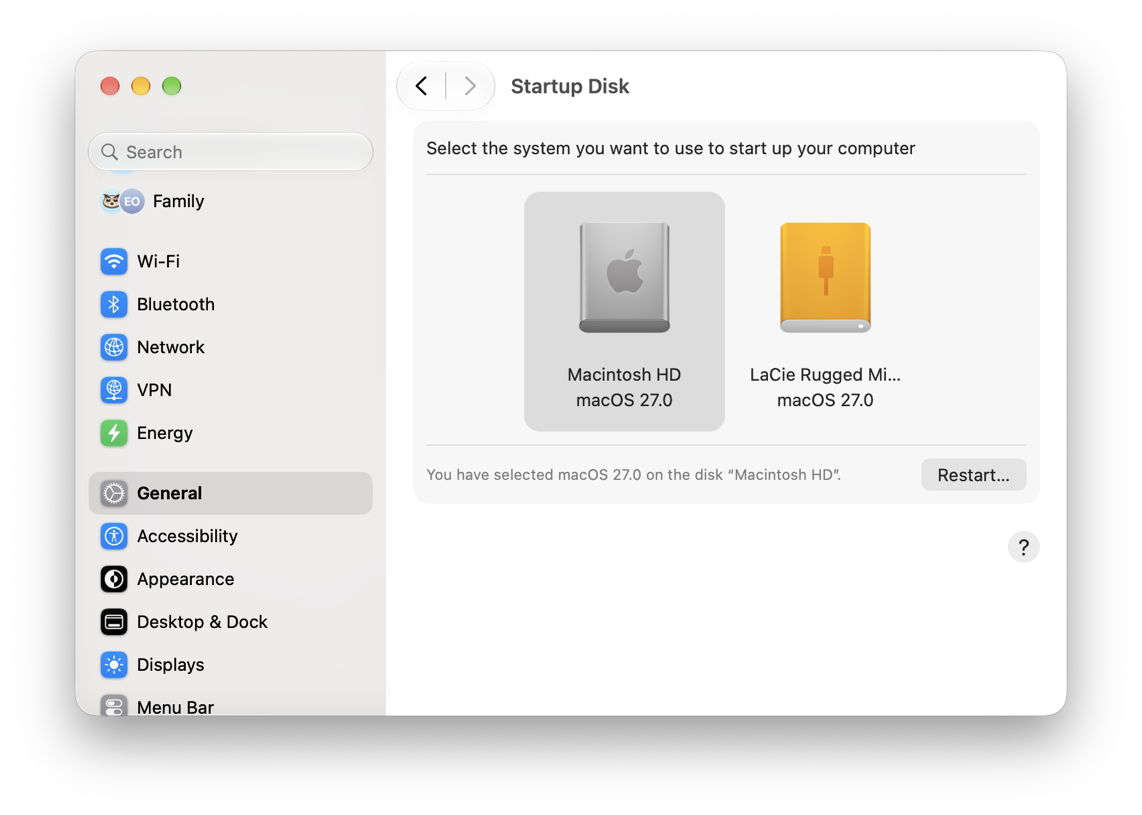
Use the Startup Disk item in General settings to switch between startup disks. You can also change by starting up in Recovery.
Updates
Once installed, you’ll almost certainly want to keep that external system up to date. To do that, ensure the external boot disk is connected to a non-DFU port, start up from that disk, and use Software Update as normal. Although you could download and install that latest macOS installer, that’s a much larger download and there’s always the risk it might run a clean install, forcing you to migrate from your latest backup.
When you update macOS on that Mac, the firmware in it will be updated by the most recent version of macOS you have installed or updated it to, whether that’s on the internal or external disk. To update firmware, you have to install the appropriate macOS update on that Mac. If you update your external disk using another Mac, then that won’t update the firmware in your Mac, which can only be done by performing that update on that Mac.
login keychains
With effect from macOS Tahoe 26.4, Apple has changed encryption protection for login keychains. They now require another secret in addition to that keychain’s password, and the effect is that you can only unlock the login keychain for the current boot volume group. This means that when your Mac is booted from an external disk, it can’t access the contents of the login keychain of any other installed macOS, including that on the internal SSD, and when booted from its internal SSD, it can’t access the contents of the login keychain on any bootable external disk.
The only reliable way to transfer passwords, certificates and other secrets between two login keychains is now using two-Mac migration, where the server is booted in the system whose login keychain contains the secrets you want to copy to the login keychain of the client.
There are currently no good workarounds for this. Copying secrets to an additional custom keychain does make them accessible, but removes this additional security protection. Backups appear to be affected just the same, so you are unlikely to be able to perform one-Mac migration using a backup rather than a Mac server. Moving as many secrets to the iCloud Keychain and sharing that is only a help for some secrets, and doesn’t work for certificates, and some apps that need to access those secrets can’t access them if they’re in the iCloud Keychain.
Hopefully Apple will come up with a solution that is both secure and accessible.
Key steps
- Consider alternatives, including an additional system on the internal SSD, or using a VM instead.
- Connect the external storage to a non-DFU port and format it in APFS, not encrypted.
- Download and run the appropriate full macOS installer.
- Select the external disk as the installation target.
- Select the current admin user to be Owner of the new system, copy their account settings, and authenticate with that user’s password.
- Create a local admin account for that user, if possible.
- Complete 2FA to connect to the Apple Account, as necessary.
- Update the external system when booted from it, with the disk connected to a non-DFU port, using Software Update.
- When booted from an external system, you can’t access the contents of a login keychain of a system in the internal SSD, and vice versa.

