

Like so many durably great ideas, TeX and LaTeX haven’t gone away. In fact they’re getting even better, and Tinderbox strikes me as an ideal platform for building LaTeX documents.
It’s all been done before, to a degree, but I couldn’t find an accessible Tinderbox 7 document to steal and work from. Mark Anderson’s invaluable and exhaustive online Tinderbox Reference has a long article detailing many of the settings required, and others such as Jack Baty, have reported good results in the past.
My starting point was a new Tinderbox document with added support for HTML export, using the built-in HTML Template (in the File menu). Although it was tempting to leave the resulting templates and prototypes with their existing HTML names, my first task was to replace references to HTML with LaTeX. This gives us a prototype named LaTeX Template, and a LaTeX item template inside a LaTeX page, for example.

The easiest way to do this is not with the Map but the Outline view, where I also changed the text content to transform output from HTML to LaTeX. On this occasion, I have opted for the article class, with a4paper options. I have also added the package required to support underline and strikeout font styles (detailed at aTbRef).

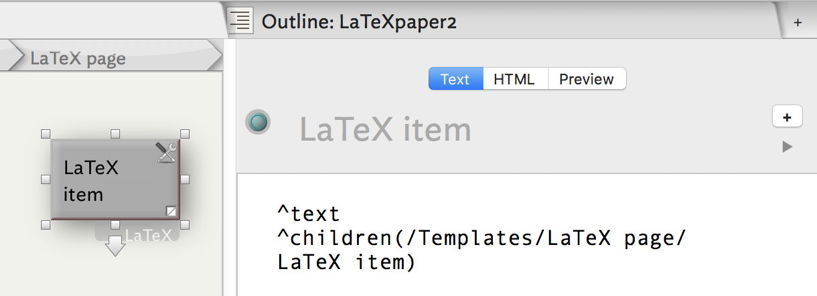
The LaTeX item template within that also required switching to LaTeX form.

Much of the work in setting up the export conversions was done in the prototype (and template) LaTeX Template. To make that easier, I exposed all the attributes which were to be modified as key attributes. This makes the views very busy, but when this is done the attributes list can then be undisclosed and hidden from view.

Those attributes set in the various panes of the HTML Inspector are most readily changed there. So the file extension was switched to .tex, and the Template to LaTeX page.
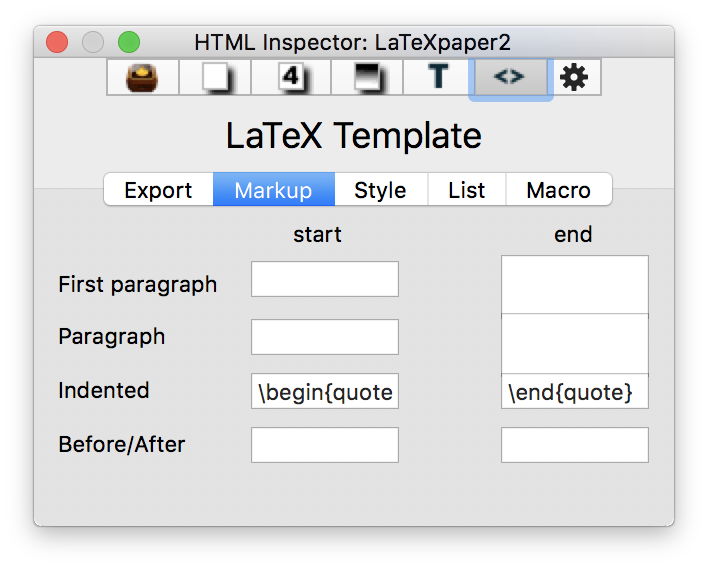
In the Markup tab, the only tricky entries are the paragraph ends. These have to be copied and pasted from the end of a paragraph in a normal text note (as described in aTbRef), and when that has been done successfully, will be shown as here, with double line boxes.

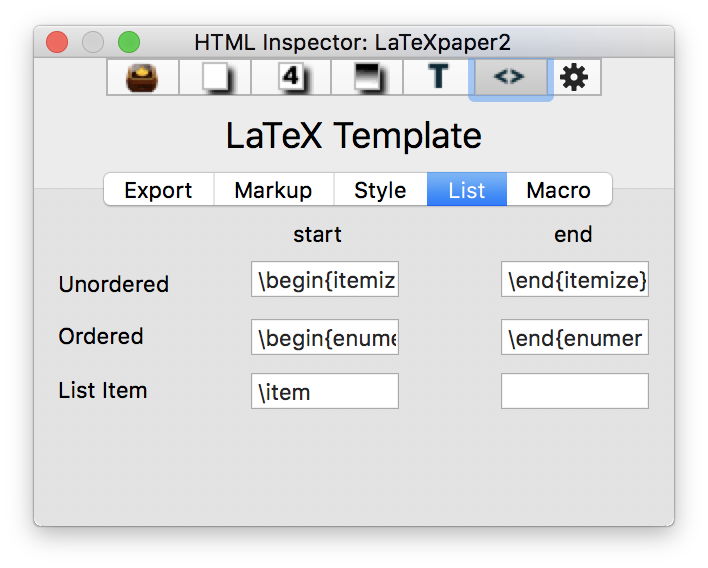
The styles are simple to alter for LaTeX, following the aTbRef instructions.
As pointed out in aTbRef, markup which uses \begin{} and \end{} syntax needs a trailing space after the closing curly bracket of the \end{}.
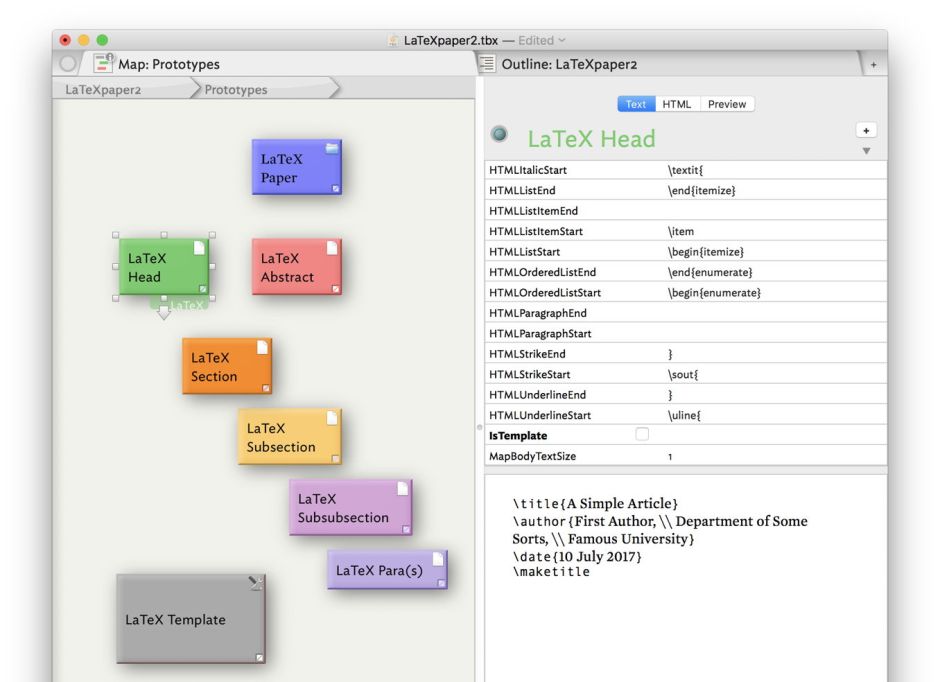
I then created a series of prototypes based on the LaTeX Template prototype for each of the sections of the article: an overall container for the paper, the header content, abstract, and the hierarchy of section-subsection-subsubsection. Each prototype contains the necessary markup for that section of the document: this shows the \title, \author, and \date entries, together with the \maketitle instruction to generate and place them at the top of the first page.
In addition, I created a blank note for floating paragraphs. Although it may be convenient for the whole of the content for a Subsubsection to go into a single note, I wanted an extender prototype which would allow any of the other categories to spread across a series of several notes, as desired.
One of the few tricky issues in setting this export format up and working reliably was the $IsTemplate attribute, and I recommend particular care to ensure that it is set correctly on every prototype and note.
LaTeX Template needs to be a template, but its children shown here should not be templates, or to be strictly correct, their child notes in the document itself must not be templates. Any note in the main document which is left as a template will not export correctly, and will cause you grief and frustration.
The best way to ensure that is to set the global default value of $IsTemplate to false, that for LaTeX Template (and the templates in the Templates container) to true, and those for its children to false. That may take a little jiggering about to achieve, but it will ensure that new notes, for example, have $IsTemplate set to false, which spares you from having to change each one as you add them.
I also set $MapBodyTextSize to 1 for most of my prototypes, but kept it at 0 for the top-level container, LaTeX Paper.
I then added LaTeX content to most of the prototypes, according to their role in the document. Here, the header section is included, in which I will set the title, author details, and date. I have styled these using a monospace font for the LaTeX markup, and the default serif font for the content which the user must provide.

The LaTeX Section prototype works similarly, with just the one-line markup as shown.

Building a test document was then straightforward. I created a container using the LaTeX Paper prototype, and within it placed the header content (LaTeX Head), abstract (LaTeX Abstract), and sections (LaTeX Section). In each, I edited the template content in the Text view.
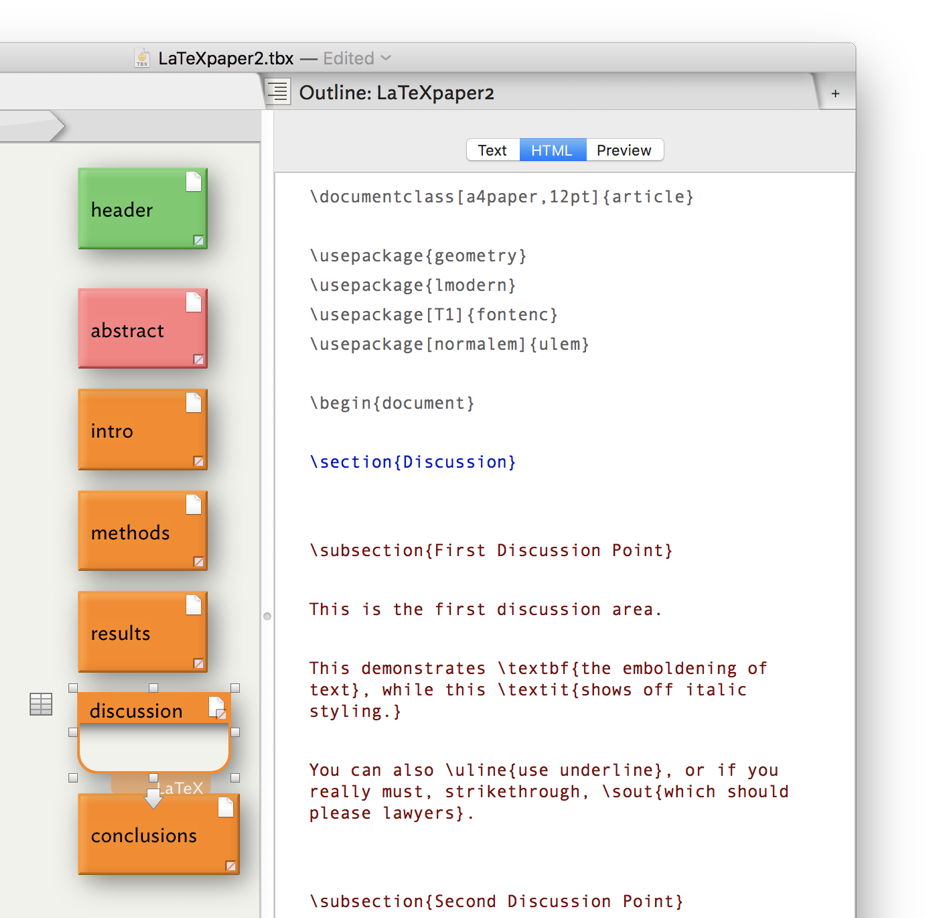
Switching the view from Text to ‘HTML’ (actually LaTeX mark-up) shows each note set within the outer document template content.

The order of export of the notes was then corrected using the Outline view, by dragging and dropping the rows until they were in the correct sequence.

Once I was happy with each of the constituent notes and the format and content to be exported from them, I moved up to the top level, and by selecting the paper container I could preview the complete export file.
This all looked very promising, provided that I remembered to turn of the $IsTemplate attributes. But when exported using the Export… / as HTML command in the File menu, it not only created a complete LaTeX document in the file paper.tex, but put exported files from each of the notes into a folder. The latter does no harm, but is a waste of time, so I turned that off by selecting the LaTeX Paper prototype, and in the Export tab of the HTML Inspector I disabled Export Children, just for that prototype which provides the overall document container.

It used to be that you would then have to open the .tex export document in your favourite TeX rendering app, like TeXShop, and render it. Instead, I used a preview release of Compositor, which renders it almost instantly straight from LaTeX source. This is invaluable when developing LaTeX export from Tinderbox, as it makes iterative adjustments to the prototypes and settings so quick; it is as good as opening HTML in your browser.

In addition to the extensive support for LaTeX markup covering document sections, formatting, and styles, you can of course embed whatever LaTeX code you wish to build formulae and equations, etc.
Two issues which I haven’t yet resolved may reflect features in the current release of Tinderbox:
- Ordered lists, prefaced by numbers, do not trigger ordered list markup, but are converted into a series of quoted paragraphs with embedded numbering.
- Although I have the
$HTMLEntitiesattribute set tofalsethroughout, Unicode characters such as … are always turned into HTML export form. However, these can easily be replaced by their LaTeX forms instead.
My finished Tinderbox document, with its test article, is available here: LaTeXpaper1
and in the Downloads item above.
Having made myself a basic LaTeX document class, I now want to go on to create a Tinderbox document to support my favourite document type, that created for Edward R Tufte’s wonderful series of books on data visualisation. I’ll let you know how I get on.
Note (added 17 September 2017):
Thanks to Prem Thomas for pointing out that some versions of LaTeX may need \ip to be defined. If you try generating the above output, you may find that \ip is reported as an error as it uses an “Undefined control sequence”. You can fix that by adding the following to the template header:
\newcommand{\ip}[2]{(#1, #2)}

% Defines \ip{arg1}{arg2} to mean

% (arg1, arg2).
