
All recent models of Mac contain built-in hardware diagnostics, known as either Apple Hardware Test or Apple Diagnostics, according to the model. If you think your Mac has a hardware problem, or want to rule that out, they provide the best way of checking.
Older Macs may still need their original install (optical) disk(s), which contain their diagnostic software. Insert the labelled disk into their optical drive, restart from that, and follow the instructions.
All more recent models can be started up in diagnostic mode, by holding down the D key. Apple’s instructions are here for Macs released before June 2013, which run Apple Hardware Test, and here for newer Macs, which run Apple Diagnostics.
Whichever you are going to run, prepare your Mac first by:
- disconnecting all peripherals except the keyboard, mouse, any external display, and Ethernet network cable;
- ensuring that your mouse and keyboard are connected by wired USB; rechargeable Apple wireless models should be connected to a USB port using their charging lead, which effectively makes them USB rather than Bluetooth wireless;
- if a laptop, connecting to mains power supply, and checking that the power is turned on;
- ensuring that there is adequate cooling air circulation, particularly for laptops, which should be operated on a firm, flat surface;
- having a pen(cil) and paper handy to record any error messages or codes.
Apple recommends that you should then shut your Mac down and start it back up, holding the D key before the display turns grey, until the diagnostics icon or text appears. You should also be able to enter diagnostics from a restart, but Apple recommends shutting down rather than restarting. If you need to disconnect peripherals, that is in any case wiser.
Initially, the diagnostics software checks your hardware configuration, to determine what tests it should run. You may then be invited to choose a language, and tests will either run automatically, or you may be offered a choice of standard or extended testing.
Once testing has been completed, the app will display a message containing the result, with a code. Make a note of that, as it will help Apple Support, the Genius Bar, or an authorised engineer to advise you on repair. A summary of their meanings is given below.
If the tests report that hardware appears to be functioning correctly, with a zero code or ADP000, this does not prove absolutely that your Mac does not have a hardware fault. Some faults are intermittent, others only manifest when your Mac is warm or cold, and a few (some graphics card faults, in particular) simply don’t get picked up. But a clean bill of health is a good indicator that, whatever is causing your problems, it is unlikely to be a hardware fault in your Mac.
Provided that you have not reset the NVRAM, you can later retrieve the last diagnostics result from the NVRAM of recent Mac models using the Terminal command
nvram -p
which should give the result at the end in an XML field of the form
aht-results _namespdiags_aht_valuespdiags_last_run_key2016-08-07T12:27:04Zspdiags_version_key1.0.18spdiags_reference_code_keyADP000
If the results from that are unintelligible, try
nvram -xp
instead (see comments below).
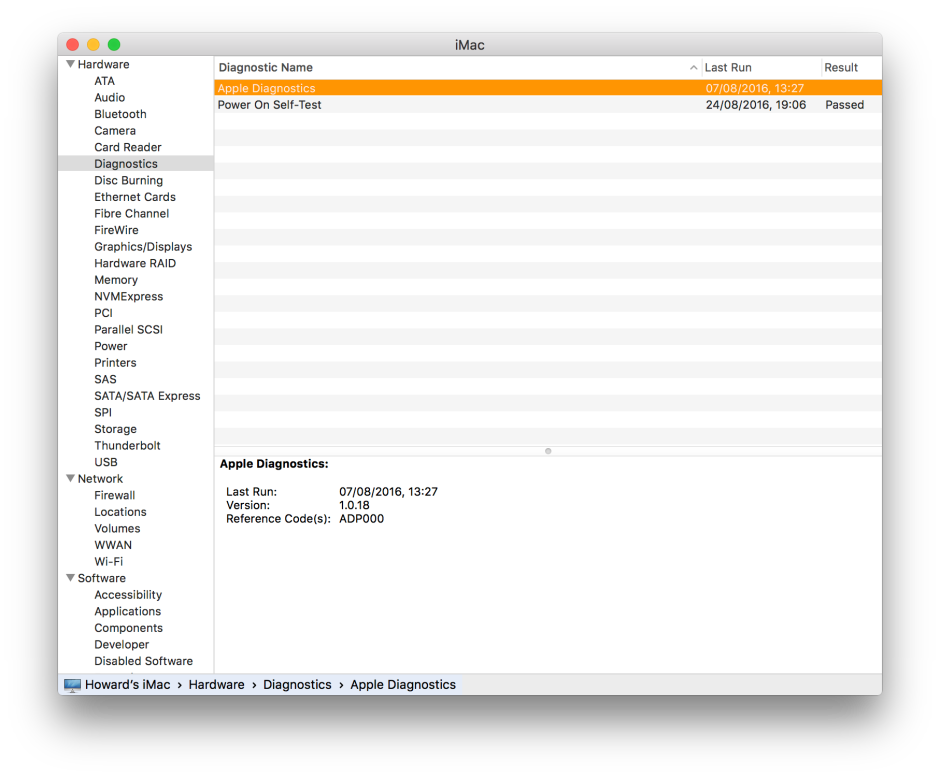
You can also display the results of the last test run in System Information: opne About This Mac, click on the System Report… button, and select the Diagnostics item in the Hardware section, as shown above.
If you cannot get the diagnostics to run properly, ensure that your Mac has an internet connection through its Ethernet port, and try again, holding the Option and D keys down. This will enter remote diagnostics, which is usually much slower.
If testing returns an error, you should be offered further information about support options, which normally proceed after your Mac automatically restarts into Recovery mode. Apple provides a detailed breakdown of the significance and meaning of error codes here. Here is a succinct summary:
- ADP000 – no issues found, although more advanced diagnostics could still detect a hardware problem.
- CNWxxx – WiFi hardware issues. If the codes are CNW007 or CNW008, ensure your Mac is in range of an active WiFi network, then repeat the test.
- NDCxxx – built-in camera issues.
- NDDxxx – USB hardware issue. Disconnect all external devices except those listed above and repeat the test.
- NDKxxx – keyboard issue. Most likely on a laptop; if not, repeat the test with a different keyboard.
- NDLxxx – Bluetooth issue.
- NDRxxx – trackpad issue. Most likely on a laptop; if not, repeat the test with another trackpad if you can.
- NDTxxx – Thunderbolt issue. Disconnect all Thunderbolt devices and repeat the test.
- NNNxxx – no serial number found. This usually indicates a motherboard problem.
- PFMxxx – SMC issue.
- PFRxxx – firmware issue. This is unlikely to be fixed by the user attempting to update the firmware, though.
- PPFxxx – fan issue.
- PPM001 – memory module issue. You can try removing or replacing memory modules, if supported by your Mac.
- PPM002-015 – onboard memory issue. Not user-replaceable.
- PPP001-003 – power adaptor issue. Disconnect the power adaptor, reconnect, and run the test again, or try using a different adaptor.
- PPP007 – ensure power adaptor is connected and power turned on, then repeat the test.
- PPRxxx – processor (CPU) issue.
- PPT001 – battery not detected. Check battery and repeat test.
- PPT002-003 – battery holds limited charge and will need replacement soon.
- PPT004 – battery issue. Shut down and run Diagnostics over the internet to confirm.
- PPT005 – serious battery issue. Shut down and don’t use.
- PPT006-007 – battery issue. Battery will not function normally, but you can continue using your Mac until the battery is replaced.
- VDCxxx – SD card reader issue.
- VDH002, 004 – storage device (HD/SSD/Fusion Drive) issue.
- VDH005 – unable to start macOS Recovery.
- VFD001-005, 007 – display issue.
- VFD006 – graphics adaptor issue.
- VFFxxx – audio hardware issue.
Third-party tools
As far as Apple is concerned, its tests are the standard, and augmented only by its own in-house advanced diagnostics used by official Apple service engineers. There are several third-party tools which can perform specific types of hardware testing and provide you with more information, without having to quit your work, let alone start up in a special mode. I list here those with which I am most familiar.
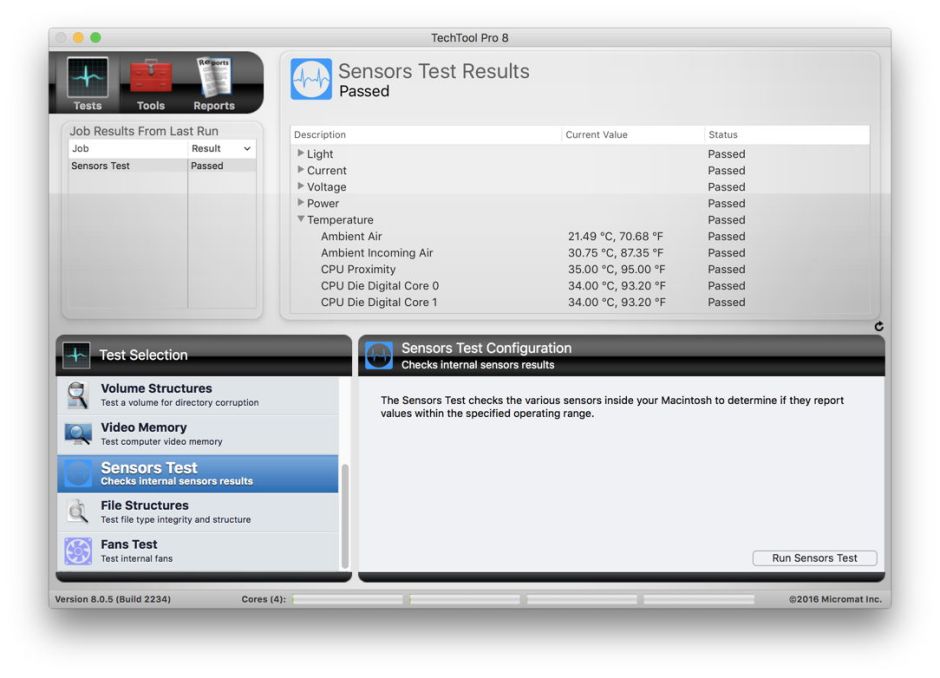
TechTool Pro is a mature and valuable product, which runs separate tests of:
- RAM, but in a more limited way than ATOMIC (below);
- Video RAM;
- disks – including surface scan, S.M.A.R.T. variables, volume structures, file structures;
- Bluetooth, WiFi, and Ethernet (TechTool Pro 9);
- internal sensors;
- fans.
It also helps you check your video, iSight camera, audio, and carries out a range of disk utility functions.
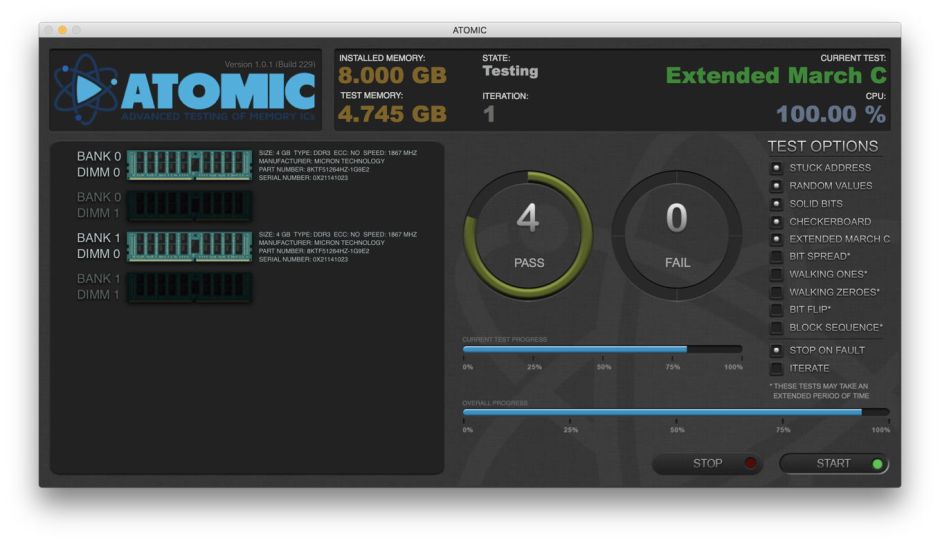
ATOMIC is a dedicated RAM checker which can run stress tests and more, and is particularly useful if you may have an intermittent memory fault.
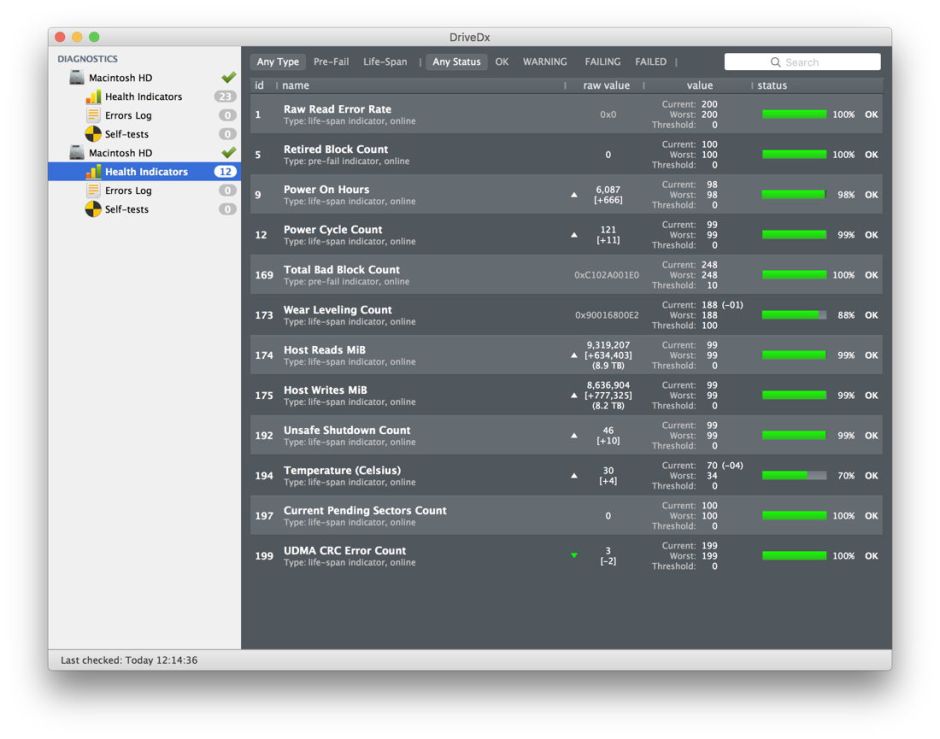
DriveDx is, in my opinion, the best of S.M.A.R.T. tools for those drives which support it. You can also install a free kernel extension which allows it to check USB, USB 3, and other drives which are not normally supported.

OpenGL Extensions Viewer (App Store) does some video testing which can be useful at times.
