
Recovery mode and its underlying system and storage are relative newcomers to the Mac. For the first 27 years, we made do with alternatives, until the summer of 2011, when Mac OS X Lion installed the first Recovery partition.
Classic Mac OS didn’t really have a System folder as such, and making a volume bootable was a combination of providing it with an appropriate System file and working a bit of black magic by ‘blessing’ it. There was no command line either, so providing yourself a rescue or emergency disk was relatively straightforward.
SUM
For the first ten years of Mac OS X, its closest substitute was Single User Mode, or SUM, entered by starting the Mac up with the Command and S keys held down. OS X then booted into the command line, where you could for example repair your startup volume using the standard command
/sbin/fsck -fy
You could then restart using the command
reboot
with your fingers crossed and lucky rabbit’s foot ready, hoping it all worked properly again. Many of us kept emergency boot disks at the ready, stocked with useful diagnostic and repair tools to get our Macs out of trouble.
Recovery partition
With Mac OS X Lion, and the delivery of OS X from the App Store, this all changed, when starting a Mac up with the Command and R keys held entered its new Recovery mode, stored in what was termed the Recovery partition. In those days of HFS+, that was just another volume on the boot disk, and could be supplemented with a prepared USB stick containing third-party recovery tools, such as Drive Genius or Disk Warrior.
Recovery could restore a Mac from a Time Machine backup, run Disk Utility to check and repair the startup volume or others currently connected, install or reinstall OS X, and would walk you through testing an internet connection if required. Apple even released the occasional update to Recovery, for instance in OS X Yosemite Recovery Update 1.0.
As this local Recovery was dependent on its volume remaining intact and bootable on the startup disk, Apple added Internet Recovery, available by holding Command-Option-R when starting up. This ran Recovery by connecting to an Apple server, and was quickly recognised as being interminably slow, even over faster network connections of the time. There was also an important difference in reinstalling OS X in the two variants: standard Recovery reinstalled the most recent version of OS X found on that Mac, but Internet Recovery took the Mac back to the version that originally shipped on it, leaving you to update from the App Store.
Complications
Sierra 10.12.4 introduced what were effectively three different Recovery modes:
- local Recovery mode, engaged with Command-R, behaved as before, in providing the version of macOS already running on that Mac, even if a more recent version was available;
- remote latest Recovery mode, engaged with Command-Option-R, behaved differently according to the version of macOS installed. In 10.12.3 and earlier, reinstalling restored the version that came with that Mac. In 10.12.4 and later, reinstalling upgraded that Mac to the latest version of macOS compatible with it.
- remote original Recovery mode, engaged with Command-Option-Shift-R, only worked when running macOS 10.12.4 or later, where it reinstalled the version of macOS that shipped with the Mac.
Apple also warned that not all old versions of macOS/OS X were available to reinstall, and the version actually installed might have been “the version closest to it that is still available.”
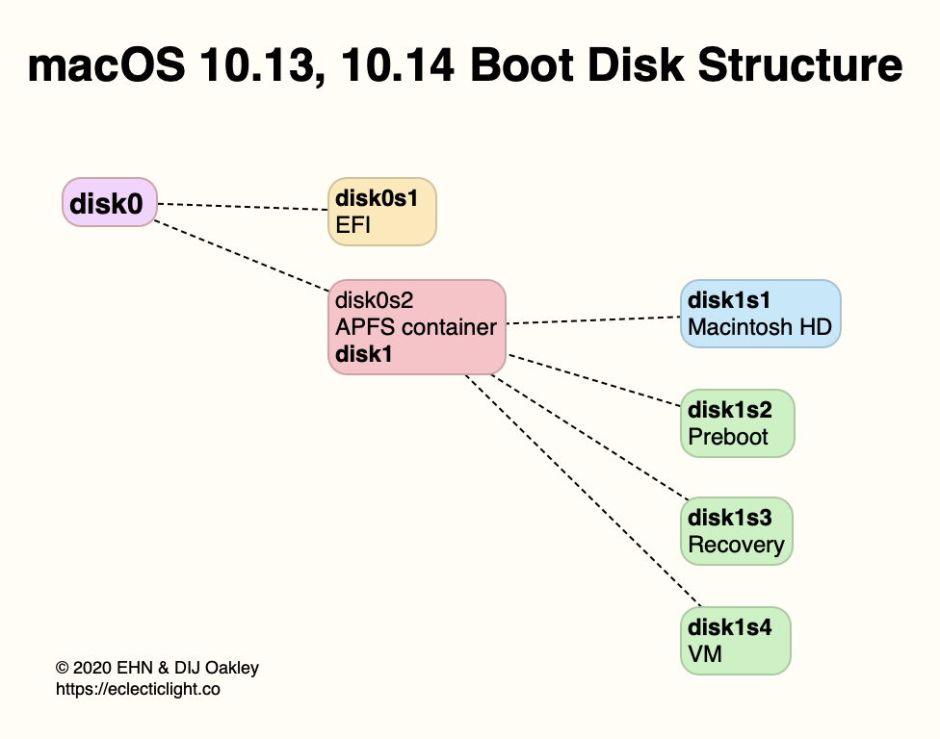
The introduction of APFS in High Sierra also complicated Recovery. As macOS 10.13 only converted hard disks and SSDs, not Fusion Drives, to APFS, some Macs were left with the traditional HFS+ Recovery volume, while those that moved up to APFS adopted its new boot disk structure, shown below.
This changed again with Catalina, and its new volume group consisting of a System and Data volume, with a paired Recovery volume.
Apple silicon Macs and Big Sur
For Intel models, the introduction of Big Sur’s Signed System Volume (SSV) had limited effects on Recovery. Apple silicon Macs, though, had a brand new Recovery system, dubbed 1 True Recovery (1TR), run from a hidden container on their internal SSD, and engaged by pressing and holding the Power button. This requires both physical contact with the Mac and a mechanical action.
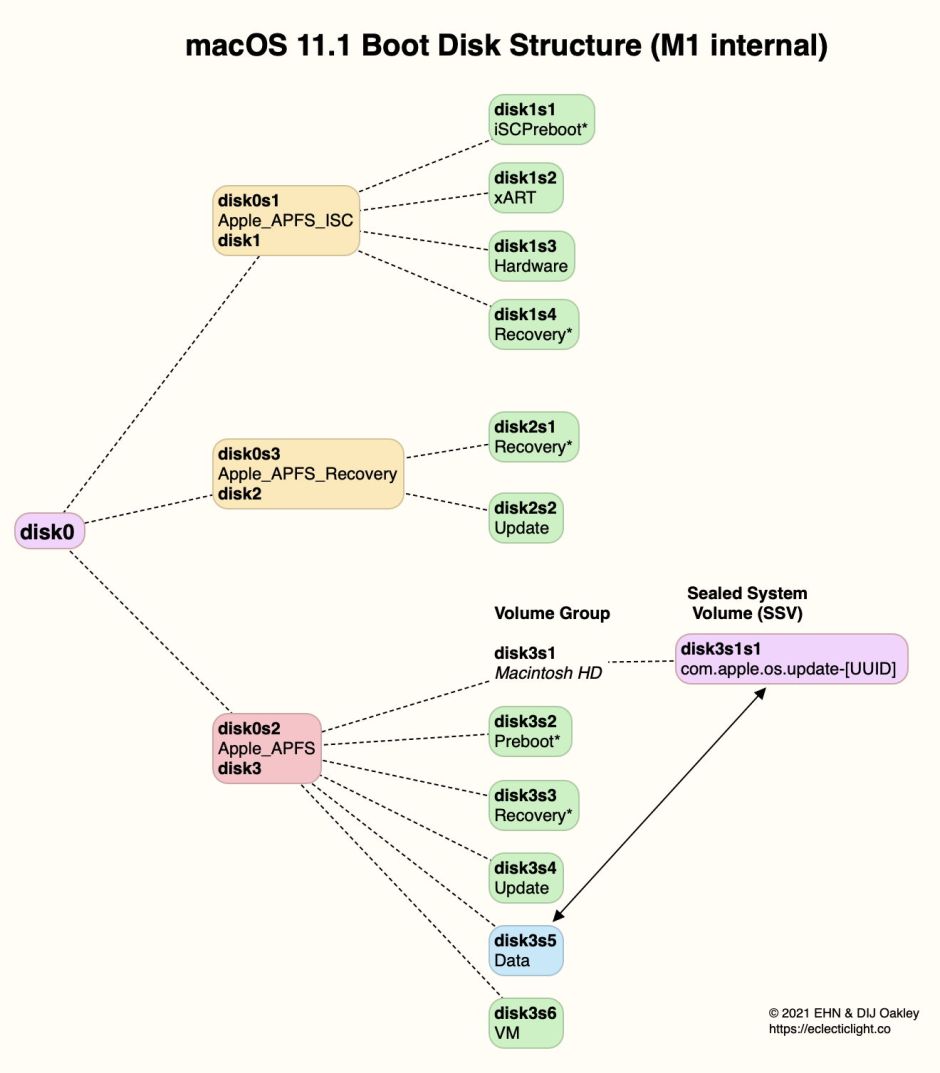
The three containers in an M1 Mac’s internal storage have distinct functions. The first, Apple_APFS_ISC, is the iBoot System Container (iSC), and supports the iBoot firmware in the early boot process, as well as providing trusted storage for the Secure Enclave within the M1 chip. The Apple_APFS_Recovery container is dedicated to providing 1TR, which is stored in its Recovery volume. This includes a second part of iBoot and all that’s necessary for the M1’s full Recovery mode. In this scheme, there’s just one True Recovery system on each M1 Mac, regardless of how many different versions of macOS it might have installed.
If you need your M1 Mac to enter 1 True Recovery, but that fails, there’s a second copy of the software required “for resiliency”, stored in the Recovery volume paired in the current boot volume group. To boot into that, instead of just holding the Power button until 1TR starts loading, you press the Power button twice in rapid succession, and on the second press, instead of releasing the button, hold it pressed until recovery options are reported as loading.
What you then get is every bit as good as regular 1TR, with one significant exception: you can’t set the system security state using Startup Security Utility. Apple explains that this is because “LLB [Low-Level Bootloader] doesn’t lock an indication into the Boot Progress Register saying it is going into recoveryOS”. But for all other purposes, this is just as good as 1TR.
Apple silicon Macs and Monterey
That new Recovery architecture was fine while Apple silicon Macs could only boot into the one major version of macOS, Big Sur. When Apple released the next, Monterey, it changed Recovery to cope better with those that might have two different boot volume groups installed on their internal storage. That swapped the location of primary and fallback Recovery.
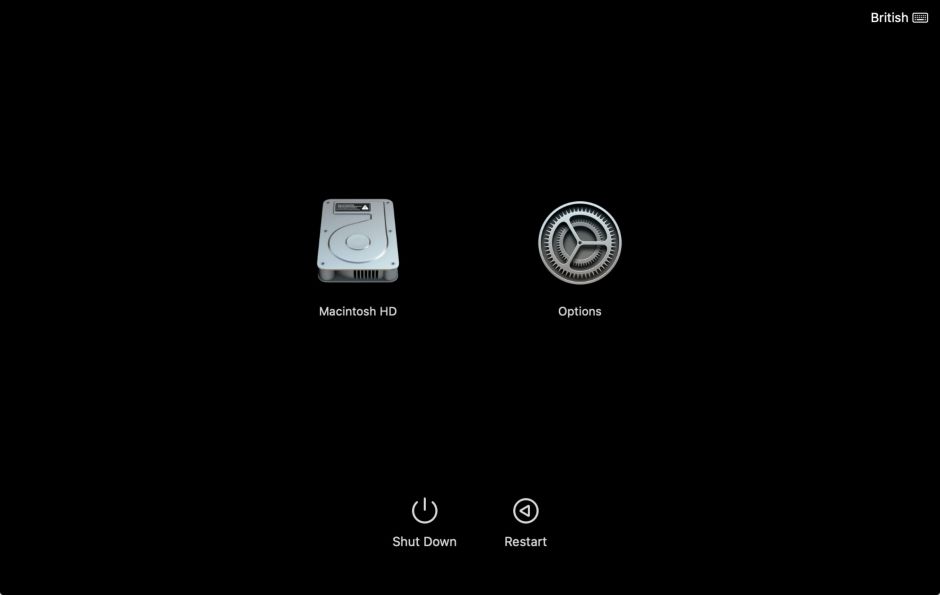
From Monterey onwards, starting up in primary Recovery using the Power button boots that Mac into the Recovery volume paired with the current boot volume group. Starting up in fallback Recovery using the doubly-pressed Power Button boots that Mac into the fallback Recovery (frOS) installed in the hidden Apple_APFS_Recovery container on the internal SSD.
Because fallback Recovery is stored in its own dedicated container on the internal SSD of Apple silicon Macs, it should be more robust and resilient than primary Recovery. It differs in two significant respects:
- Startup Security Utility is not available, as noted above for Big Sur.
- Its version normally lags the current firmware installed on that Mac.
Old and new
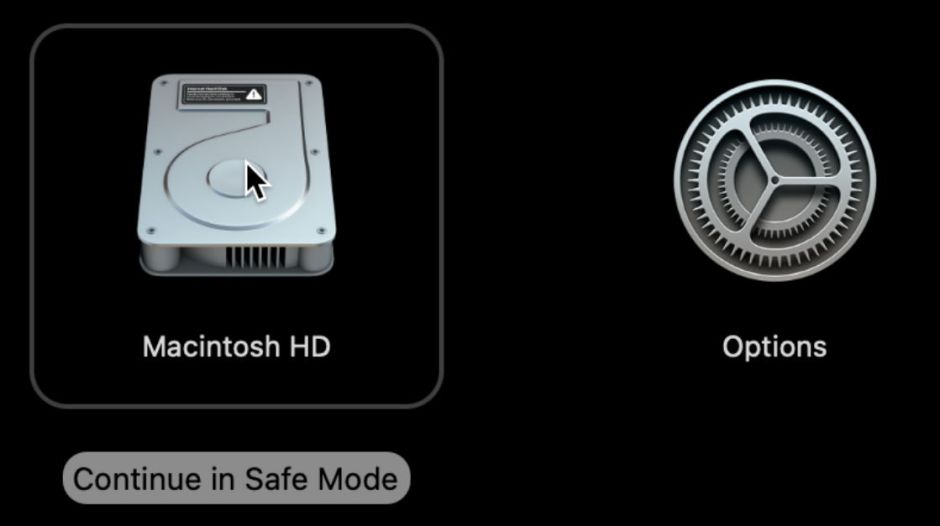
Although primarily driven by its GUI, Apple silicon Recovery still tips its hat to old recovery systems controlled by startup key combinations. Entering Safe mode, which can only be performed by starting up in Recovery, requires the Shift key to be held to enable the Continue in Safe Mode button under the disk icon.
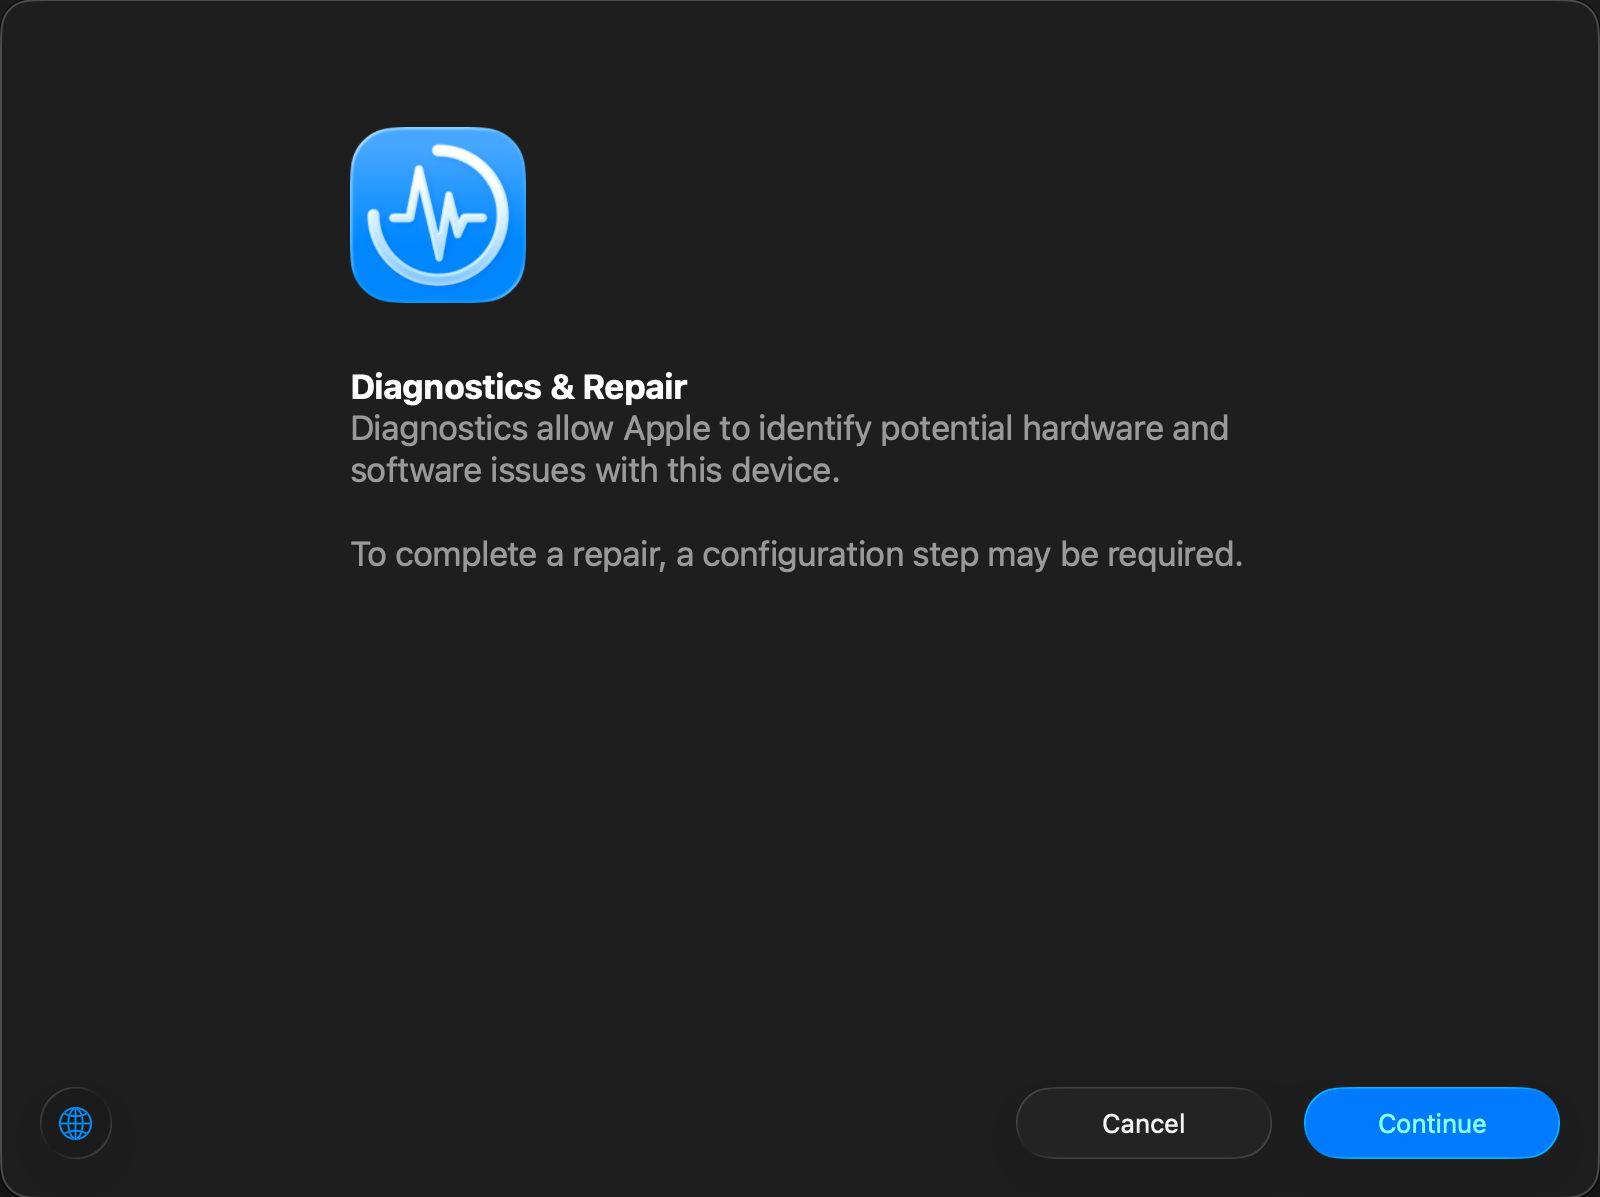
Entering Diagnostics is performed by pressing and holding the Command ⌘ and D keys when in Recovery mode.
Major utilities provided in Recovery mode are accessed through the main window, which offers to restore from backups, reinstall the current macOS, Safari for access to web support, and Disk Utility.

One key utility accessed from the menu is Startup Security Utility, which differs between Intel and Apple silicon models. For Intel Macs with a T2 chip, this can enable that Mac to start up from any bootable external disk. As that’s always available to Apple silicon Macs, its common purposes are to enable the use of third-party kernel extensions, and to engage Permissive Security with security features like SIP disabled.


Another of the historical remnants in modern Recovery is repairHomePermissions, which launches a GUI app to repair permissions on a selected Home folder on the Data volume. The effects of using this are invariably disastrous.

Recent enhancements
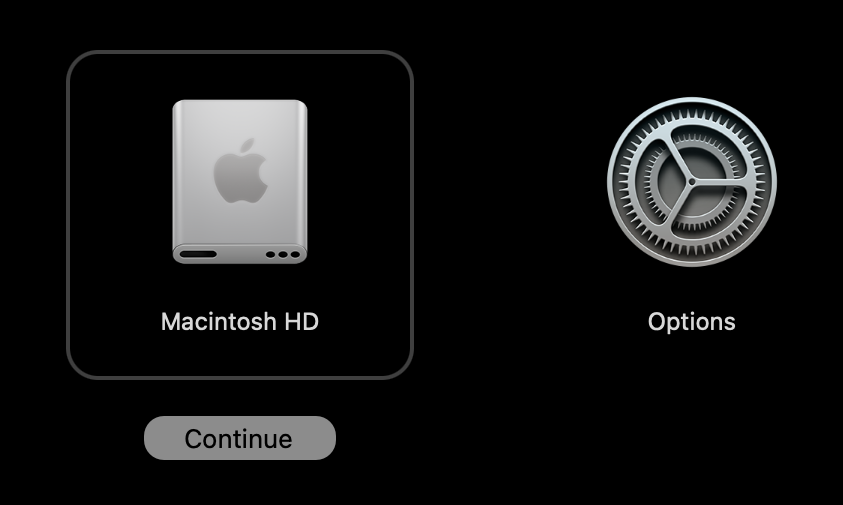
Perhaps inevitably, macOS Tahoe brought a change to the iconography of Recovery Mode, with the traditional finely engineered hard disk being replaced by something intended to more closely resemble an SSD, despite its weird perspective projection and quaint name.

Tahoe also brought a new Recovery Assistant, sometimes inappropriately referred to as Device Recovery Assistant in an attempt to distinguish it from other Recovery Assistants. This requires an internet connection, and is intended to address problems occurring during startup.

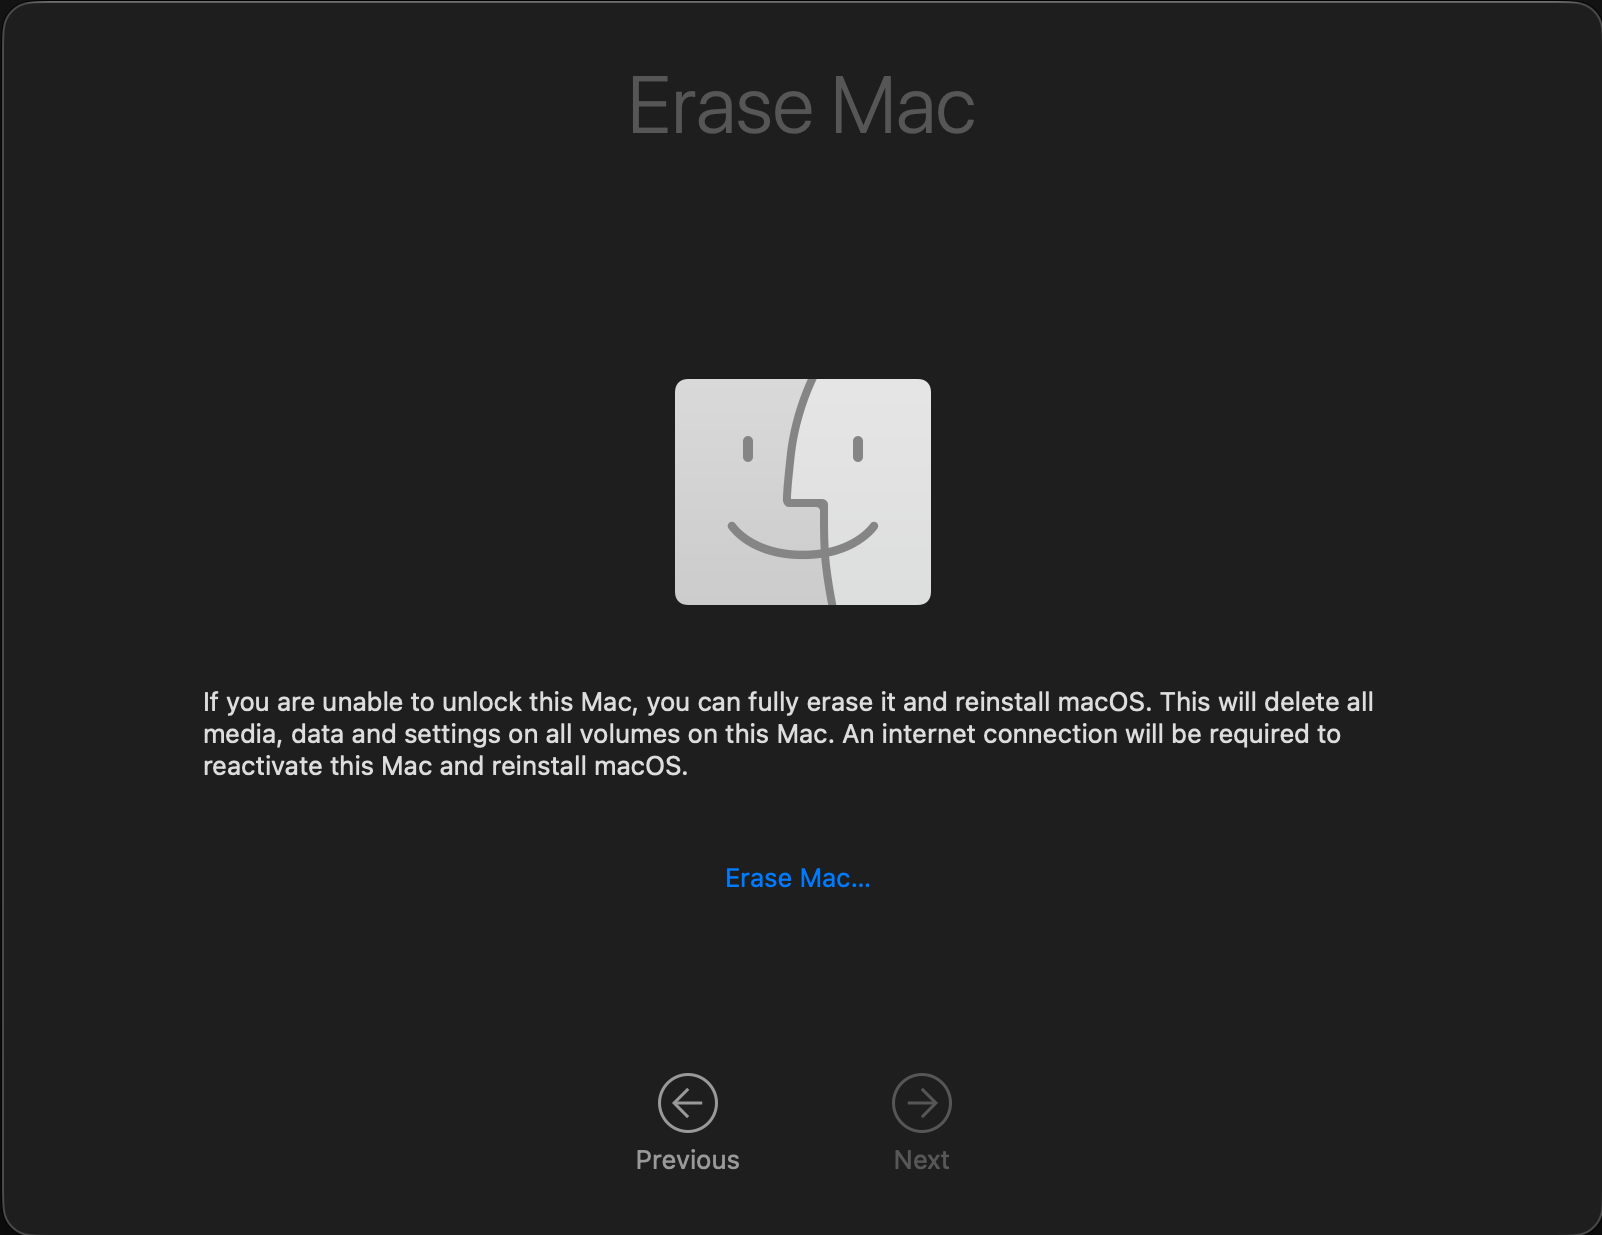
The Recovery Assistant menu, which might or might not be the same part of Recovery Mode, is able to erase a Mac fully without unlocking it, ready to reinstall macOS.
Diagnostics has expanded into Repair Assistant, and offers a choice of tests from diagnostic suites according to a Mac’s hardware. Those can include
- Mac Resource Inspector, to test the main Mac hardware over a period of 1-7 minutes;
- Display Anomalies, for any built-in LCD panel;
- Keyboard, only when built-in;
- Trackpad, only when built-in;
- Touch ID, for any built-in Touch ID sensor;
- Audio, to verify audio output using a set of test tones.
We have come a very long way since the days of Single User Mode and homemade emergency disks.

