

This article has a source code supplement. To read that in parallel, open this link in a separate window or tab so you can follow this account with its full source code.
In my quest to implement a full app written for SwiftUI on macOS, my next tasks concern the app’s Settings, how to set those as User Defaults, how to implement some of their more common controls, and how to customise the About window. In these, SwiftUI starts to come into its own, in comparison with AppKit, although it does have a couple of surprising shortcomings.
For this workthrough, I’m creating an app that builds and displays a list of mounted volumes and one of their properties, here their measured SMART temperature. For the sake of simplicity volume names and temperatures are assembled into an array of text, each line containing both the volume name and its temperature. The app’s settings must give the user the choice between expressing temperatures in Celsius or Fahrenheit, and how frequently they should be measured. Those settings should persist by saving them in the app’s User Defaults, thus in its preference property list.
TemperaDriveApp.swift
There are just two minor changes to be made to the template app source: in an initial let declaration, a new object is created to do the work that will be displayed, and the Settings view is added after the main app window. Because that’s declared as a Window rather than a WindowGroup, closing that primary window will quit the app.
ContentView.swift
The primary window displays content dependent on whether the global Boolean variable isInited is true, indicating that the global theTemperaDrive has completed initialisation, and provided the first set of measurements. If it has, text containing those results is displayed below a button that will manually repeat those measurements, using theTemperaDrive’s getVolumes() function. If initialisation isn’t complete yet, the window displays the message that it’s still waiting for results.

SettingsView.swift
This is the more complex of the two windows, as it’s tabbed and contains three different sets of controls. Those tabs are set up in the window’s TabView, complete with an icon selected from SF Symbols, and a name for the tab. Each of the three then loads its own View to provide its controls. Unfortunately, at present the Xcode preview for those tabs doesn’t create a faithful preview, which can only be seen by running the app. This is a surprising shortcoming.
In this example, each view controls a single setting that’s also saved as a User Default. Rather than having to handle those using NSUserDefaults, SwiftUI does all the work for the variables declared with the property wrapper @AppStorage. This is both elegant and time-saving.
In the first, ShowView,
@AppStorage("showTemps") var showTemps = true
loads the Boolean saved for the showTemps key in the app’s preference property list, if it has already been saved there. That variable is then used to determine the setting for the checkbox, is automatically synchronised with the control setting, and saved to that preference file to persist for the next time the app is run. Although code to perform that manually isn’t complicated, it’s a not uncommon source of error.
The checkbox shown in ShowView is implemented as a simple Toggle.

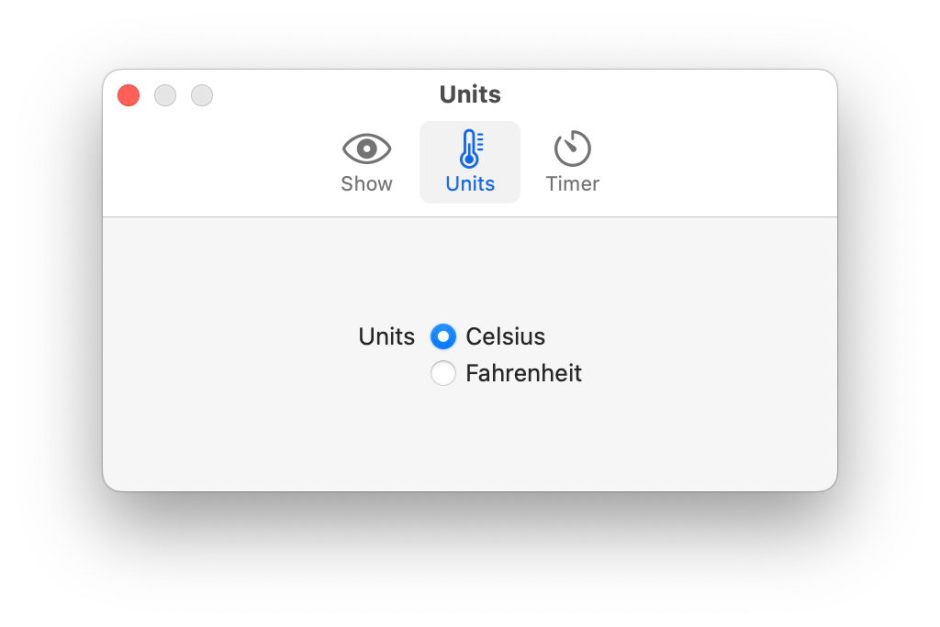
The radio buttons in UnitsView are implemented cleanly in a radioGroup Picker, which is far simpler than their implementation would be using AppKit.
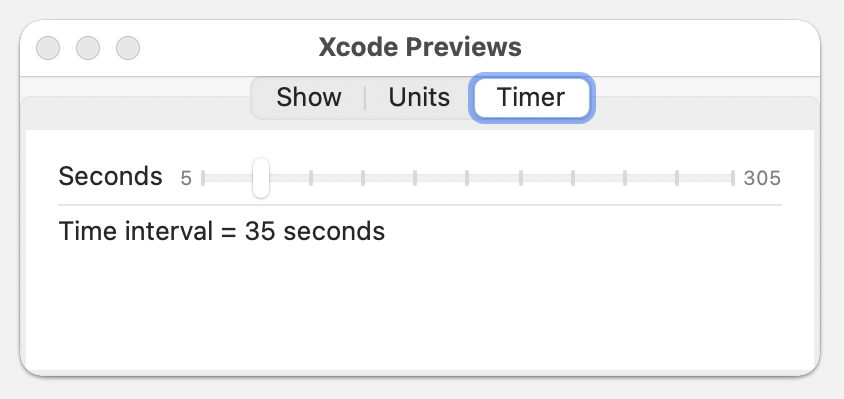
For the TimerView, a Slider is used to set the time interval, with the current setting shown in a line of text.

Finally, the SettingsView is supplied for Preview, although that isn’t as faithful as it should be.
TemperaDrive.swift
The final source code file is where the work is done to supply the views with their contents, from a global TemperaDrive object that is made @Observable. The array containing results strings is theVolsList, to which getVolumes() adds a line containing the volume name and its current SMART temperature in the unit of the user’s choice.
Initialising an instance of TemperaDrive first runs the measurements to populate theVolsList, then sets the global Boolean isInited to true so those measurements can be displayed in the app’s main view. Following that, it schedules itself using a Timer so that it’s run automatically at the chosen time interval. For the sake of simplicity here, if the time interval is changed in Settings, it doesn’t remove itself as a Timer and add itself back with the new time interval. This means that the user has to quit the app and open it again before it’s run at the new time interval. This is a demo, after all.
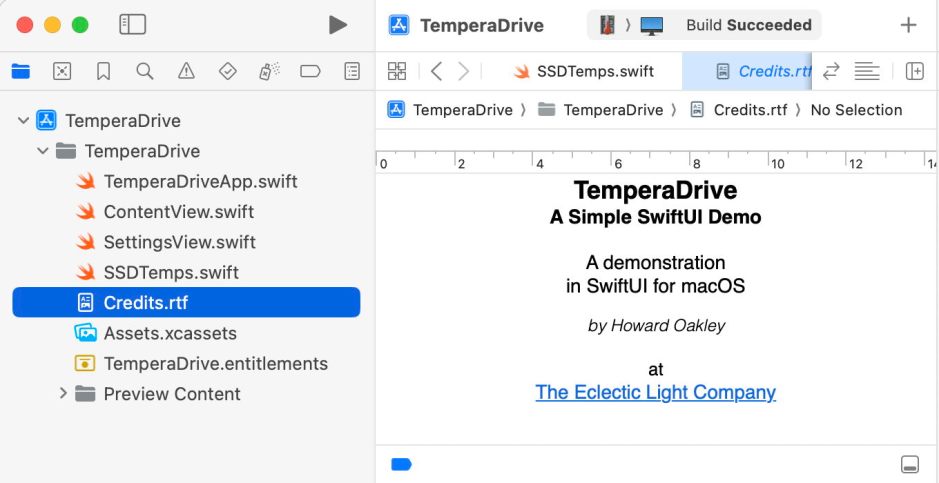
Customise About
Just as SwiftUI makes Settings so straightforward to implement, adding content to the app’s About window can be quick and simple: just design a brief statement using HTML or rich text, and save it into a file named Credits.rtf or Credits.html somewhere that Xcode can access it, then add that RTF or HTML file to the project.
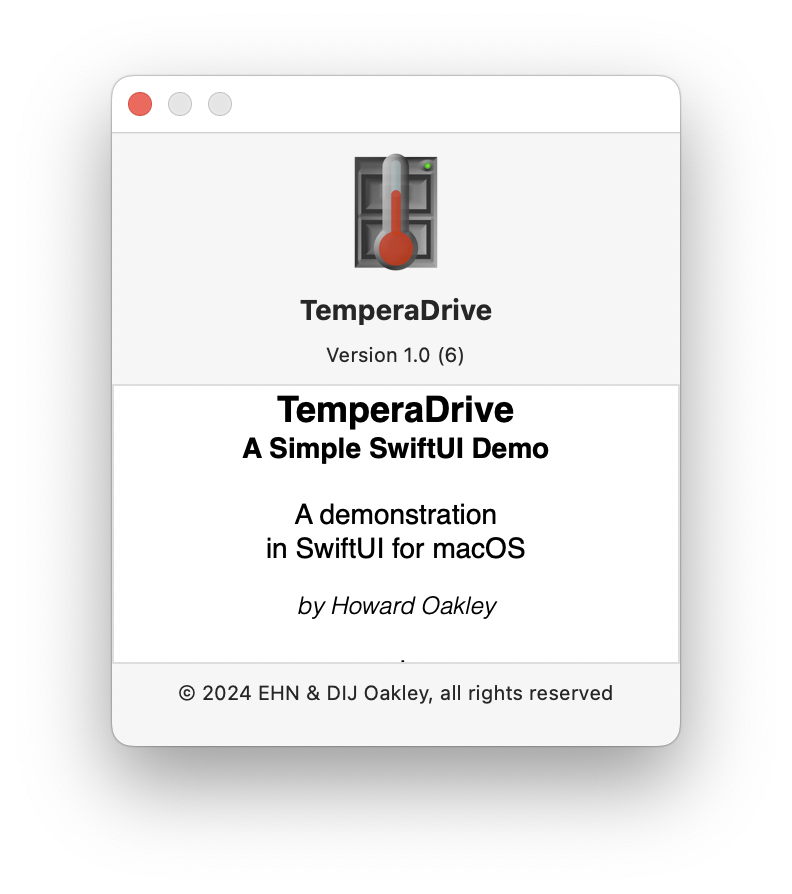
However, most additional information is going to end up being scrolled, as the About window is of fixed size, and there appears to be no way to modify its defaults, which is a pity.
Summary
- Add a Settings window by making it a secondary view to the main app structure, and implementing that view.
- Make a single-window app quit when that window is closed by changing it from a WindowGroup to a Window in the main app.
- Set User Defaults variables in an @AppStorage wrapper so they’re automatically saved in the app’s preference settings.
- TabViews aren’t shown faithfully in Xcode Previews.
- Use Toggle for a simple checkbox.
- Use a radioGroup Picker for radio buttons.
- Add styled text to the About window in a
Credits.rtforCredits.htmlfile added to the project. - SwiftUI makes Settings windows, User Defaults and lightly customised About windows considerably simpler.
