
Styled text, commonly saved as Rich Text and referred to in macOS as Attributed Text, has been one of the cornerstones of the Mac for forty years. Like many fundamentals, we both take it for granted and often don’t make best use of it. Everyday editors like TextEdit and my free replacement DelightEd still have great powers, and this article is a gentle reminder of one of them: their sophisticated style features. Rather than applying text styles piecemeal, why not make and use a style library?
Add a custom style
Setting a new style is quite simple. In either TextEdit or DelightEd, or any other app using this same feature from AppKit in macOS, set some text up in a style you want to use again.
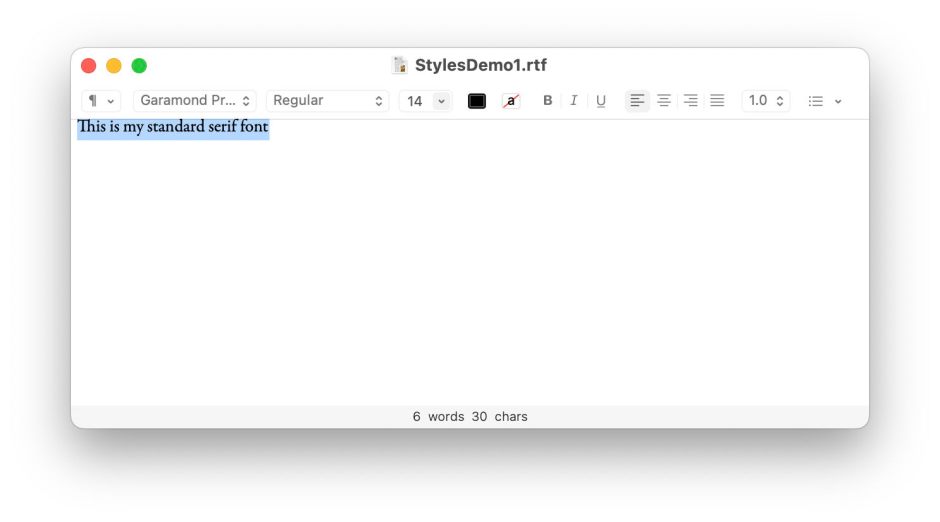
Click on the ¶ Style tool at the left end of the toolbar, and from its popup menu select the lowest command Show Styles… This drops down the Style Editor panel, where you can step through the different styles already used in your document using its Play controls.
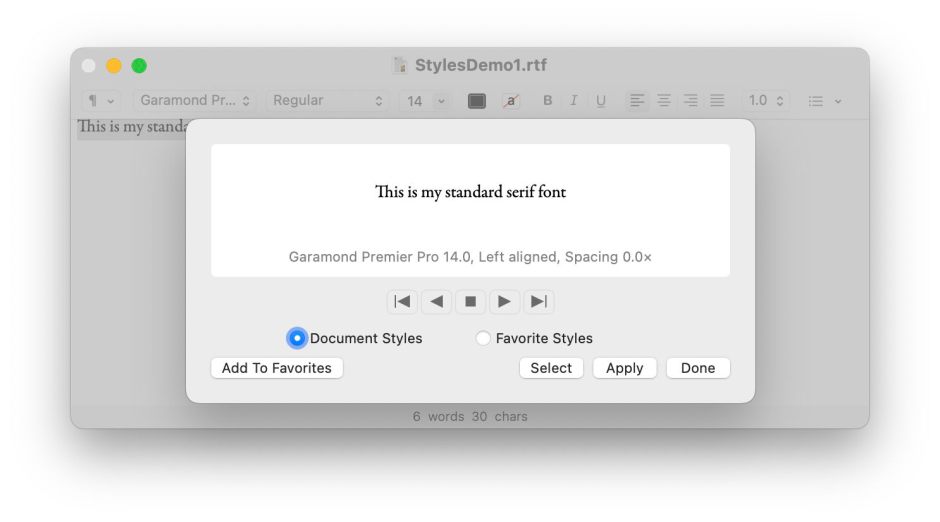
In this case, the font and other styling set in that section of text is what I want to add as a new style. To do that, click on the Add To Favorites button.

Another drop-down panel will then prompt you for a name for your style, and whether you want to include font and ruler settings as part of it. These merit careful consideration because of their potential side-effects.
If you give your new style the same name as an existing style (apart from Default, which is special), after prompting to confirm, that existing style will be overwritten. It’s not hard to mess your styles up by overwriting those existing ones, but harder to recover the originals.
If you want your new style to change the style but leave the existing font unaltered, so that it works on a full range of fonts, leave the box to include the font unticked. If you do include the font (box ticked), it should also change the colour of the text when it’s styled.
Before you try including any ruler change in the style, you’ll want to ensure that the ruler settings are correct using the Format / Text / Show Ruler menu command.
When you’re happy, click on the Add button to add your new style to the list of those available.
Styles, fonts and rulers
When you try out your new style, you may be confused when it doesn’t appear to work properly, and is too sticky. Select a block of text, set in your new style using the Style menu, then use one of the default styles on it. Although that’s likely to change its style, for instance setting it to Bold or Underlined, its font and size remain unchanged. This is because styles work at three different levels:
- all styles set the style (regular, bold, italic, etc.) of text
- styles saved with a font also set the font, size and colour of text
- styles saved with a ruler also set the ruler to be used for the text.
By default, styles you set up remain local to the document you’re editing at present. They’re added to the styles given at the start of the Rich Text Format (RTF) document, in its header, but don’t get added to any app or macOS preferences. Open that document again, perhaps using a different app that uses the same style system, and they should appear in the Style menu again, but won’t appear in that for any other documents.
Favourites
To gain global access to your styles, add them to your Favourites. They’re then stored in a preference file, but not that for the app you’re using, instead a property list that’s common to all apps using this feature in AppKit, in ~/Library/Preferences/com.apple.AppKit.TextFavorites.plist. You can thus develop a set of styles in DelightEd that are also fully accessible in TextEdit, for instance. This has been useful for implementing bi-modal text that works properly in both Light and Dark appearance modes.
Some previous versions of macOS have suffered from bugs in styles that can be worked around using custom styles. For instance, there was a bug in macOS Mojave 10.14.1 resulting in a style for ‘regular’, i.e. non-bold non-italic text, being set in italic. You can work around this by manually editing com.apple.AppKit.TextFavorites.plist. Create a new style named Regular, for example, using the normal text colour and setting the text to non-bold and non-italic. Save this with both the include font and include ruler boxes disabled (no ticks). Then open com.apple.AppKit.TextFavorites.plist in your text editor, find the Regular key in the dictionary, and remove the NSFontTrait key and integer at the end of that dictionary, leaving just its NSColor entry.
com.apple.AppKit.TextFavorites.plist is a fairly simple property list that can be manually edited. If you make a mess of it, or of the styles in an app which uses it, you can easily return it to its defaults by quitting all apps which use the file and trashing the com.apple.AppKit.TextFavorites.plist file. When you next open TextEdit or DelightEd and use their Style Editor, a fresh property list will be created. The one style which you cannot alter is Default: if you try adding your own style using that name, you merely end up with two Default styles, one of which is the original and apparently immutable style.
These styles are accessible to all macOS apps that use the AppKit framework. To my shock, they remain inaccessible to apps built using Apple’s newer interface design tools in SwiftUI, unless they borrow them from AppKit. Creating a rich text editor using SwiftUI is thus hard labour, reinventing what’s already well-supported in AppKit. Maybe Apple will get round to addressing that in the not-too-distant future.
