

I’ve gone on record here, on several occasions, as being against repeatedly reinstalling macOS, since Apple introduced the Signed System Volume (SSV) in Big Sur. But there are times when your best or only option is to reinstall, for instance when your Mac has been unintentionally updated or upgraded. This article examines your options.
Back up
Before doing anything else, ensure that you have at least one good and complete backup of everything that’s on your Mac’s data volume, and any other non-system volumes on its internal storage. If you’ve added a new volume to contain virtual machines that haven’t been backed up, for instance, now is the time to ensure you can restore them. Reinstalling macOS shouldn’t be destructive, but if anything were to go wrong, you might have to restore everything that’s on the internal drive.
Which version of macOS?
The best way to reinstall is in Recovery mode, but that also limits your choice of macOS. So first consider whether this can address your need.
For Apple silicon Macs, Recovery reinstalls can only provide the latest minor version of your Mac’s current major version of macOS. If you’ve been running Ventura but unintentionally upgraded to Sonoma, once that’s complete, Recovery will only offer you the current release of Sonoma. So Recovery reinstall is no good for downgrading an Apple silicon Mac to any earlier version.
For Intel Macs, it all depends on the startup key combination you use to enter Recovery:
- If you hold Command-R during startup, Recovery reinstall will offer the current version of the most recently installed major version of macOS.
- If you hold Command-Option-R during startup, Recovery reinstall should offer the latest release that’s compatible with that Mac. If your Mac was last running Ventura or earlier, that’s likely to upgrade it to Sonoma.
- If you hold Command-Option-Shift-R, Recovery reinstall should offer the closest release still available, for the major version of macOS that came on your Mac originally. In most cases, that should be a Recovery downgrade, perhaps from Sonoma to Big Sur.
These can be confusing, and it’s worth your while looking carefully at the version you’d expect to be installed for each of those three options before making any decision.
If you need any other version of macOS, then you’re going to be unable to reinstall it in Recovery mode.
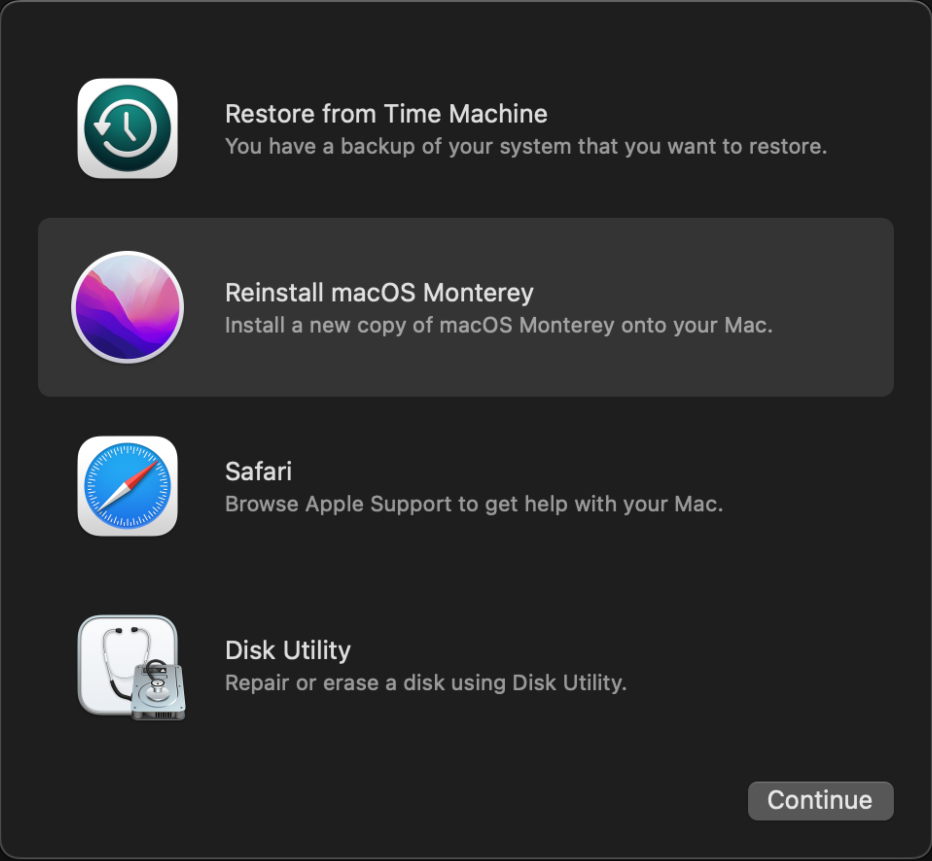
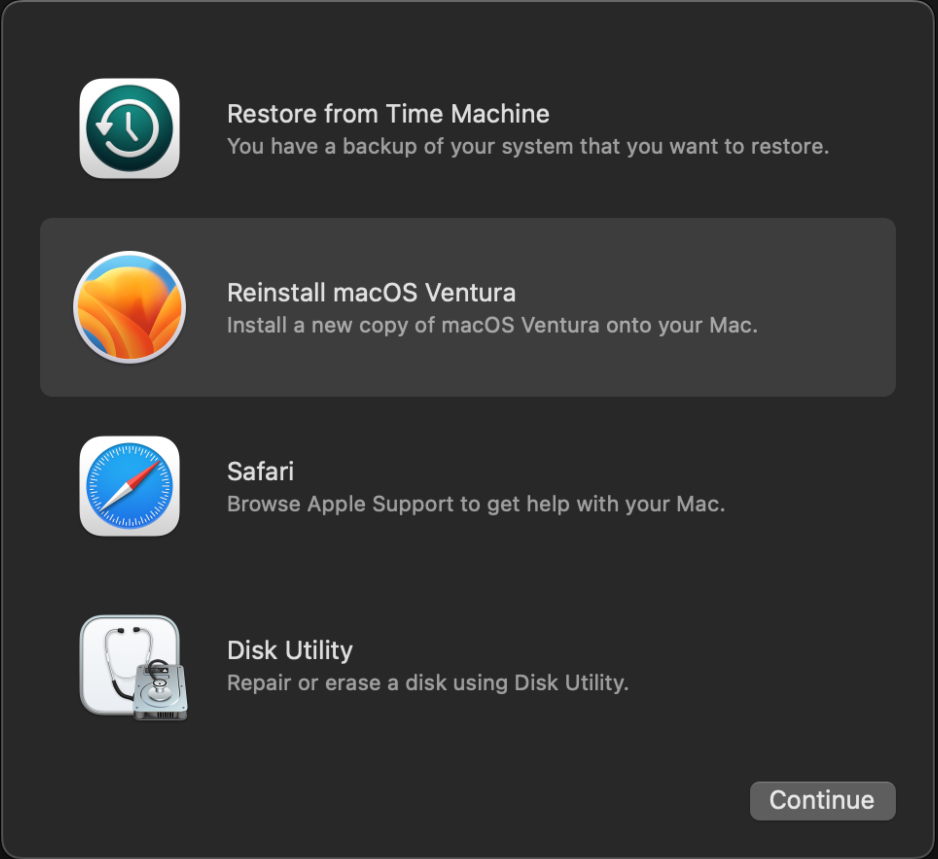
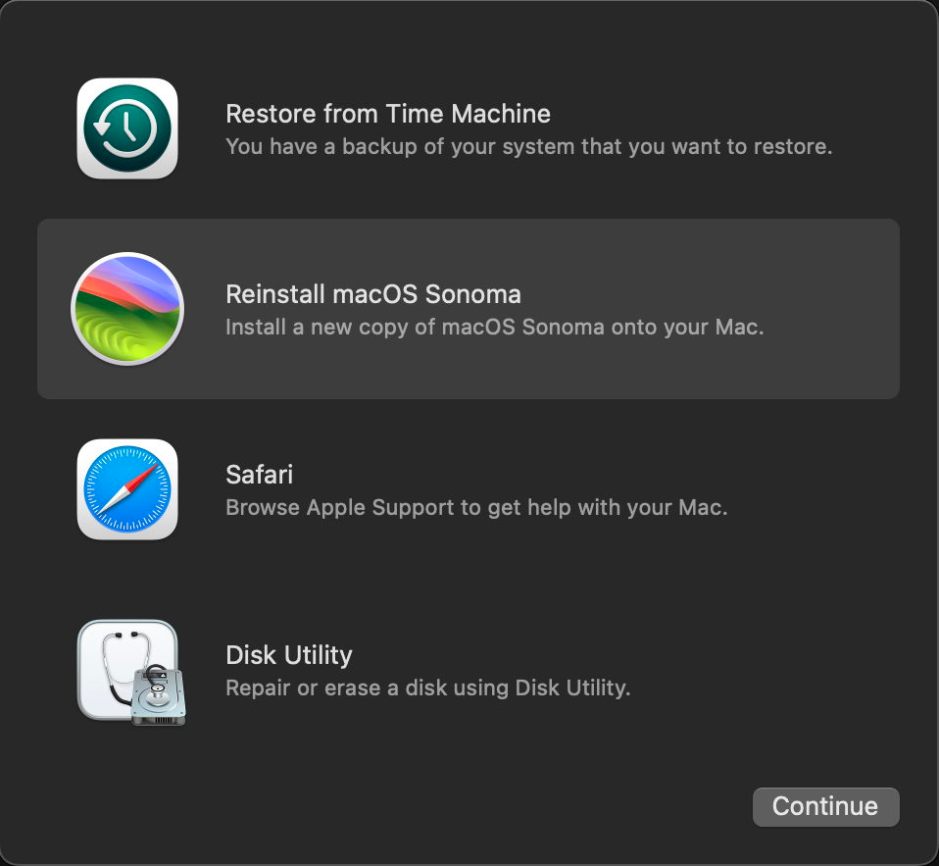
Recovery reinstall
Apple now recommends that both architectures of Mac should be shut down as needed before starting them up in Recovery mode.
To start up an Apple silicon Mac into Recovery, press and hold its Power button until the startup options appear on the display, select the Options icon and click on the Continue button that appears below it. Select the appropriate admin user and enter its password and you should be offered the main Recovery menu, where you can reinstall the version of macOS being offered.
Intel Macs follow a similar pattern when you press and hold the correct combination of keys for the Recovery mode you want.
Recovery reinstalls are reliable at preserving the Data and any other volumes on the internal SSD. Just in case anything does go wrong in rebuilding the boot volume group, you can always restore or migrate from your backup.
Installer app reinstall
Apple provides a list of links to App Store copies of macOS Installer apps, and Mr. Macintosh lists downloadable installer packages for each version currently available. They’re also available through the softwareupdate command tool. While those Installer apps should normally preserve your existing Data and any other volumes, there’s a higher risk that you could end up having to restore or migrate from your backup. However, the most common problem is that macOS refuses to let you downgrade using an Installer app. If your Mac is running Sonoma, for example, that might refuse to allow a Monterey Installer app to run.
Bootable installer
To make a bootable installer, you need a copy of the Installer app for that version of macOS (obtained as above), and an external disk to turn into a bootable installer. Traditionally those have been USB Flash ‘thumb’ drives, but could equally be on an SSD or other disk, which I prefer. Most importantly, that drive must be formatted not in APFS, but using Macintosh Extended (HFS+), although that could be a small HFS+ partition alongside a large APFS container if you wish. Apple provides instructions for preparing the drive, and there are some utilities to do that if you prefer.
Once again, the procedure for using your bootable installer varies according to the architecture of Mac.
Apple silicon Macs don’t actually boot from the bootable installer, but run it from Recovery mode. To do this, shut the Mac down, connect the bootable installer, then start the Mac up in Recovery with the Power button held until Options appear. One of the volumes shown there should be the installer; select it and click Continue underneath it. The installer should then open and run normally from there.
There’s a catch with Intel Macs with T2 chips too: to enable them to start up from that bootable installer, you first need to start them up in Recovery mode, and configure Startup Security Utility from its menu to allow them to boot from external and removable storage media. After that, shut that Mac down, connect the bootable installer, and start it up with the Option key held. This shows the bootable volumes, from which you select your bootable installer, and press Return.
For many Macs, that’s now the only way to downgrade them, perhaps going from Sonoma to Monterey. It also carries a higher risk that a fresh boot volume group will be made, and you’ll end up having to migrate or restore from your backup.
DFU Restore
Often viewed as the ‘nuclear option’, DFU Restore is unique to Apple silicon Macs, and can be the quickest and most complete way to restore a Mac to its former state. The end result is that Mac is returned to the same factory fresh condition as when you unboxed it, with your choice of macOS and matching firmware. It’s a hairy procedure the first time you do it, but as many sysadmins have discovered, it can become quite routine. As it completely wipes the internal SSD of that Mac, you will always have to migrate back the contents of its Data volume from your backup.
To do this, you need a second Mac, which needs to be modern, and capable of running Apple Configurator 2, the free app from the App Store to perform the surgery. Sonoma can do this from the Finder, but the app’s Help book includes a comprehensive guide to the procedure that you’ll want to have available anyway.
The outline is that you put your Apple silicon Mac into DFU mode, connected to your controlling Mac with a USB charging cable (not a Thunderbolt 3 or 4 cable). Apple Configurator 2 then downloads and installs the IPSW image file of your choice to your Apple silicon Mac, a process which reformats its internal SSD, replaces its firmware, and installs a new boot volume group containing your chosen version of macOS. When that Mac starts up, it then goes through the personalisation and setting up it would if new, leaving you to update macOS as you wish, and migrate your data back to it.
This might appear to be a lot of work, but it usually proves quicker and less fiddly than trying to use a bootable installer.
Mr. Macintosh maintains a comprehensive list of links for all IPSW images available from Apple. Note that Apple doesn’t provide them for security update versions: if you want to return your Apple silicon Mac to macOS 13.6.4 or 12.7.3, then you’ll have to restore the nearest available version and use Software Update to bring it up to date with security updates.
Preparing your Mac for disposal
One very good reason for reinstalling macOS in the past has been when preparing to pass your Mac on to someone else. While you should still do that if it’s an Intel Mac without a T2 chip, models with T2 or Apple silicon chips now offer a much quicker and better way, using Erase All Contents & Settings, or EACAS.
So the next time that someone tries to tell you that you can’t downgrade a Mac, particularly an Apple silicon Mac, you now know better.
