
In a few days many of us will be upgrading to macOS 14 Sonoma. I thought it might be interesting therapy to revisit the last few years of macOS upgrades, to remember how much fun they’ve been, and how this year’s really isn’t the largest, slowest, or worst, not by a long way. Words are mine, from my articles published here at the time.
30 September 2015: El Capitan
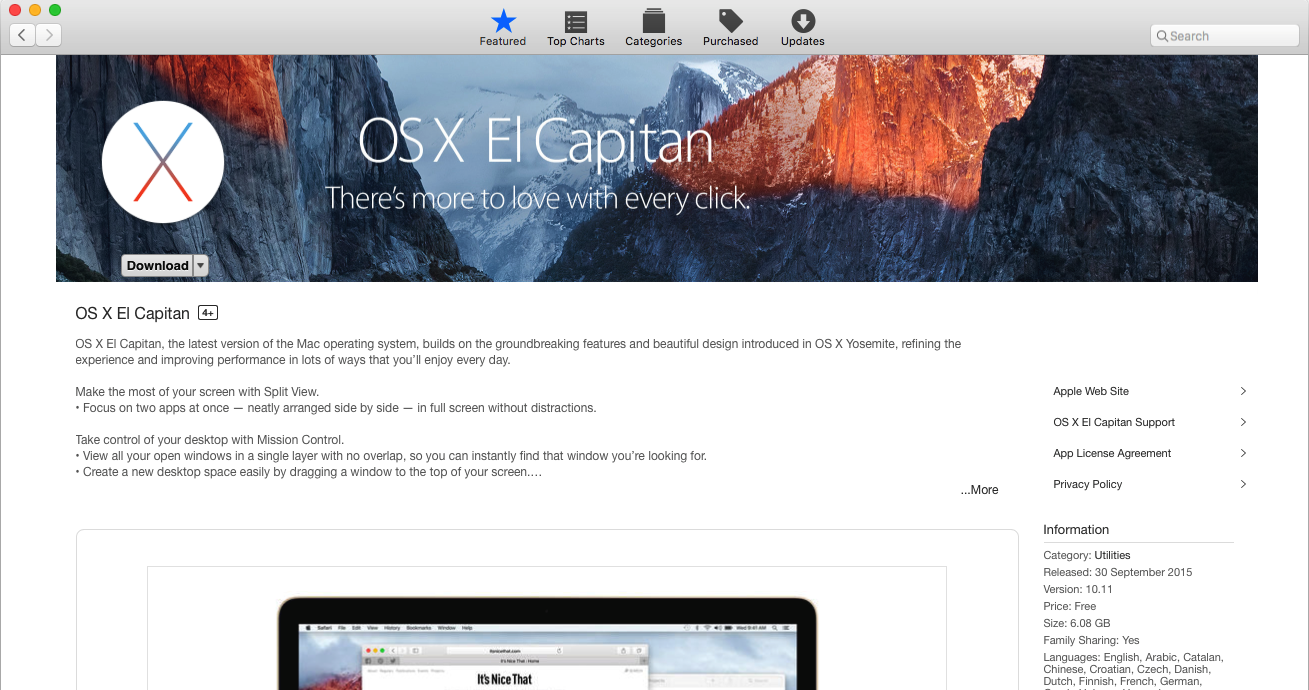
You need to allow ample time for that installation. It looks like it does a lot of file moving, and some users will find that parts of the installation will take very long periods, even a couple of hours or more. As I reported earlier, the progress bar is a very unreliable estimate of outstanding time to install. In fact I lost time estimates altogether for the last and longest phase.
If you cannot hear disk activity, and the installation has been running for at least an hour or two without any change in the progress bar, you can try pressing Command-L to get it to list what it is doing. I found this unreliable, but when that works it can reveal that the installer is still working furiously even though you might think it has ground to a halt.
If you are completely convinced that it has stopped, and your Mac appears a lost cause, hold the power button down to shut it down, then start it back up. I had to do this very late in the install when the progress bar was getting close to completion, but nothing had happened for a couple of hours (we went shopping!). Chances are that when your Mac starts up again it will resume the install correctly, and all of a sudden it will be back again.
20 September 2016: Sierra

Installation starts with a pre-install phase which runs for a minute or two under your existing version of OS X, in which the install payload is probably extracted and decompressed from that disk image. Do not be tricked into thinking that the whole install will only take that minute or so: you should allow at least half an hour, and up to an hour or more, depending on your Mac, etc.
You are then prompted to restart, or to let your Mac restart automatically after a minute. That is the time to quit any other apps such as the App Store, although the installer will happily quit them for you if you prefer.
The main installation will vary according to your Mac and many other factors, and may involve multiple restarts accompanied by startup chimes. On this iMac17,1, it went as follows:
- startup chime, main install phase with progress bar and time to complete, lasting around 22 minutes, on a black screen
- no startup chime, but a fresh black screen and new progress bar (no time) lasting about a minute
- no startup chime, but a fresh black screen with progress bar (no time) lasting another 2-3 minutes
- no startup chime, but a fresh black screen with a progress bar and time to complete, for a software download which was probably the updated Xcode command line tools (which only Xcode users should experience), followed by a brief completion of the same progress bar
- new screen inviting you to enter the password for your Apple ID to complete installing iCloud; if you don’t use iCloud you can skip this
- short setup dialog
- loading of Finder, etc., without any selection of user or entry of password.
25 September 2017: High Sierra

If you suspect that something has gone wrong during the download or installation phase, use the Installer Log command in the Window menu to see what the installer is up to. My first attempt at installation died quietly after downloading the first third. As its log confirmed its inactivity, I quitted the installer app, opened and ran it again.
The installation is a succession of black screens, white Apple logos with progress bars which behave weirdly, and little accurate user feedback. I counted at least five different progress bars, of which only one had any vaguely useful time estimate, and most had none at all. You’ll know that you have reached the end when a grey screen appears: that signals the start of configuration and migration. Here, that took 15 minutes from the start of the installation phase, but that does not include any conversion to APFS.
You are given no option as to whether to convert the install disk to APFS, and on this iMac, the installer made the wrong decision, if Apple’s ‘rule’ is to be believed. As I was installing onto an external SSD, I had expected it to be converted to APFS from HFS+. It wasn’t, and there is now no easy way to perform that conversion, except perhaps by starting up in Recovery mode. However, if your internal boot drive is an SSD, expect it to be converted to APFS – no choice. I do not yet know whether this is fixed in the second version of the installer.
The installation itself went fairly smoothly, but migration (of limited data from my internal Fusion Drive) was a dismal failure. The migration progress dialog is full of bugs, and never completed.
24 September 2018: Mojave

If you have an iMac 27-inch Late 2012 with a 3 TB hard disk and a Boot Camp partition, you must remove that partition before you can install Mojave, according to an Apple support note just published. Other models and configurations are not, apparently, affected.
If you are upgrading a ‘cheesegrater’ Mac Pro (Mid 2010 or Mid 2012), Apple provides detailed instructions for those models at this page, which lists compatible graphics cards. This requires turning FileVault off before upgrading, and ensuring that you upgrade only from High Sierra 10.13.6 rather than any earlier version of macOS.
Many users with MacBook Pro 2018 models with the T2 chip are reporting that upgrading fails towards the end of the process. Recommendations which have proved successful for some include resetting the SMC prior to upgrading, and reinstalling High Sierra in Recovery mode before trying the upgrade. If you have problems, you would be wise to contact Apple Support for their latest solution.
I have so far installed it on my MacBook Pro 2017, as an upgrade from High Sierra 10.13.6 (it has been running Mojave betas from an external SSD). On this Mac, the installation sequence took just under half an hour in total, passing through the following stages (elapsed times in minutes:seconds from the start):
- installer splash screen – this is the point to ensure you make a copy or three
- licence agreement
- choice of installation disk
- 00:00 “About 9 minutes remaining” according to installer window in High Sierra
- 02:25 restart to black screen, then white Apple logo and progress bar
- 03:25 grey screen, then black with Apple logo and progress bar “About 36 mins remaining”
- 17:05 brief black screen, back to progress bar as before
- 18:00 blink black, back to progress bar
- 18:20 “About 16 mins remaining”
- 28:30 complete.
Your times and stages may well, of course, vary, particularly if the installer is converting a large Fusion Drive to APFS. It’s also heartening to see the Installer using the privacy protection system too.
7 October 2019: Catalina
The installer has to be smarter when dealing with clean re-installs, and their variations. Apple has proposed a scheme whereby clean installs should be preceded by the user deleting the existing Data volume and erasing the System volume. But in many (perhaps all) cases, this doesn’t actually work, at least in versions of Catalina up to and including 10.15.2. When the user tries to erase the current System volume in local Recovery mode, that operation fails because:
The volume "Macintosh HD" on disk2s5 couldn't be unmounted because it is in use by the process 734 (kextcache)
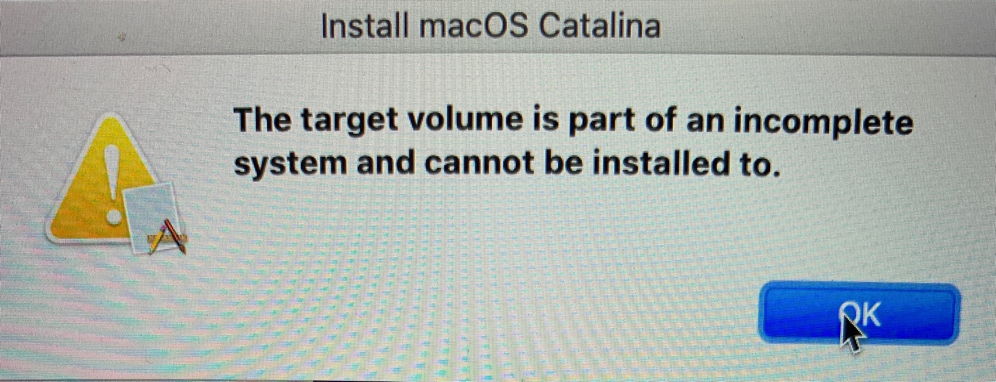
If you ignore that error and press on with trying to re-install Catalina, the installer refuses, reporting that “The target volume is part of an incomplete system and cannot be installed to.”

The only way to erase your System volume is to restart into Recovery mode and try to erase it again using Disk Utility, repeating this cycle of restart-erase until you are finally successful. Only then, with the System volume fully erased, will the installer be able to proceed.
This is counter-intuitive, undocumented, and worryingly common: probably the most commonly reported error when installing Catalina is the creation of duplicate Data volumes, and some users have encountered not only Macintosh HD - Data - Data but the absurd Macintosh HD - Data - Data - Data, each of which has to be deleted when trying to rectify these problems in Recovery mode.

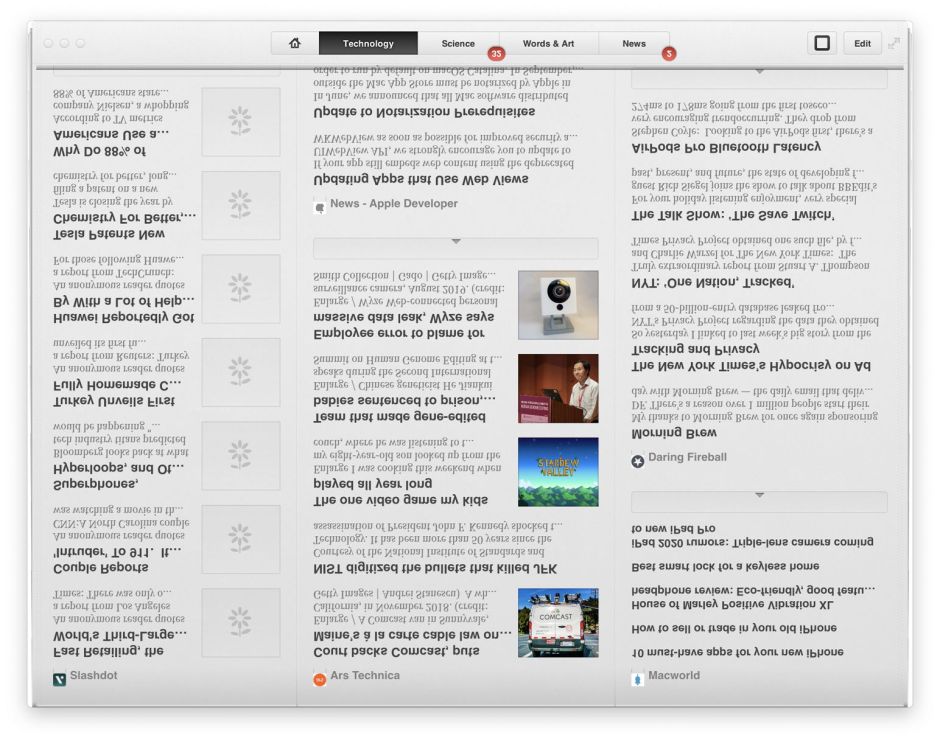
One peculiar bug which I have now come across in two quite different apps results in their displaying some or all of the contents of windows upside down and in mirror-writing, as shown below.
12 November 2020: Big Sur (11.0.1)
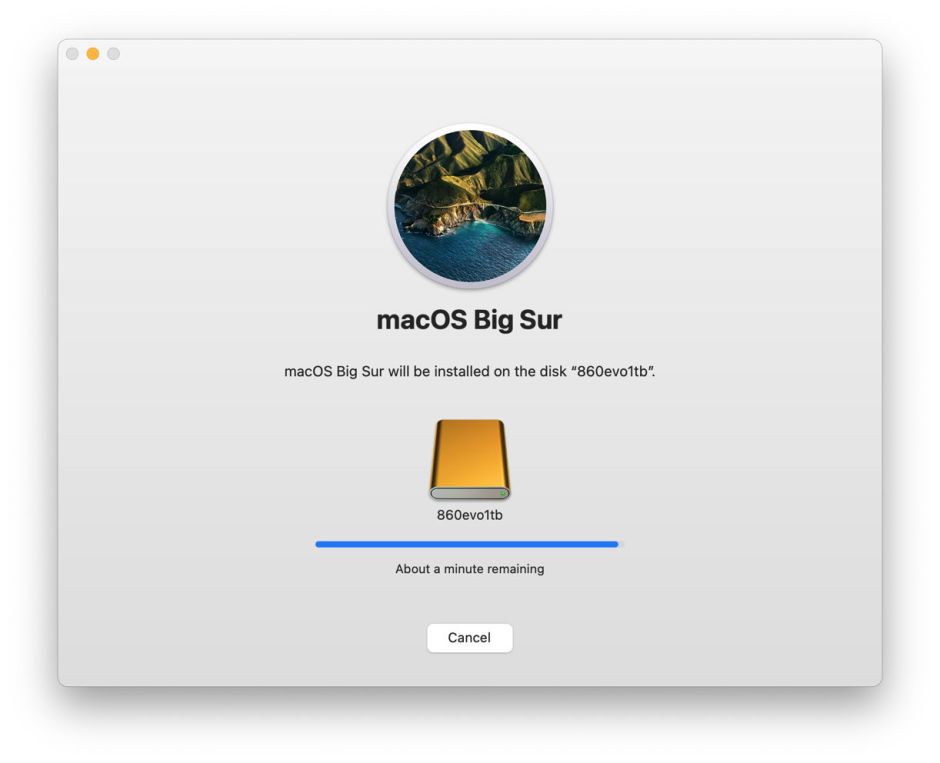
If you’re trying to download today’s upgrade to Big Sur, I’m afraid that Apple’s servers – Big Survers maybe? – have gone on pause in many parts of the world at present. As a result, your attempts may fail. I’m afraid that I’m giving up for the night now, as both the systems I want to upgrade are eliciting the same failures repeatedly. Can things get better on Friday 13th?
Postscript
Apple has apparently fixed that service, but for the time being the Big Sur upgrade is likely to remain unavailable. It’s hoped it will be restored some time in the coming hours.
Thursday’s software update service failure was accompanied by other service failures, including iMessages, OCSP (at ocsp.apple.com) which caused widespread inability to launch apps, even the Developer Documentation service. And it wasn’t even Friday 13th.
25 October 2021: Monterey (12.0.1)

If you’ve just got one of the new M1 Pro or M1 Max MacBook Pros, Apple strongly recommends that you install this update as soon as possible. It fixes several significant issues in the otherwise-unreleased Monterey 12.0 which comes pre-installed on the first shipments of these new Macs.
If your Mac is currently running Big Sur, then I strongly recommend that you upgrade to Monterey soon. Big Sur hasn’t had any non-security bug fixes since 11.5.2, which was released on 11 August, over two months ago. Many of those bug fixes are included in Monterey, as are all the latest security updates.
Upgrading from earlier versions of macOS will inevitably be more traumatic, and there’s a greater risk of things going wrong. However, I still believe that if you can break free from 32-bit apps and Mojave (or earlier), the new Sealed System Volume and other structural features in Monterey are well worth the effort of upgrading.
There is, though, one warning of a potential problem when upgrading to Big Sur or Monterey from High Sierra, Mojave or Catalina. In some rare circumstances (presumably a bug in the older macOS) exceedingly large numbers of files in one of the working directories in /private/var/folders could cause the upgrade to fail completely. Mr Macintosh has full details of how to deal with this, and the quick test he recommends is running
sudo find /private/var/folders/*/*/C/com.apple.metadata.mdworker -type d | wc -l
in Terminal to check whether that returns a number greater than about 20,000. If it does, then follow the instructions he provides for dealing with this issue before you try to upgrade.
There are inevitably plenty of horror stories already about upgrades that went badly wrong. What you never hear about are the vast majority which complete without glitch or hitch. If you do experience any problems, the first thing to do is restart your Mac. If that doesn’t clear the problem, then try starting up in Safe Mode, leaving your Mac a couple of minutes, then starting back in regular mode. Further suggestions are given in this article.
24 October 2022: Ventura

If you’re upgrading from macOS Monterey 12.3 or later, Ventura doesn’t come as an upgrade, but a smaller update instead. This greatly reduces the download, and seems to shorten the time required to update, but it can also have its snags.
The most obvious is for those who don’t want to update their current Monterey system, rather install Ventura alongside it, or on a different disk. Those require that you download a full installer, but if you use Software Update you’ll be served the update and it will replace your current system. If you’re unsure what Software Update is downloading for you, the full installer is slightly more than 12 GB, whereas the updater should be no more than about 6 GB.
The Ventura upgrade or update may surprise you, in that it leaves your Mac’s security data in something of a mess, as it:
- removes MRT altogether;
- downgrades XProtect Remediator to version 62;
- as a result of that downgrading, any subsequent scans by XProtect Remediator will return abnormal results. If you check them using SilentKnight or XProCheck, they may count as warnings, or be shown with yellow triangle signs. That’s normal with version 62, and once it has been updated again they will eventually go away.
If you don’t have automatic updates enabled, you’ll need to use SilentKnight to restore MRT and XProtect Remediator to their former glory.
Another oddity you may encounter, if it hasn’t been fixed, is being offered an update to Pro Video Formats which can’t be installed because it’s lacking a signature. That resolves if you update Final Cut Pro or another of Apple’s media apps through the App Store.
If your Mac seems odd after the update, try restarting it, and if that doesn’t help, start it in Safe mode, leave it a couple of minutes, then restart it.
26 September 2023: Sonoma
We’ll see.
