
While we’re looking at external storage for M1 series Macs, let’s also consider which are suitable for use as external bootable disks.
Don’t do it
Before going any further, allow me to reiterate: unless you’ve got a compelling reason, only ever boot your M1 Mac from its internal SSD. That’s how it’s designed to work, and that’s how it works best, even when it’s not working properly.
Unlike Intel Macs, M1 models always start their boot process from their internal SSD. Unless you perform serious surgery on them (don’t!), there’s simply no other way that you can start them up.
If your Mac has a problem, it’s designed so that you should be able to boot it into Recovery, by pressing the Power button until the display shows that it’s loading Options. From there you have access to all the standard tools, including diagnostic testing. If the fault or failure is so great that it can’t be put into Recovery, then you’re most unlikely to be able to get it to boot from an external disk, and will either have to put it into DFU mode for a refresh or restore using Apple Configurator 2, or hand it over to an Apple technician to diagnose. External boot disks don’t add anything here.
The best reasons that I know for wanting to boot an M1 Mac from an external disk are when you need to be able to run several different versions of macOS, perhaps for testing purposes.
One last warning: don’t try cloning its internal SSD to an external disk ‘so that you can boot from that’. Sometimes you can get away with it, but the best way to install macOS on any bootable external disk is using its installer app, and not cloning.
If you really want to
I’ve already explained how to do this here. The short outline is:
- Download the desired macOS installer app and put it in your main Applications folder.
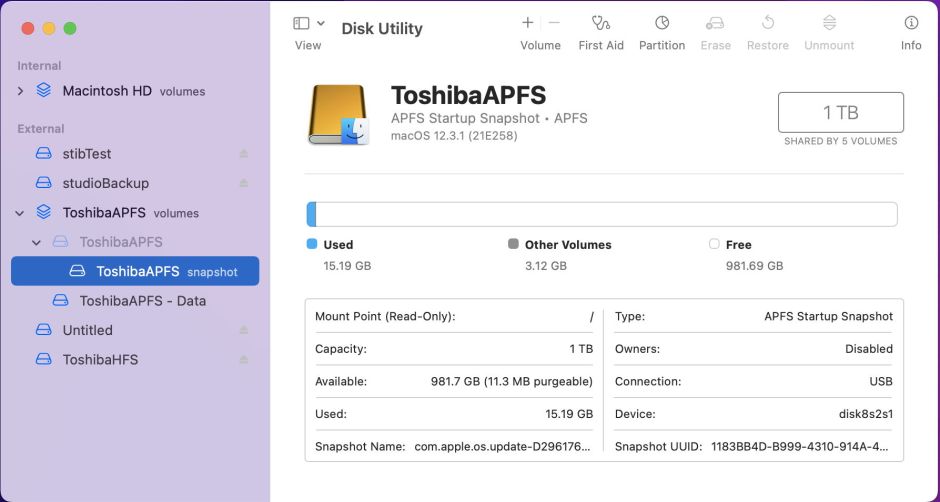
- Connect your external disk and format it in APFS format using Disk Utility, or use an existing APFS volume there.
- Run the installer, and point it at your external disk when it asks you where you want to install macOS.
- When prompted, make the current user the owner of the external bootable system.
- If possible, make that same user the primary admin user too.
- Follow the installation and personalisation steps as normal.
What isn’t always self-evident is which cable to use, and which port to connect it to. For these tests, I used:
- A Samsung X5 500 GB SSD connected using a 0.8 metre CalDigit TB4 cable to one of the four Thunderbolt 4 ports on the back of my Mac Studio Max.
- A Samsung 980 PRO 1 TB PCIe 4.0 M.2 SSD installed in a Sabrent Thunderbolt 3 Certified M.2 NVMe SSD Solid Aluminium Enclosure (EC-T3NS), connected using the same TB4 cable to the same TB4 port.
- A Crucial 1 TB SATA/USB SSD in a UGreen USB 3.1 gen 2 compliant case, connected using the same TB4 cable to the same TB4 port.
- A Toshiba Canvio 2 TB hard disk (yes, a rotating hard disk) connected using its own supplied cable to the same TB4 port.
With USB disks, you may get as good results with a USB 3.1 gen 2 compliant (data) cable to a USB-C port, such as those on the front of the Studio Max. However, I doubt whether you’ll find this works reliably with disks connected to external hubs or docks, including those on the back of the Studio Display.
Do they work?
Yes. I had no problems with failed installations, and once installed, the Studio booted reliably from the boot disk.
How fast/slow?
Measuring the time in seconds between when I pressed the Power button to the appearance of the Login window resulted in cold boot times of:
- internal SSD – 15 seconds (SSD read/write about 7 GB/s)
- Samsung X5 – 20 s (read/write about 2 GB/s)
- Samsung 980 + Sabrent case – 18 s (read/write 1.5 GB/s)
- Crucial SATA/USB – 38 s (read/write 300-400 MB/s)
- Toshiba HDD – 100 s (read/write 150 MB/s).
The first three felt ‘normal’ in use, and were hard to distinguish. The SATA/USB SSD felt usable but sluggish at times, and showed the occasional spinning beachball. The hard disk was impressive, but not something that you’d use out of choice, only necessity.
Conclusions
- If you want to use your M1 Mac when it’s booted from an external disk, aim for a Thunderbolt 3 device returning at least 1 GB/s read and write speed, faster if possible.
- For brief periods, in emergencies, or for breaking the ice at parties, M1 Macs will boot from hard disks or slower SSDs.
- Fastest and most reliable is the internal SSD. It’s what they’re designed for.
