
So in a week (25 October) you’ll be starting to explore the many new and improved features in Monterey. Although its release doesn’t bring the huge structural shifts of the last few major versions of macOS, there’s one quiet revolution which it brings to every Mac user: Shortcuts. If you’ve never made any progress with Automator or AppleScript, I recommend that you spend a little time exploring this new addition, as I think you may well like it. Shortcuts comes with an excellent user guide, which this first tutorial builds on to help you get started.
If you’ve already used Shortcuts on iOS or iPadOS, you shouldn’t be disappointed with its macOS implementation. Although there’s still some maturing to come, Shortcuts really is unleashed with the features of macOS.

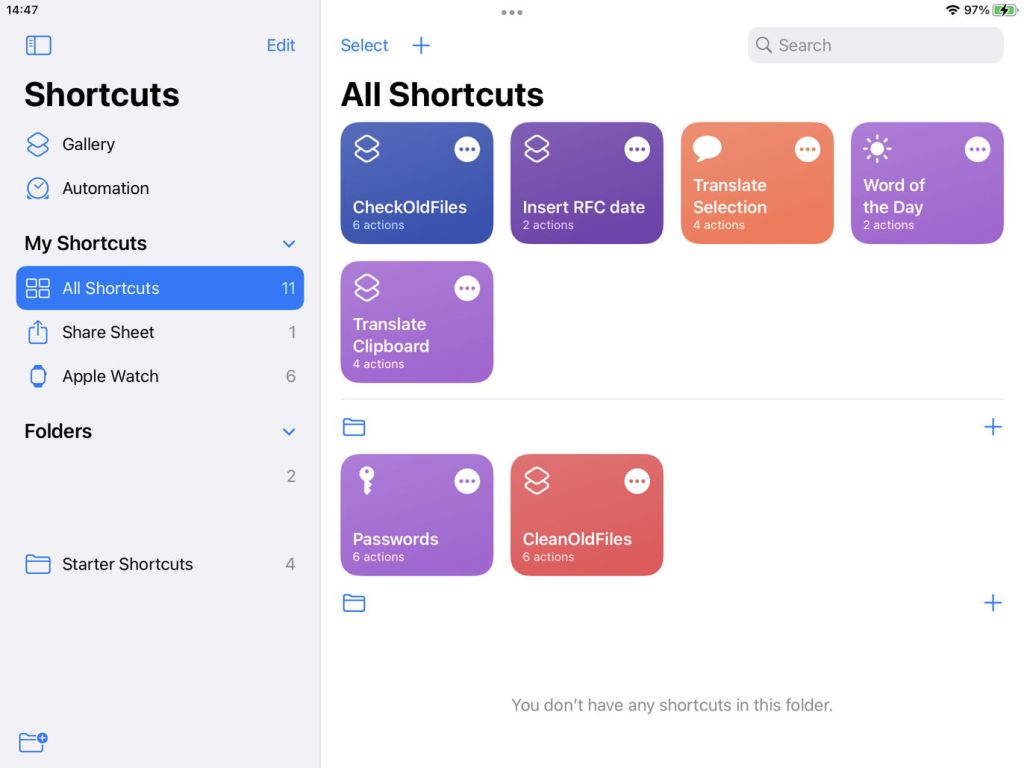
This is the iPadOS 15 interface, which is very similar to that in Monterey. Each shortcut is shown as a tile in the main part of the app’s window.

Double-click any shortcut to open it in the editor (again, very similar to this in iPadOS 15). Double-click or drag into place any action listed at the lower right to add it to the shortcut in the main part of the window. Select which actions to display using the categories shown. Switch to Apps instead of Categories and you’ll see actions supported by individual apps.
To close the shortcut editor, just click the red close button and the underlying main Shortcuts window will reappear.

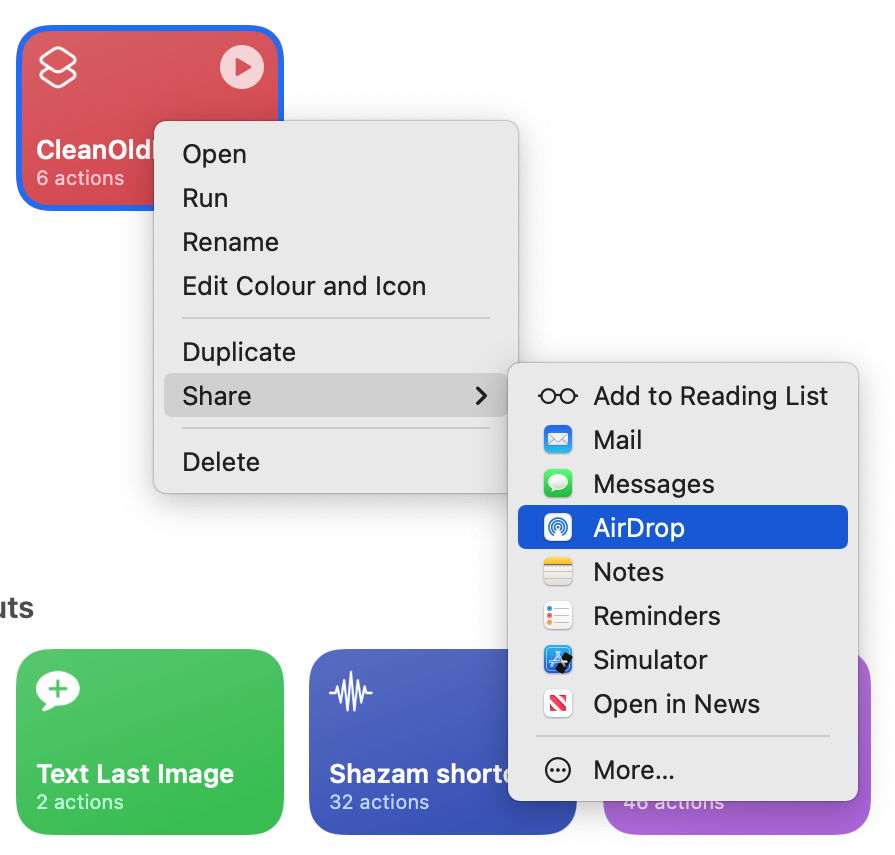
Select a shortcut and bring up the contextual menu. What you’ll probably see in Monterey isn’t as rich as that in iPadOS 15 (above) yet. Here I like the preview at the right, which hopefully will come to Monterey too.
One of Apple’s great concerns with shortcuts is to prevent them from becoming a security nightmare. If you currently use AppleScript or Automator to create apps for others to use, you’ll be aware of all the problems with signing and distributing them. For Shortcuts, Apple spares you those issues and provides a mechanism based on iCloud links and its Notary Service, which is transparent to the user.

In iPadOS, you can already copy the iCloud link to one of your shortcuts to send to someone else. This method of distribution works excellently: take a look at Federico Viticci’s Shortcuts Archive on MacStories, for example, where every shortcut is delivered from its iCloud link.
Let’s say you want to share a shortcut by AirDrop. In Monterey, select the shortcut, bring up the contextual menu, select Share then AirDrop.
You’ll then be prompted to create an iCloud link.
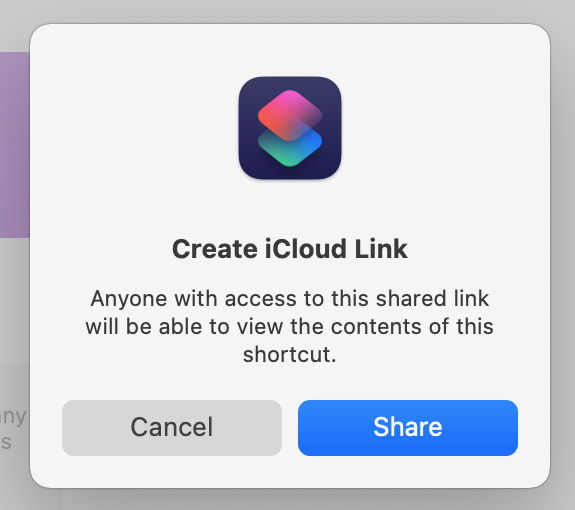
Once that has been done, you’re asked which system to send that link to. Simply select the destination, and the link will be sent to their downloads folder.

When you receive a link to a shortcut in iCloud, including those listed in the Shortcuts Archive on MacStories, clicking the link opens up Shortcuts, which invites you to add that shortcut to your collection. Earlier versions of macOS can’t do this, of course, and you’ll just see a browser error.

You normally don’t work directly with shortcuts files themselves, but if you want to export one for someone to import, you can do so using the Export… command in Shortcuts’ File menu.
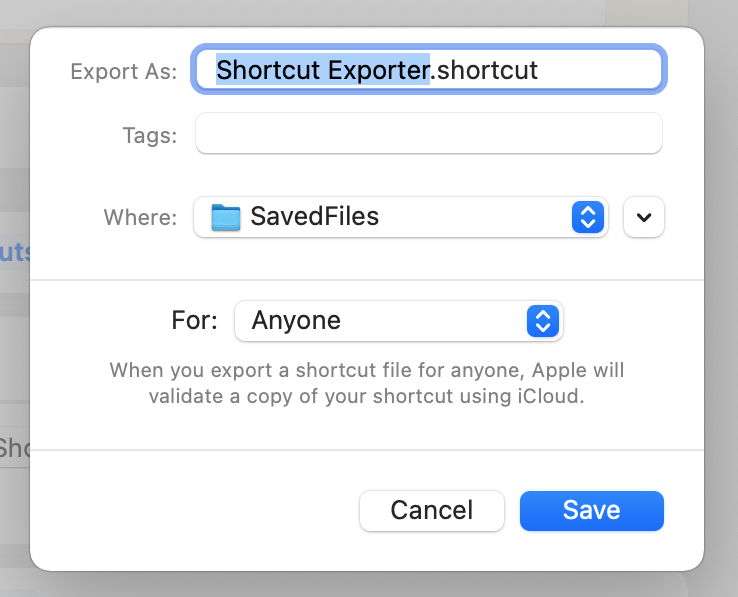
This generates a binary file with the extension .shortcut which can then be handled as a regular file, and imported into another copy of Shortcuts using the Import… command.
A .shortcut file isn’t a bundle, but a flat binary file containing embedded Apple security certificates, as the export process automatically passes it through an expedited notarization process via iCloud. These are signed using the identity of the person sending the shortcut, but you can also manually sign and resign them using the shortcuts command tool. That supports four subcommands:
run– run a shortcut, with options to specify input and output;list– list shortcuts, with options to specify folders;view– opens a shortcut in the Shortcuts app;sign– signs a shortcut.
In each case, you can see detailed help information by typing
shortcuts subcommand -h
where subcommand is the name of the subcommand to detail. You can also read man shortcuts.
Shortcuts on macOS also lets you import Automator workflows, using the Import… command, and run AppleScript, JavaScript and shell scripts within an action. Importing Automator workflows hasn’t been a great success so far, as many actions have been unsupported, causing the import to fail. Hopefully this will improve in coming updates.
Before you can run any kind of script in Shortcuts, you need to enable that feature in the Advanced section of Shortcuts’ Preferences. That also reveals that there are default constraints on the amounts of data which can be shared or deleted by shortcuts, which would also require overriding there.
Scripts are added to shortcuts using dedicated actions:
- Run Shell Script has options to set the shell, input, and whether to run as admin;
- Run JavaScript for Automation wraps your script in a
runfunction; - Run AppleScript wraps your script in an
on runcall.
Scripts can be chained, taking a previous script’s result as the input to the next script, if you wish.
I hope this whirlwind introduction to the basic features of Shortcuts in macOS has whetted your appetite, and given you sufficient information to start looking at some of the starter shortcuts, and those in Federico Viticci’s Shortcuts Archive on MacStories.
