
Taking screenshots used to be simple, and largely the preserve of developers and journalists. It seems to have become increasingly popular, and in Mojave can do a great deal more too. But for all the natty new flying thumbnails, it still has some annoying gaps. Here’s a look at what’s good, what options it has, and what it still can’t do at all.
For many years, I have used two types of screenshot: ⌘⇧3 for the whole screen, and ⌘⇧4 for a selected window. After pressing the latter shortcut, I tap the spacebar, and click on the window I want to capture.
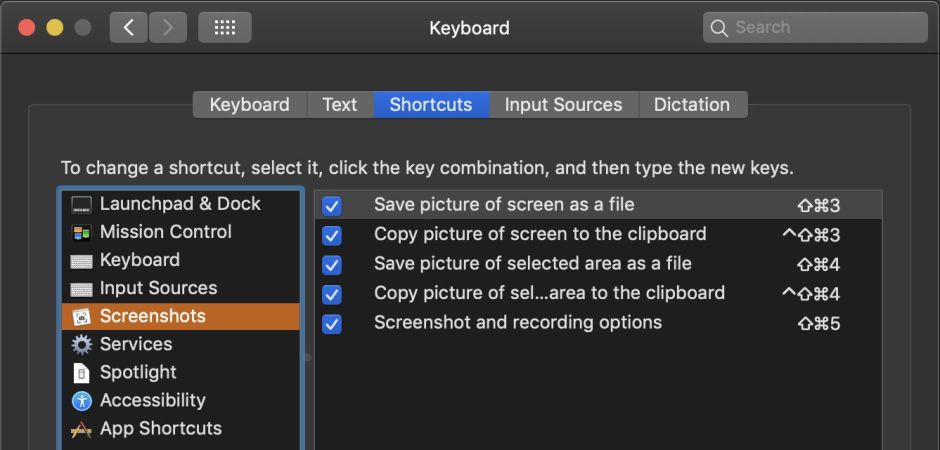
If you get confused as to which does what, macOS has its own summary in the Screenshots item of the Shortcuts tab of the Keyboard pane. If you’re still not sure what you want, or don’t want either of those common types, press ⌘⇧5 and you’ll open the whole Screenshot app from /Applications/Utilities.

This also gives access to some of the options now openly available, such as the location in which to save the screenshot, any time delay before taking the shot, and other preferences such as whether the pointer should be included.
There is one important option which still isn’t offered here: the image format to be used. Whether I’m taking shots for this blog, or for publication elsewhere, I stick with PNG, but you can change that in Terminal’s command line using a command such as
defaults write com.apple.screencapture type jpg
to use JPEG instead.
One odd behaviour here is in the save location. The Screenshots app doesn’t appear to like saving outside your Home folder. I’ve got much of my Home folder documents stored on an external drive, but it doesn’t seem happy for me to set that as the default location.
Another complication is that the standard preference settings shown above now appear to be divided across two Property Lists in your ~/Library/Preferences folder, one named com.apple.screencapture.plist, the other com.apple.screencaptureui.plist. Judging by their names, the first includes settings which affect both the Screencapture app (and keystroke shortcuts which invoke it) and the screencapture command tool, while the latter file only concerns the GUI app.
Both property lists set the path in which to save screenshots, the first in its location key (which may be echoed in location-last too), the latter in NSNavLastRootDirectory. The com.apple.screencaptureui.plist settings are mainly concerned with annotations, while the traditional com.apple.screencapture.plist is about more basic controls.
If you want to script your own screenshots, that command tool is a good way to go. It’s found in /usr/sbin and is also named screencapture. If you intend using it, examine its man page carefully, as it has a host of different options, including controls over which screen to capture in multi-display setups.
For most users, the two most important screencapture options are -T followed by the number of seconds of time delay, and -t to specify the format of the image file. A typical simple invocation might read
screencapture -T 5 ~/Downloads/screenshot1.png
which imposes a 5 second delay, takes a screenshot of the whole display (⌘⇧3 style), and saves it to the given file.
Although the screenshots command isn’t included in those supported directly in Recovery mode, it should be possible to call it from that mode all the same. This could then provide a good way of getting screenshots of tools provided in Recovery mode – only it isn’t. When you start up in Recovery mode, macOS only runs one app at a time. So you can open Terminal there, type in your command and – yes, take a screenshot of Terminal. To switch to Disk Utility or macOS Installer, you then have to quit Terminal and open that app instead.
The other option for capturing images of Recovery mode might be to connect using ssh. However, that isn’t straightforward, as according to the man page you need to know the process ID of the loginwindow process to build a command of the form
sudo launchctl bsexec $PID screencapture …
where PID is the process ID of the loginwindow.
I confess that, at that point, I gave up trying. Yes, we have flying thumbnails and some easier access to screenshot settings. Movie recording, accessed through ⌘⇧5, is really good too. But it’s back to ⌘⇧3 and ⌘⇧4, and no answer to getting screenshots in Recovery mode after all.
