

Even if you don’t use Dark Mode in Mojave, it’s common to need to make a document which displays properly in both Light and Dark appearance modes. I keep coming across examples where the best-intentioned efforts have failed. This article looks at what you can do to ensure that your reader isn’t trying to pick out black letters from a dark grey background, and cursing your incompetence.
My example comes from an excellent well-known free app, which has just been updated. In its Help menu, and shown proudly as a banner when opening the app, is a window displaying its release notes in Rich Text.
When that Rich Text is previewed in Dark Mode using QuickLook, it looks fine.
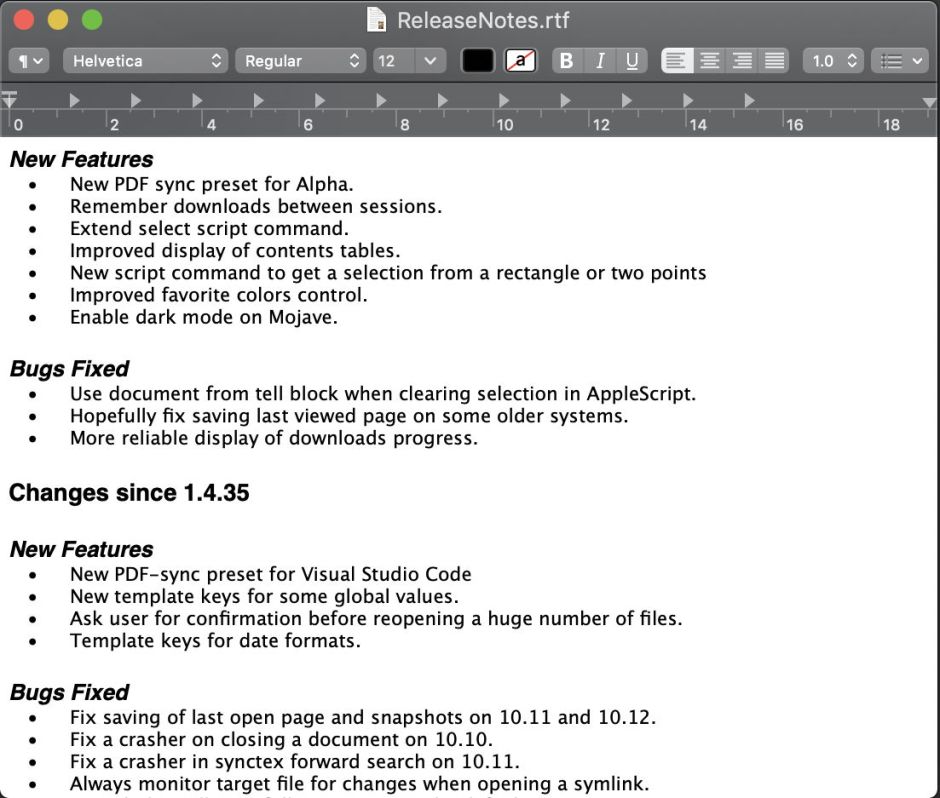
When viewed in TextEdit in Dark Mode, it also looks fine.
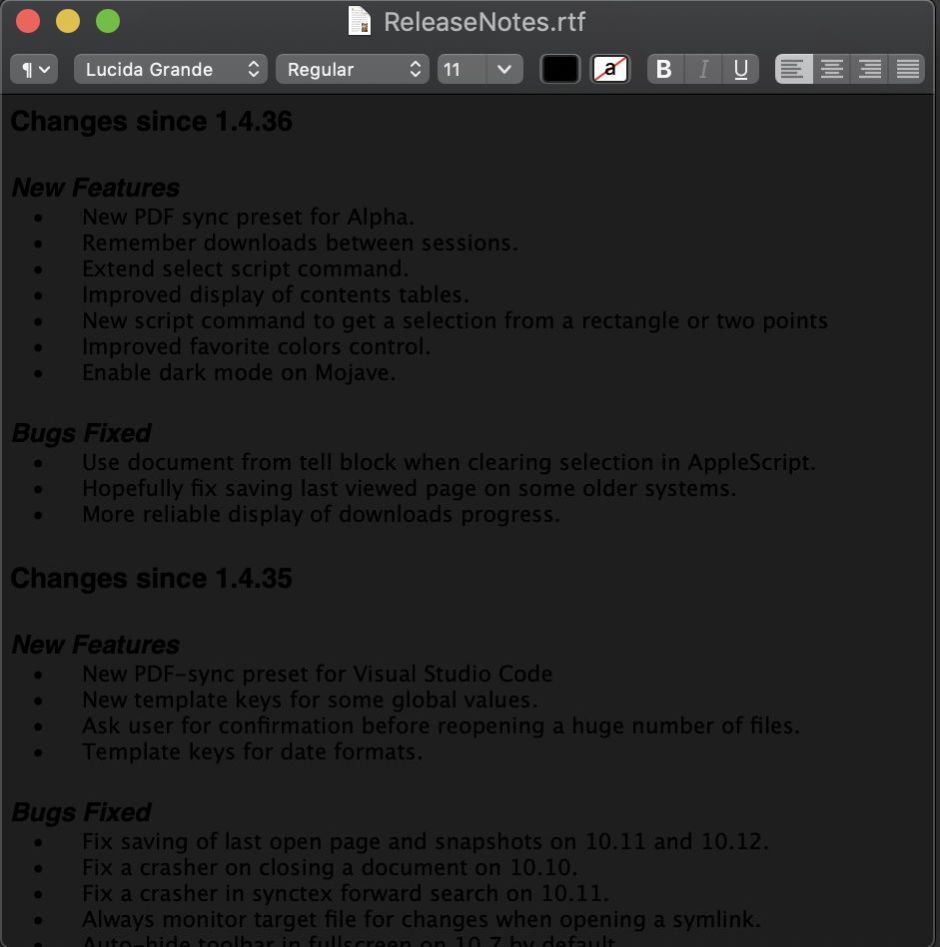
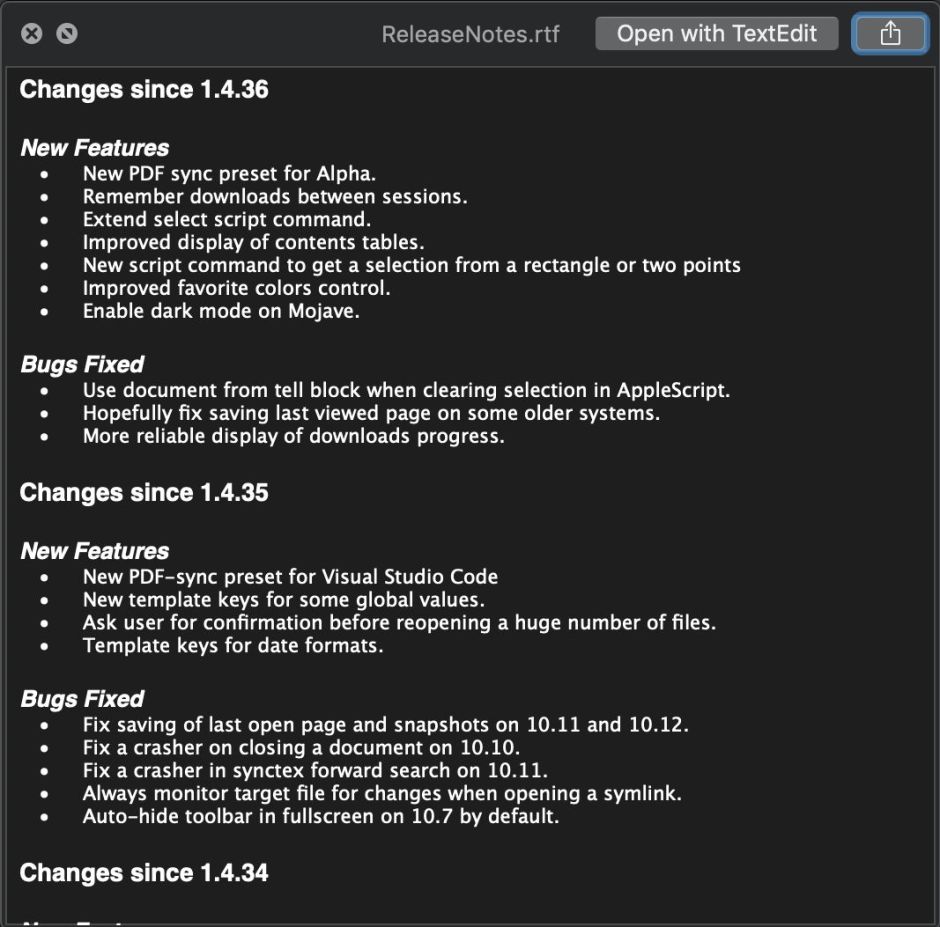
But when the app actually splashes it across a display in Dark Mode, or you open it in my free RTF editor DelightEd and put that window into Dark Mode, the text clearly isn’t set in the correct colour.

Open the RTF using a good text editor such as BBEdit, and you’ll see why it doesn’t display correctly in Dark Mode: the header contains a regular colour table colortbl, but its expanded colour table expandedcolortbl is empty:
{\colortbl;\red255\green255\blue255;}

{\*\expandedcolortbl;;}
Look at the RTF source of DelightEd’s readme, and you’ll see something like
{\colortbl;\red255\green255\blue255;\red0\green0\blue0;\red5\green68\blue254;\red0\green0\blue0;

\red255\green255\blue255;\red5\green61\blue204;\red46\green111\blue253;\red26\green26\blue26;\red255\green255\blue255;

\red168\green24\blue75;}

{\*\expandedcolortbl;;\cssrgb\c0\c0\c0\cname textColor;\cssrgb\c0\c38136\c99824;\cssrgb\c0\c0\c0;

\cssrgb\c100000\c100000\c100000;\cssrgb\c0\c33896\c83855;\cssrgb\c22750\c53231\c99501;\csgray\c13536;\csgray\c100000;

\cssrgb\c72439\c17643\c36556;}
That entry
\cssrgb\c0\c0\c0\cname textColor;
in the expandedcolortbl is crucial, as that is the default colour to be used for text, which is rendered in black when in Light Mode, and in white when in Dark Mode. The secret to success in creating Rich Text which displays properly in both modes is knowing how to generate and use RTF which contains that expandedcolortbl entry, and setting your non-coloured text in it.
The easiest and most reliable way that I know to ensure that your Rich Text has the required entry in the expandedcolortbl is to create it using DelightEd. Open a new document in that app, type in a few lines of text, and switch between modes using ⌘-2 and ⌘-3. You’ll see that your text changes colour according to mode, so that it always remains readable. That’s because it includes that entry in the expandedcolortbl.
There is a problem, though: opening existing Rich Text files, and pasting in Rich Text, say from TextEdit, usually doesn’t make use of that entry. For example, open TextEdit and type a few lines in there, copy and paste it into DelightEd. When that window is in Light Mode, that pasted text looks fine, but switch to Dark Mode with ⌘-2 and it will become the dreaded black-on-grey.


This is because the foreground text colour shown in the colour editor doesn’t tell you whether the white/black you’re using matches that entry in the expandedcolortbl, or whether it just looks the same in one mode, but doesn’t switch colour when you switch mode.
The best way to work around this is not to paste into DelightEd’s window, but to use Paste and Match Style instead. If you’ve got an existing Rich Text document, open it in DelightEd, select all, copy, and then Paste and Match Style into a new document window. You’ll have to re-style all the content, but once that’s done and saved using DelightEd, you won’t have to do it again.
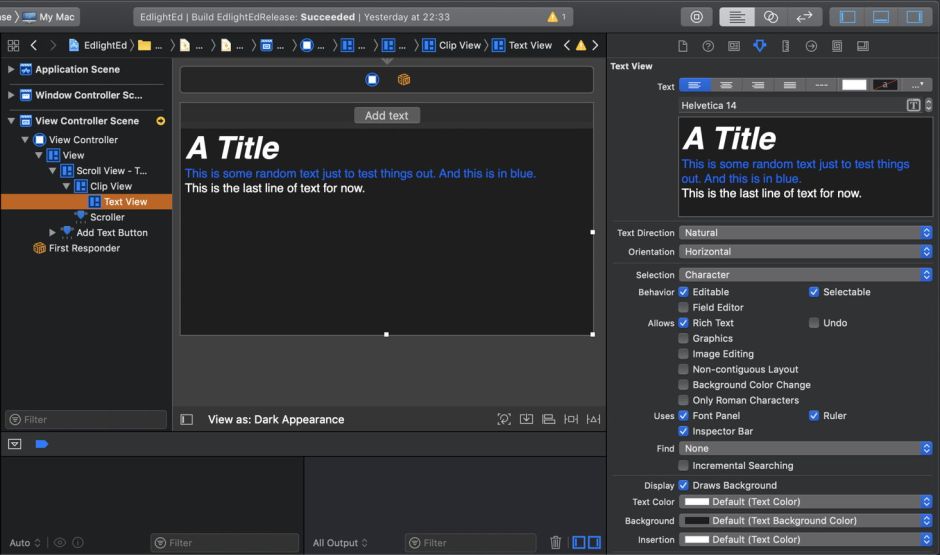
For some purposes, you might want to deliver this Rich Text in an app built using Xcode. That is simple once you have composed it correctly in DelightEd, and confirmed that it works properly in both modes. You’ll need Xcode 10 or later, with its full support for the appearance modes.
Select the NSTextView which is going to contain the Rich Text. Ensure that it’s set to allow Rich Text, with the Text Color set to Default (Text Color), and Background to Default (Text Background). Then copy and paste your Rich Text from DelightEd into the Text View at the top. Check that this still looks right in both modes.
The other problem that you may have is adding to that Rich Text from your app. The secret here is only to append (or insert) NSAttributedString content which has been set to use textColor:
let theStr = "\nThis is just an extra line."

let theAdds = NSAttributedString.init(string: theStr, attributes: [.foregroundColor : NSColor.textColor])

textView.textStorage?.append(theAdds)

If you don’t specify the attribute and just pass the string, or provide a different foregroundColor such as controlColor, then you’ll end up with text which doesn’t survive changing modes.
There are some further problems still. QuickLook thumbnails and previews don’t yet render Rich Text properly if it uses this type of expandedcolortbl, but TextEdit does, it just can’t generate its own properly, it would appear. Fully-grown Rich Text editors such as Nisus Writer Pro seem to handle these RTF files too. Of course, TextEdit and Nisus Writer Pro don’t offer a true Dark Mode yet.
Moreover, this all works with Rich Text (RTF), and not with Markdown, HTML, or PDF. The latter two haven’t yet found a good solution, so where you want styled text rendered in true Dark Mode, you’re pretty much tied to using RTF at present.
