

I’m just about to start a series of articles looking at some practical projects using apps like Storyspace and Tinderbox with Blowhole and Consolation. Before I go any further, though, I thought it might be helpful to make it easier to install Blowhole. Currently, you’d have to open Terminal and type in a magic formula to copy Blowhole into the right folder. A much friendlier way is to put the command tool in an Installer package.
What transpired was another object lesson in how developer tools have become byzantine in their complexity, and largely undocumented.
For a start, merely having a Developer ID certificate to sign your apps in Xcode is not enough to create an Installer package which will work in macOS Sierra. No, Sierra will only let you install specially signed Installer packages, and those have to be signed using a separate Developer ID Installer certificate from Apple.
My first task, then, was to obtain a Developer ID Installer certificate, which should have been simple using Xcode’s certificate management tool, tucked away in its Preferences. As that wouldn’t oblige, I had to connect to Apple’s developer site and obtain one manually, which involves a ritual dance involving browser and Keychain Access. Just follow the instructions and don’t ask any questions. Eventually I downloaded the certificate, double-clicked it to install it in my keychain, and there it was.
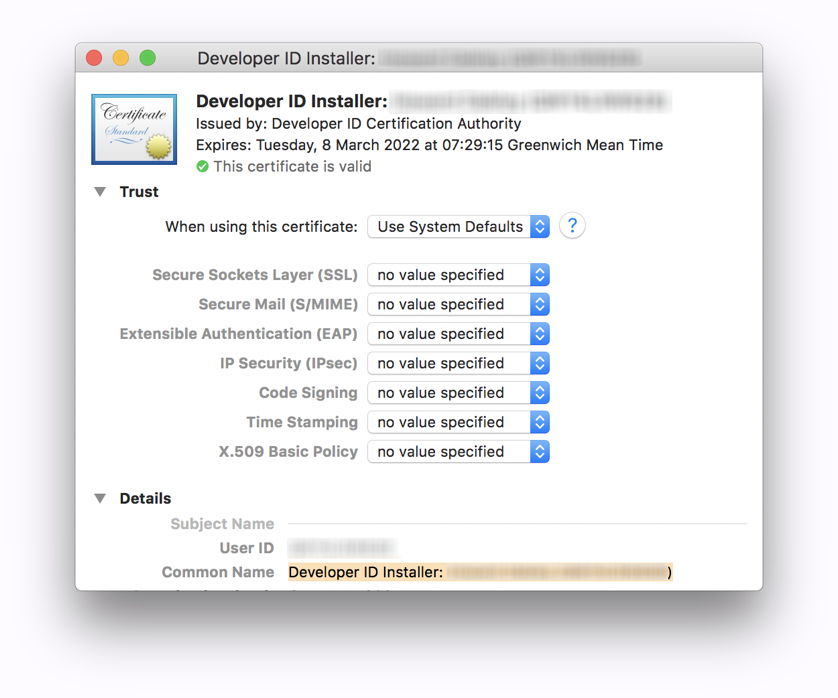
Once installed, you need to inspect it using Keychain Access, and make a note of its Common Name, as you will need that to sign the Installer package later.
The next step was another surprise: I had to create an Archive version of the command tool for packaging. I had assumed that versions built for Running were ready for delivery, but that is not so. So I followed Apple’s incomplete and outdated instructions to make an Archive version. Why Archive? – don’t ask any questions.
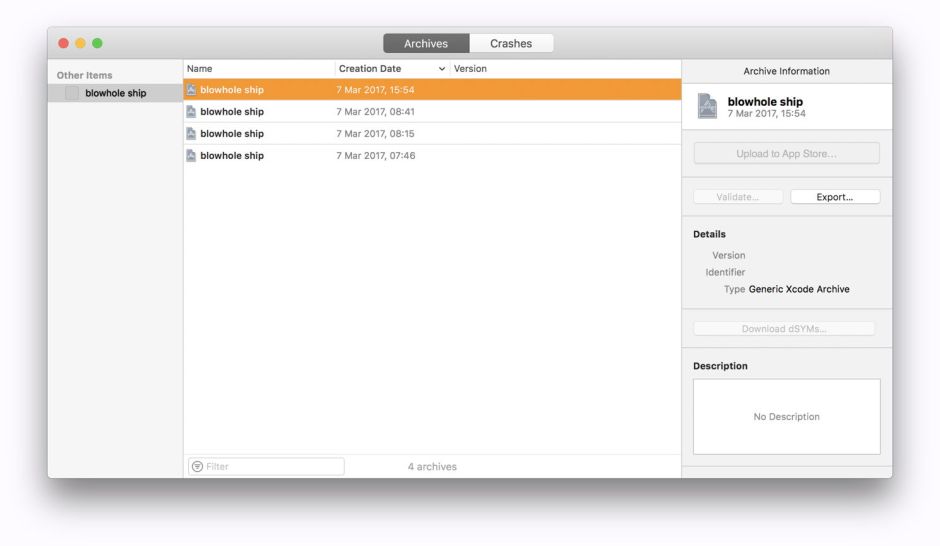
In Xcode, select the project, and use the Archive command in the Product menu to create an archive. This brings up the Archive Browser. Select that archive, then click on the Export… button at the right.

This gives you two options, of which you want Save built products. A sheet then drops down inviting you to choose where to save that. You end up with a nest of folders containing a clean release build of your product. That is what you need to build into your Installer package.
At this stage, those with a lot of time on their hands who fancy an intellectual challenge can do the rest of this at the command line, using The Grey Blog instructions. I admit that I cheated, and opted for Stéphane Sudre’s free Packages. You can browse its full help info here.
Packages is an excellent tool for building Installer packages, which I strongly recommend. Although it is quite old, it runs a treat on Sierra, but cannot itself sign packages to Sierra’s standards. That is no problem, though. What can be a problem is that it uses an unusual method of determining what it will install and where: it took me some time to understand this, and I hope this article will spare you the frustration of achieving this yourself. Once you have seen it, it is very neat and effective, but it wasn’t the way that I had expected it to work.

As we’re here making a simple package suitable for one command tool, open Packages, opt to make a Raw Package, and click on Next.
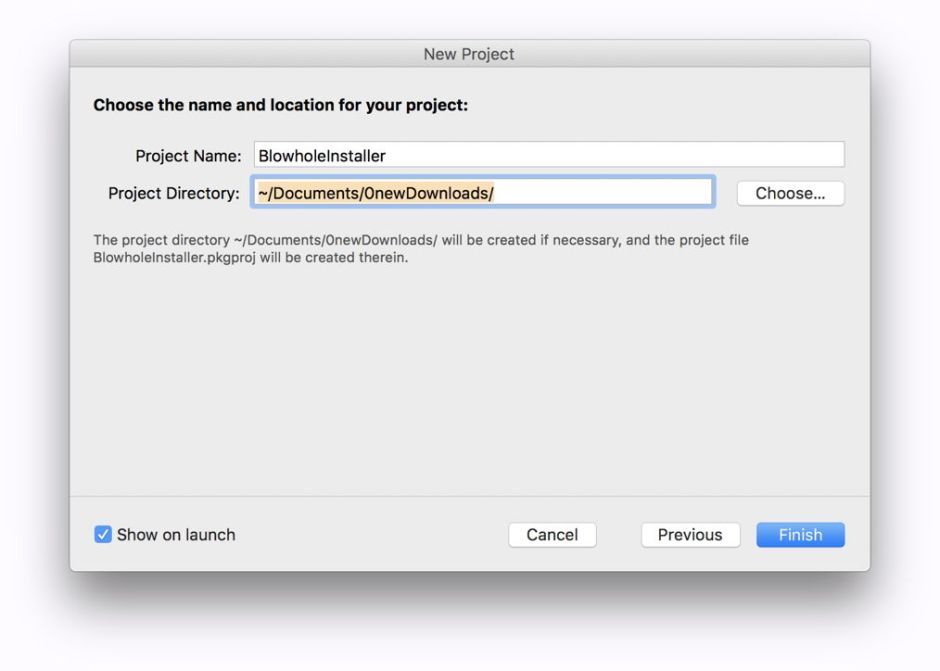
Give the project a name, and a convenient directory, and click on Finish.
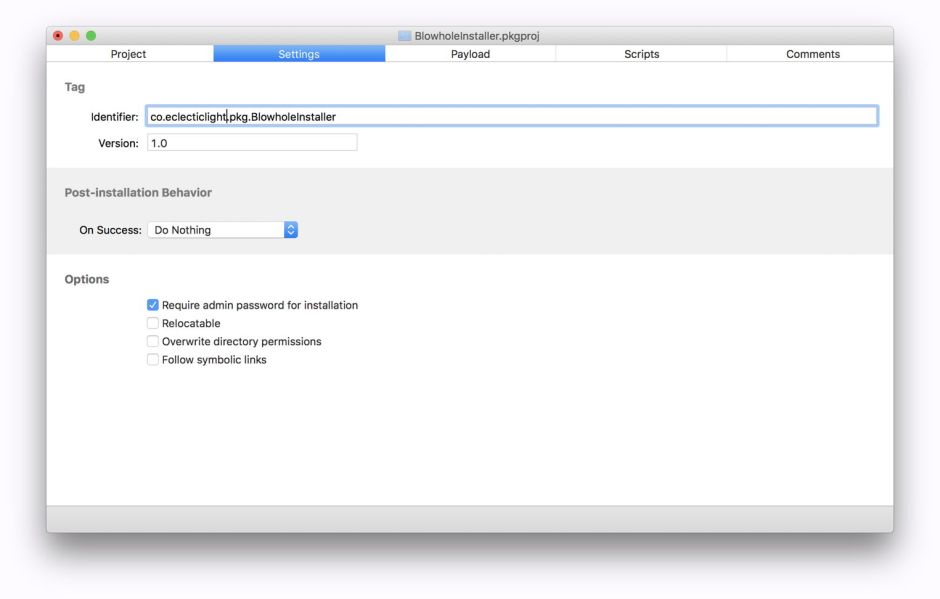
Your new project file then opens, offering you four tabs. For a straightforward Installer package like this, there are only two tabs you need to set up. The first is Settings, where you need to enter an appropriate Identifier at the top, for me co.eclecticlight.pkg.BlowholeInstaller.
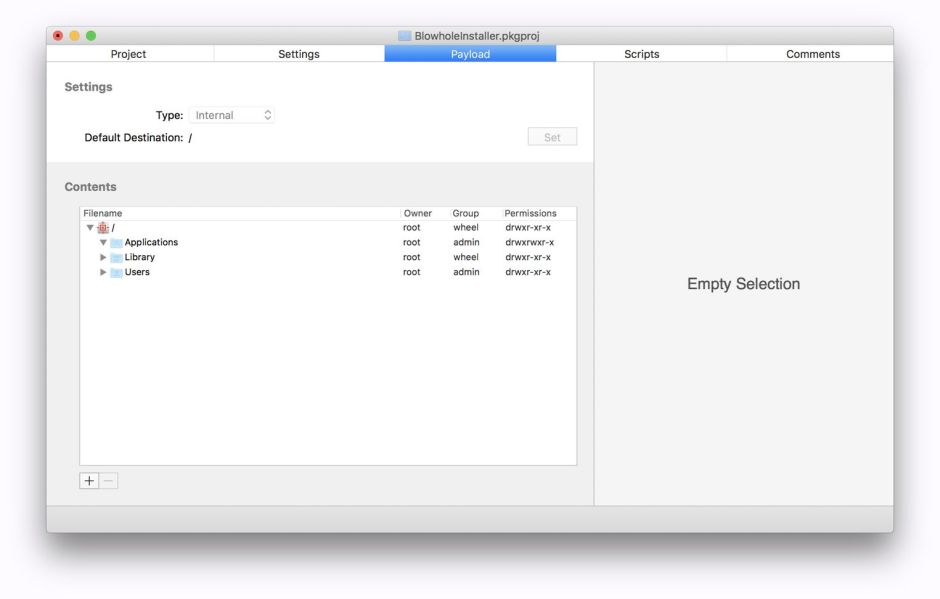
Then select the Payload tab. The first thing to do here is to add the product which you just generated in Xcode. Click on the + button at the lower left.
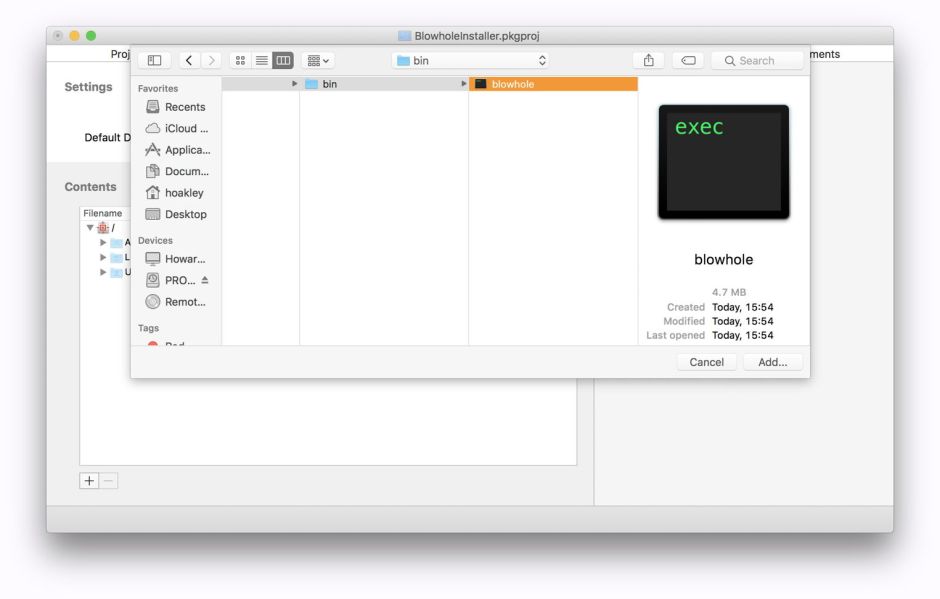
In the sheet which drops down, locate your Archived copy of the tool fresh from Xcode, select it, and Add… it to your Payload.
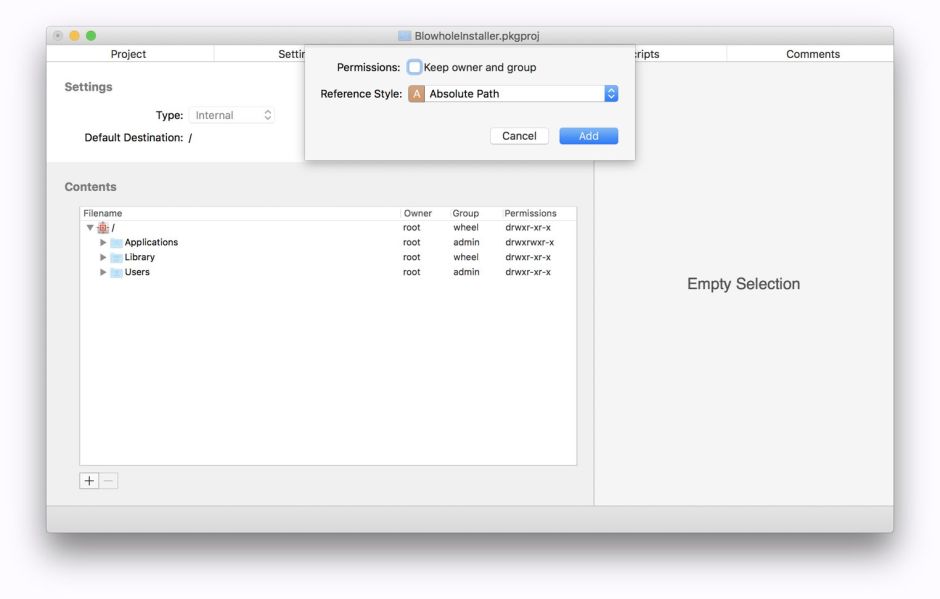
In the next sheet, go for the defaults offered.
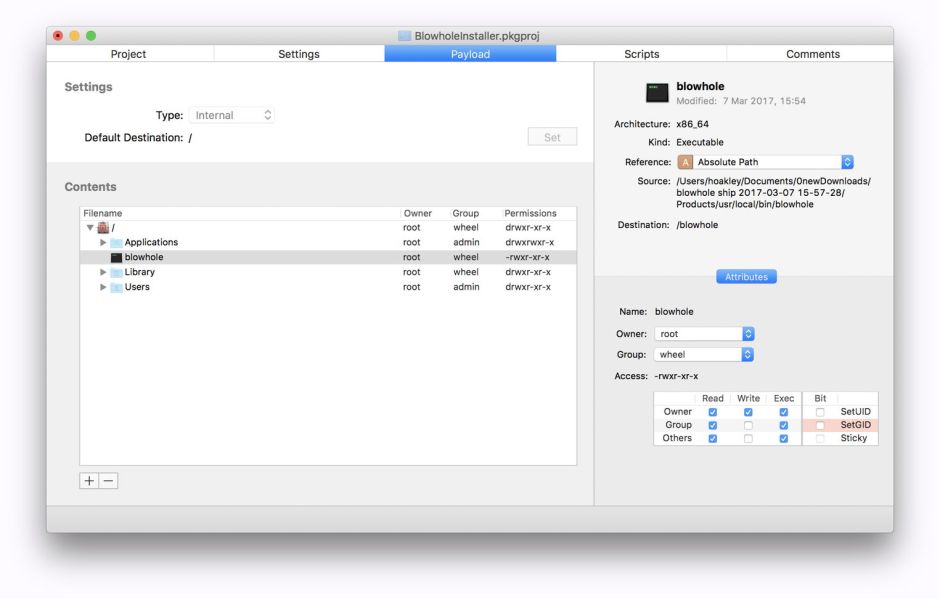
It will then be added at the top level, so will show a Destination of /, which is the current location of blowhole in the Contents panel.
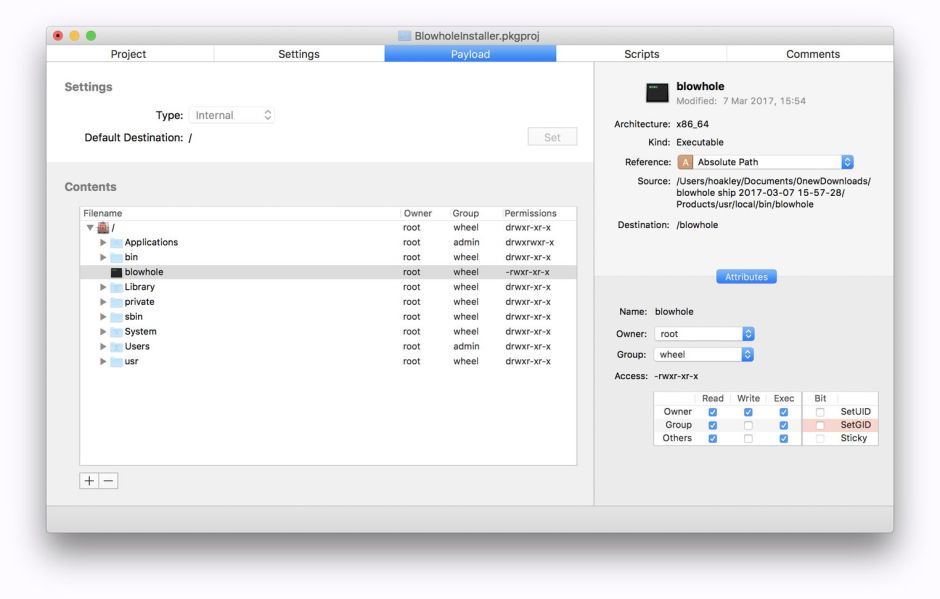
We want to install the tool in the /usr/local/bin folder, which is currently hidden. To show hidden folders, press Command-. (period).
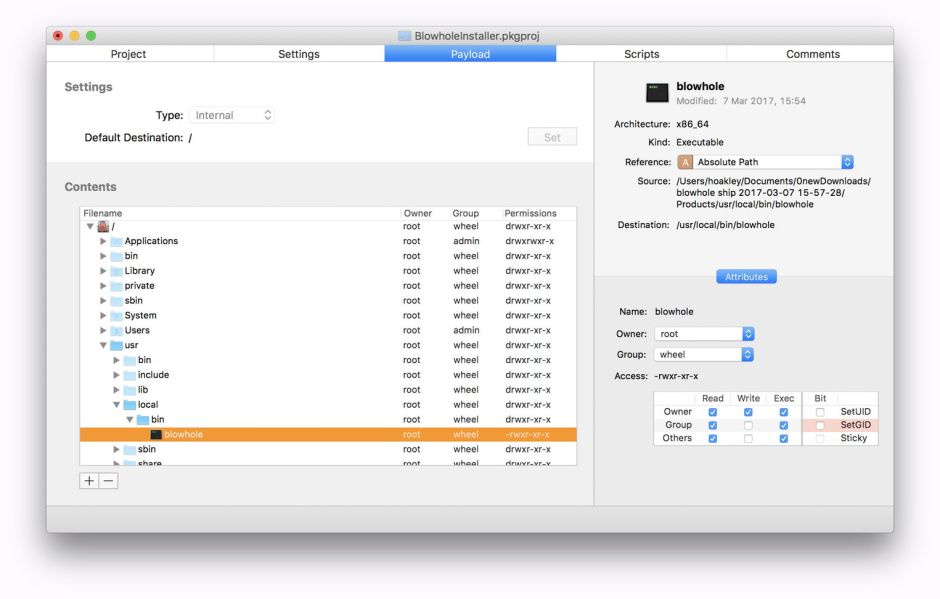
Now locate /usr/local/bin, and drag the command tool until it is in the right location. The Destination shown at the right will now change to reflect that. Save your project, then use the Build command in the Build menu to create the Installer package.
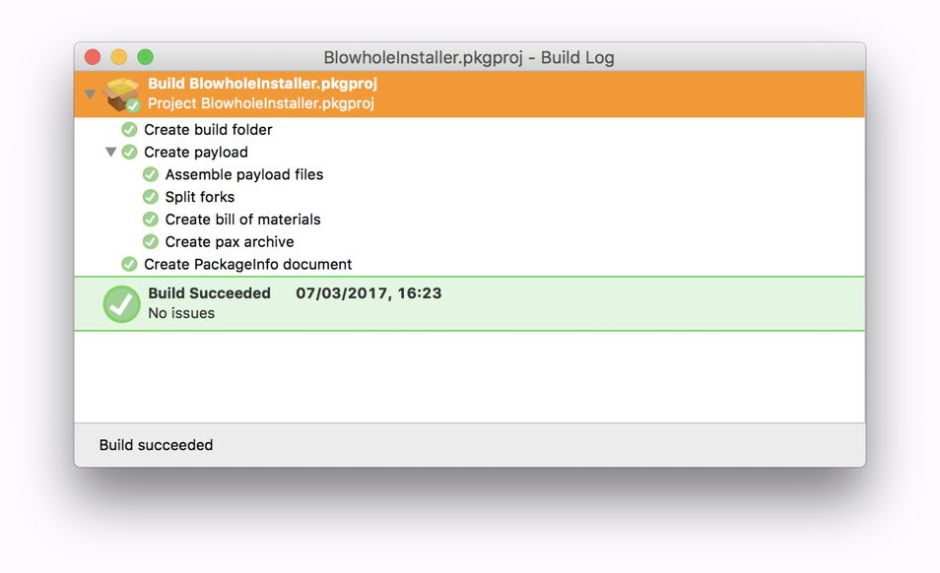
When the build completes successfully, the Installer package will be in a folder named build in the folder containing the Packages project. Check that the Installer package looks the right sort of size: if it is tiny, then you may not have configured the project correctly. You can also try running it now to check that it does what it should.
Quit Packages, and prepare to sign the installer package with your Developer ID Installer certificate from Apple, in Terminal. Here it is usually easiest to use the cd command to work from the folder containing the unsigned Installer package generated by Packages. The command to sign that package takes the form
/usr/bin/productsign --sign "Developer ID Installer: XXXXXXXXXXXXXX" BlowholeInstaller.pkg Blowhole.pkg
where “Developer ID Installer: XXXXXXXXXXXXXX” contains the Common Name of your Developer ID Installer certificate (from Keychain Access), BlowholeInstaller.pkg is the name of the unsigned package generated by Packages, and Blowhole.pkg is the name of the new, signed package which will be created.
You should then see output similar to:
productsign: using timestamp authority for signature

productsign: signing product with identity "Developer ID Installer: XXXXXXXXXXXXXX" from keychain /Users/hoakley/Library/Keychains/login.keychain-db

productsign: adding certificate "Developer ID Certification Authority"

productsign: adding certificate "Apple Root CA"

productsign: Wrote signed product archive to Blowhole.pkg
You should finally perform some basic checks to ensure that the Installer package works properly. First check its signature using a command like:
spctl -a -v --type install Blowhole.pkg
If it has been signed properly, you should then see
Blowhole.pkg: accepted

source=Developer ID
Unfortunately, Installer package signatures don’t seem to be recognised by Objective-See’s wonderful tool What’s Your Sign? but you can email the package to yourself. When you save the received file, its quarantine flag should be set (Mail certainly does this), so trying to run the Installer package will then simulate a regular user doing so.
I hope that this saves you time and potential frustration when building your own Installer packages. Wouldn’t it be helpful if Apple provided decent tools for doing all this in the first place?
