To give you an idea how good Serif’s Affinity Photo is, I offer the following outline workflow as a basis for you to develop your own, and to show how efficient and powerful it can be.

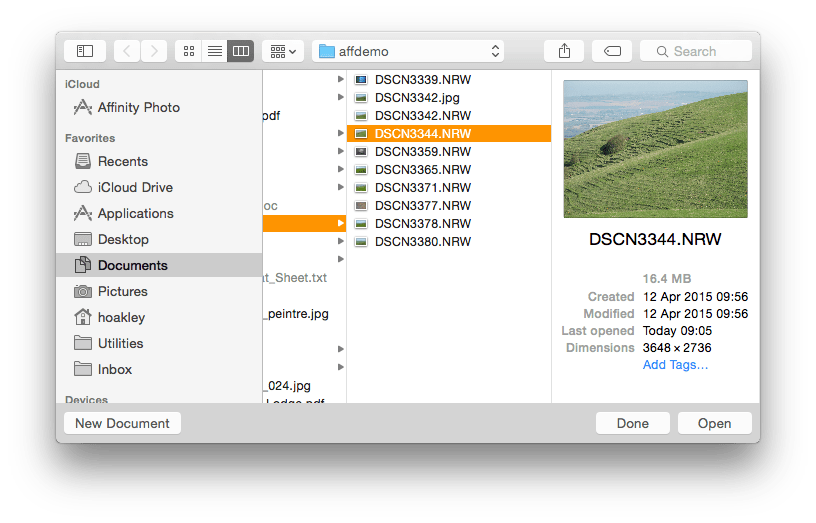
Start Affinity Photo, close the introductory splash screen, and use the File/Open… command to open your RAW file.

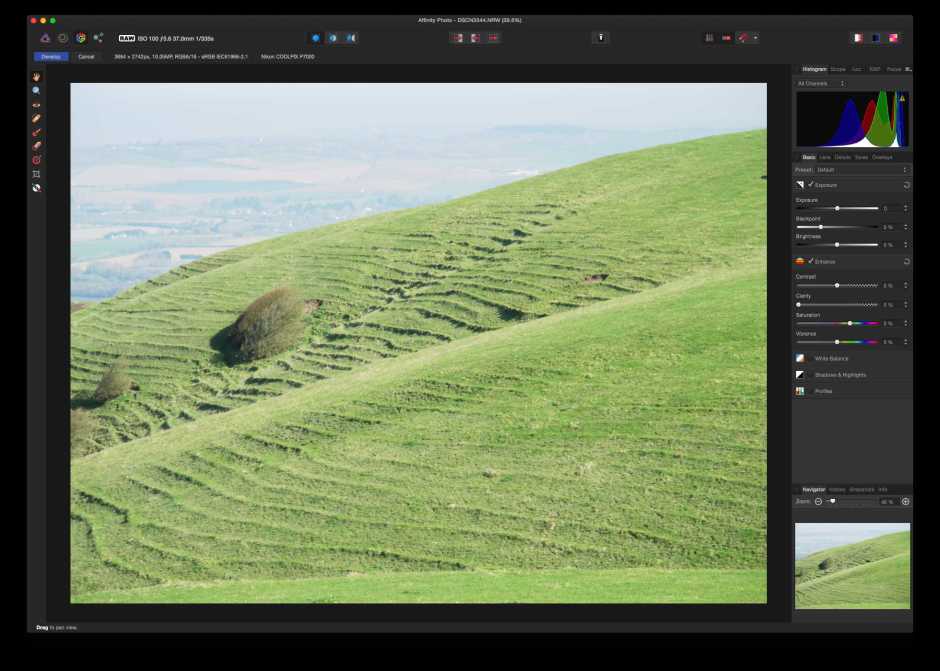
This opens your RAW image in Develop mode (Persona), with the range of tools available under five different tab headings, in the righthand panel, from Basic to Overlays. By default the image should be scaled to fit the size of the window (shortcut Cmd-0), giving you a good overall view of the effects of changes made to the image. At the top left of the image is a blue button labelled Develop – that is the button which you click once you are happy with your development of the image.

Using the Basic panel, adjust the controls to tweak your image to look the way that you want it to. Once you are happy, move on to the Details panel, and any further panels which you wish to use. To adjust Details, you will probably want to zoom in to bring the image to 100% (Cmd-1) and move around the image to satisfy yourself that you are not oversharpening it, but are capturing details optimally.

Once you are happy with the adjustments to be made, save each panel’s settings as a Preset, by clicking on the Preset: popup menu and selecting the Add Preset command; you can then use those presets as the basis for future image development. Note that if you change the settings in an existing preset, those new settings will only be saved if you repeat the Add Preset process to save them as a new preset. This makes it quick and simple to work from a basic preset for most of your images, tweaking each to optimise.

You will now have your image looking great, and presets ready to use in the future. To apply these changes, click on the blue Develop button. This will take you out of Develop mode into general Photo mode (Persona), where you can make any other changes that you wish to, using the many tools offering in the panels at the right.

Once you are ready to export the finished image, click on the Export tool (Persona) at the top left. The righthand panel now changes to provide Export Options. If you are happy with one of the standard presets, you can simply select it from that popup menu, and click on the Export 1x button at the top left to obtain an unscaled JPEG (or whichever image format you selected).

I created a custom export preset by changing the export options to my preferred ICC profile, and so on. Once happy I then added that as a new preset, in the Preset popup menu, for future use.
You can then close the document window, cancelling its offer to save the RAW file.
Using those presets, you can rapidly process further images thus:
- File/Open… command to open the image;
- In the Basic panel, select your preferred preset. Note that it may already appear selected, but (in this first release of Affinity Photo) you have to select the preset before it is applied;
- Apply other presets in Details and other panels as required;
- Check the image overall (Cmd-0 to fit to window) and at 100% (Cmd-1), making any further tweaks;
- Click the blue Develop button;
- Click the Export tool;
- Select your preferred export preset;
- Click the Export 1x button and save;
- Close the window and cancel saving the RAW file.
When you have got a couple of hundred images to process, that is both efficient and powerful, and saves you wasting clicks and effort.

