
When you need to create part or the whole of a Data volume in a modern macOS boot volume group, simply copying across the contents of a backup isn’t sufficient to make the new volume fully functional. Instead of performing a regular restore, it’s much better to perform a migration using Migration Assistant.
This applies when:
- setting up a new Mac for the first time, using an existing user account or Data volume;
- completing a clean (re-)install where the boot volume group has been erased and macOS installed afresh;
- returning a Mac to service following major repair such as logic board replacement;
- returning a Mac to service after performing a full restore in DFU mode;
- transferring a user account between Macs,
and other similar circumstances. Another good alternative worth considering if it’s suitable and a Data volume has a recent snapshot, is rolling back to that rather than migrating from the latest backup, but that doesn’t apply to those examples.
In the past, migration has had a poor reputation, with many attempts failing. Recent versions of macOS have addressed most of those problems and it’s far more reliable now, and given a fast connection should also be much quicker. Manual attempts to reproduce what takes place in migration are now likely to result in dysfunctional results, for instance failing to copy the login keychain successfully.
Regular copying or restoring should be fine, though, for plain folders such as ~/Documents, which don’t pull any tricks.
Requirements
- The source, consisting of an essentially complete Data volume, either running live in another Mac for two-Mac migration, or in storage such as a backup for one-Mac migration.
- The destination, a Data volume in the current boot volume group, which can be on the internal SSD or a bootable external disk. This can be empty, or contain one or more installed users.
- The connection, preferably the fastest possible such as Thunderbolt, to minimise time required to transfer data.
- Migration Assistant, in /Applications/Utilities, the corresponding version for the macOS running on the destination, and in two-Mac migration that for the version of macOS running on the source.
Ideal sources for one-Mac migration are complete Data volumes, although some of their components can have been excluded, for example folders containing large files that are backed up separately. All good backup utilities, including Time Machine, Carbon Copy Cloner and SuperDuper!, should save those to backup storage when set to back up a Data volume rather than just individual folders.
Sources and destinations can be more unusual, including virtual machines, and bootable external disks, and you should be able to use a mounted snapshot of another Data volume as a source.
When to migrate
The simplest case is when invited during personalisation and configuration of macOS to complete its installation. However, Migration Assistant can be run at any time after that, and can then migrate individual user accounts or merge accounts during migration. In some cases, it may be preferable to create a new primary admin user account to enable macOS to be updated in the destination before migrating and merging that account from the source. That has the advantage of using the most recent version of Migration Assistant.
How to migrate
Prepare the source
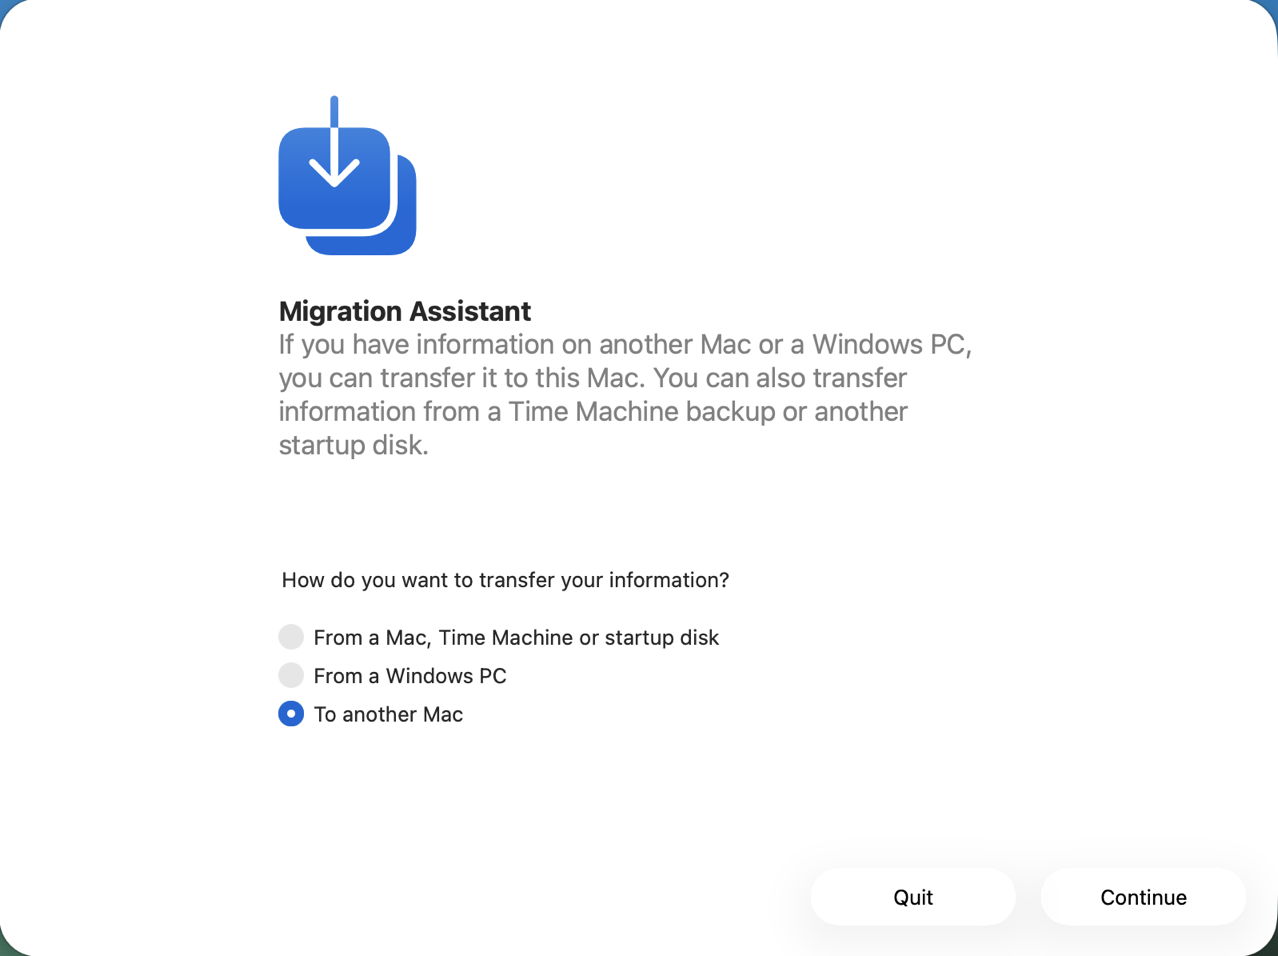
If performing one-Mac migration using an external disk as source, connect it and check that it mounts correctly on the destination. If the source is a running Mac for two-Mac migration, log in using its admin account, and open Migration Assistant in /Applications/Utilities. Select To another Mac in its opening dialog.
Prepare the destination
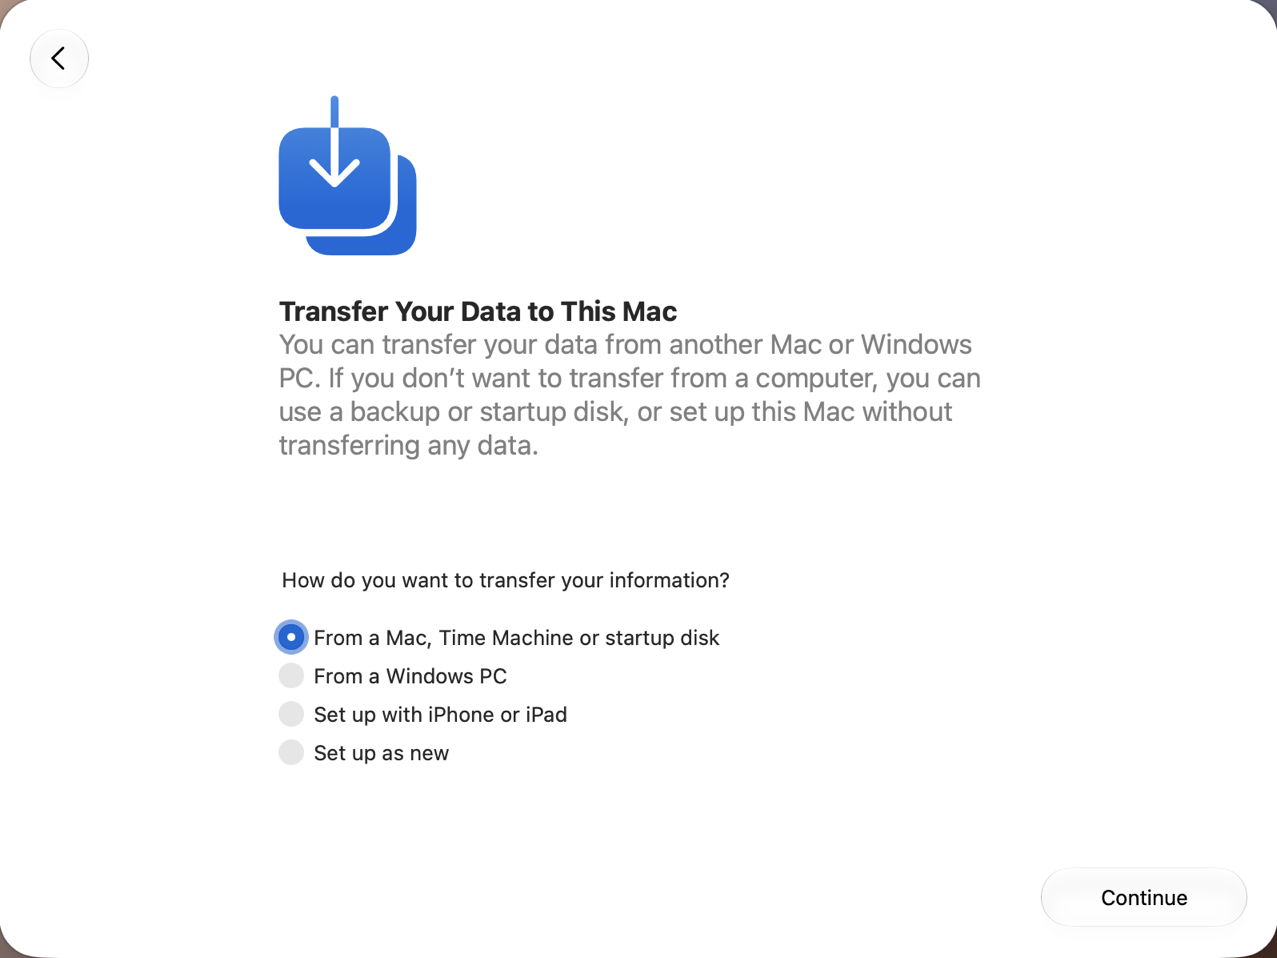
If migrating during personalisation and configuration, wait until it displays the transfer dialog. If migrating after that, open Migration Assistant. There select From a Mac, Time Machine or startup disk.
Connect
On the destination Mac, click on Continue. In two-Mac migration, click on Continue on the source. The source should then appear in the window shown on the destination. Click on that, then click on Continue.
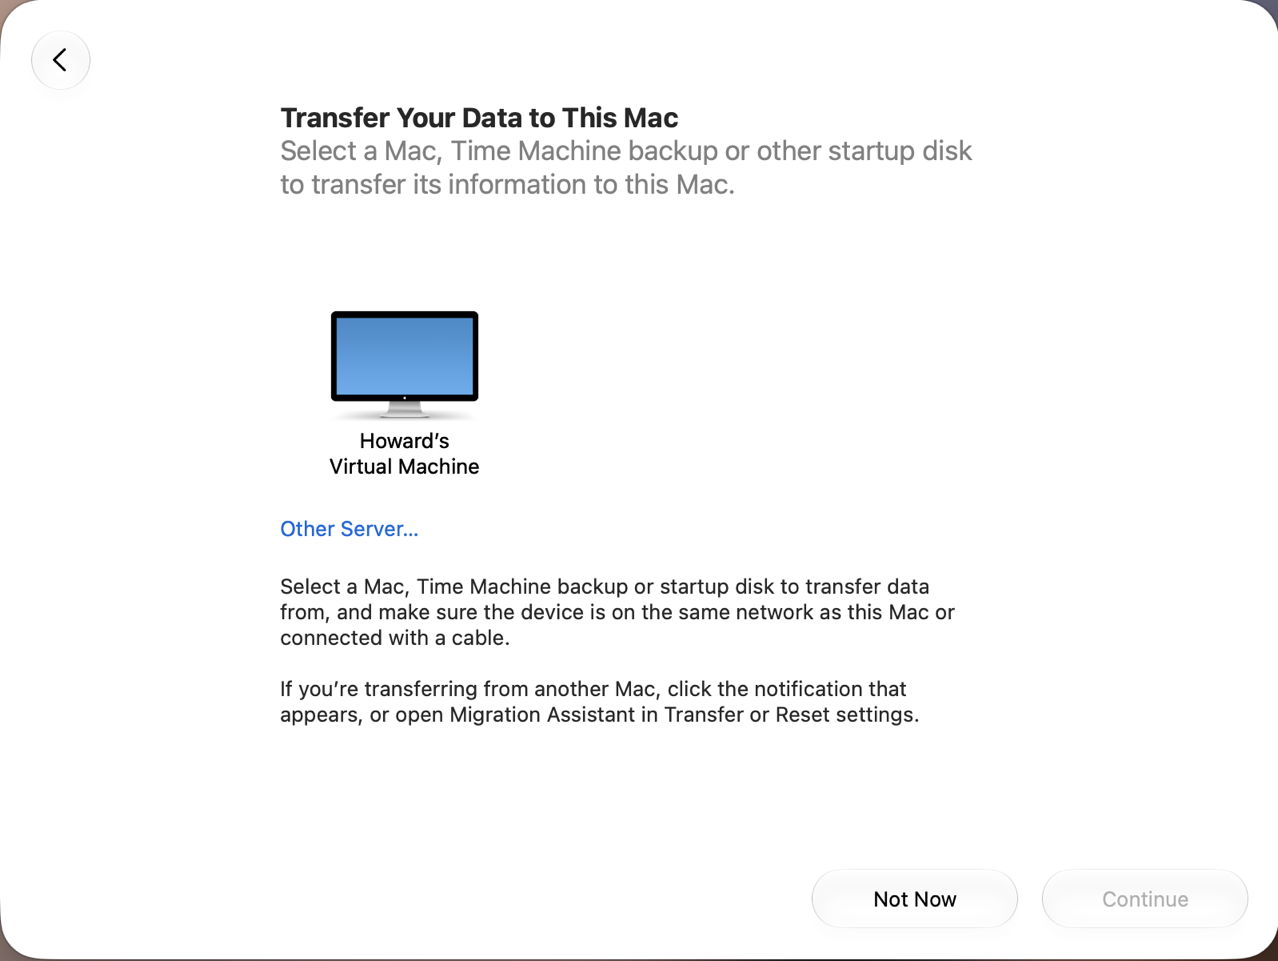
In two-Mac migration, the destination will then display a six-digit passcode, which should match that shown on the source. Click Continue on the source to acknowledge the match.
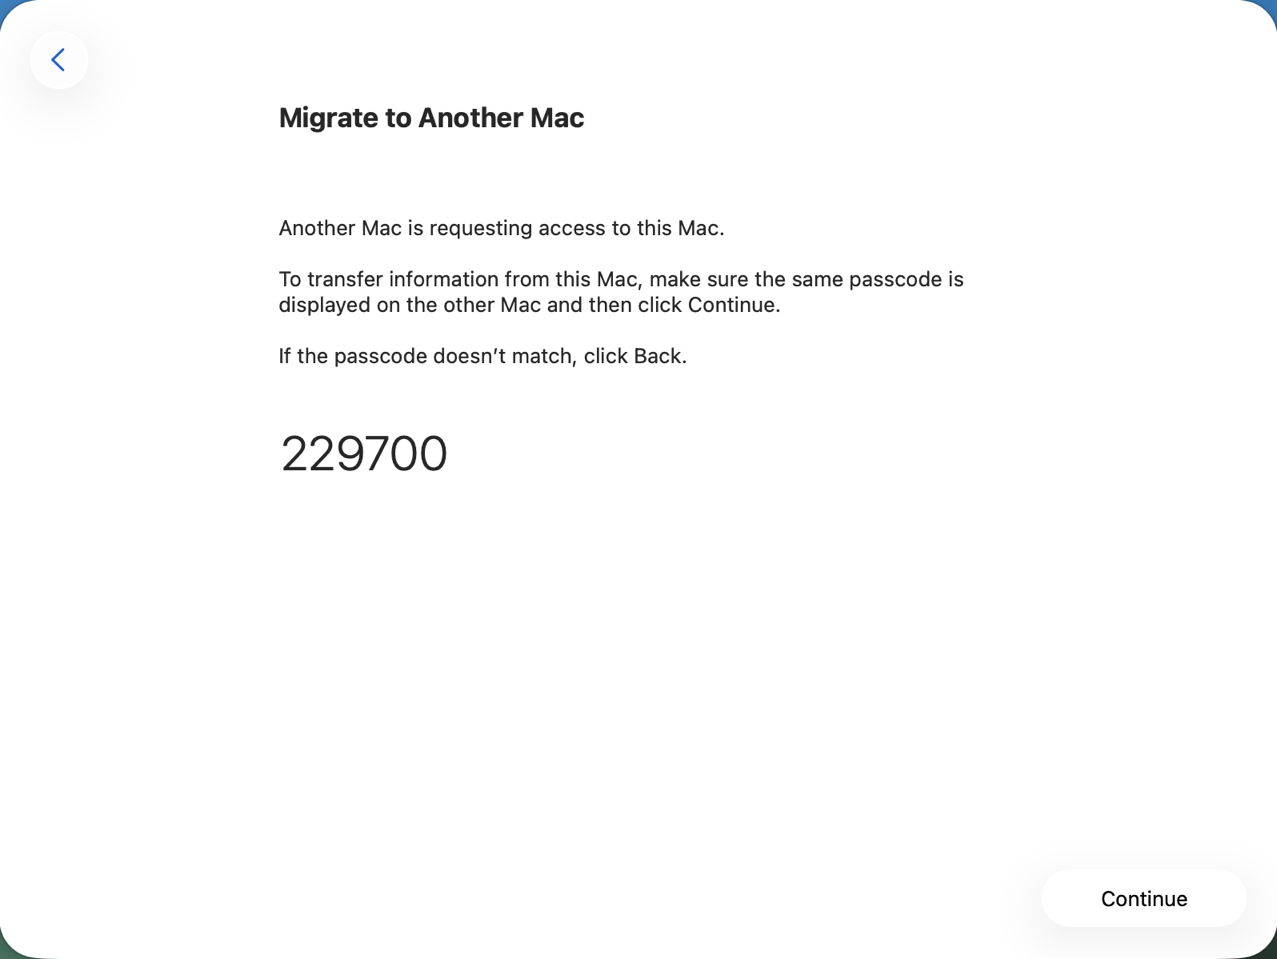
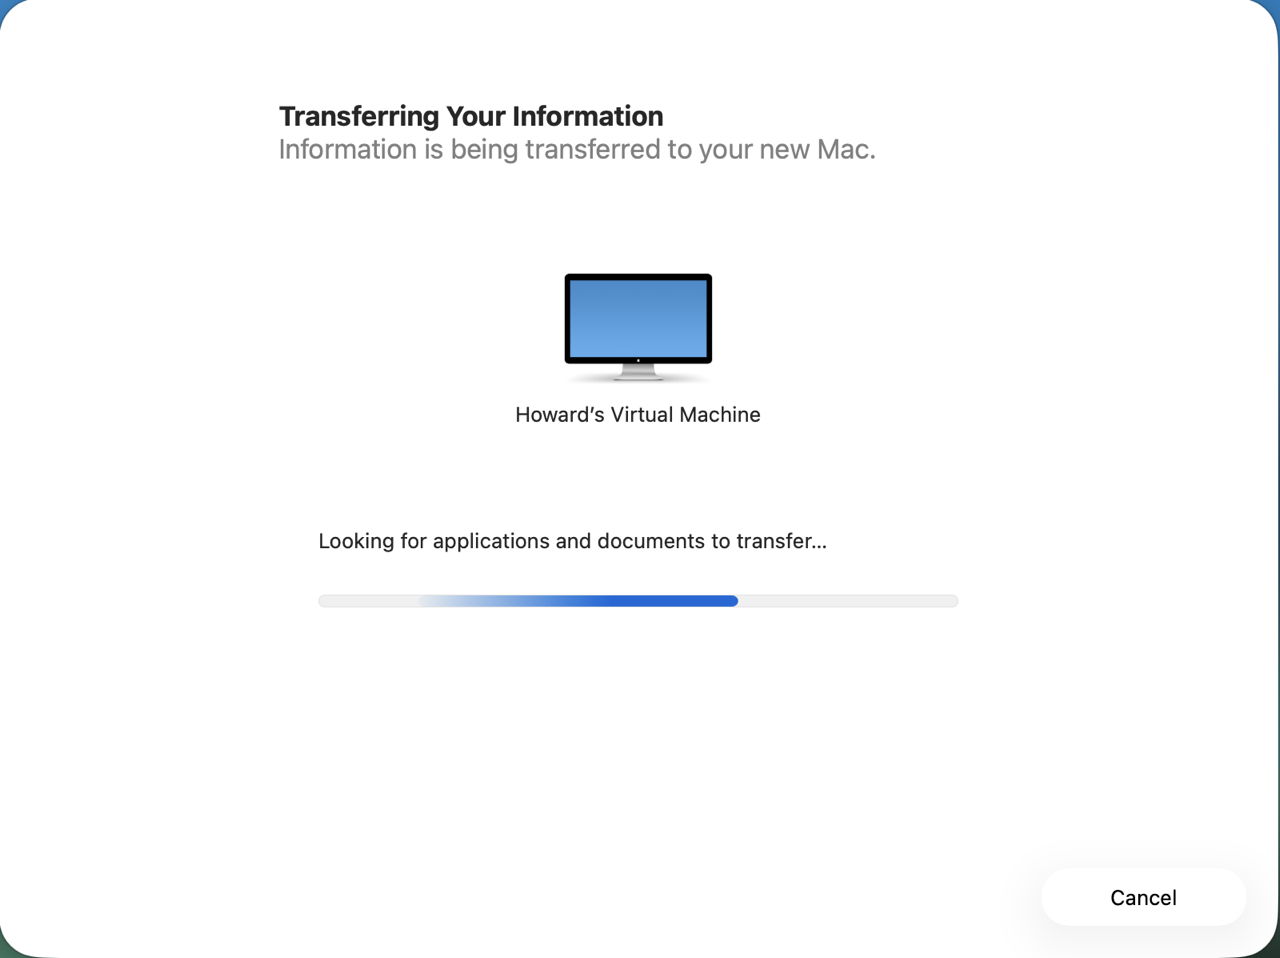
The source and destination should then connect, and gather lists of what can be migrated.
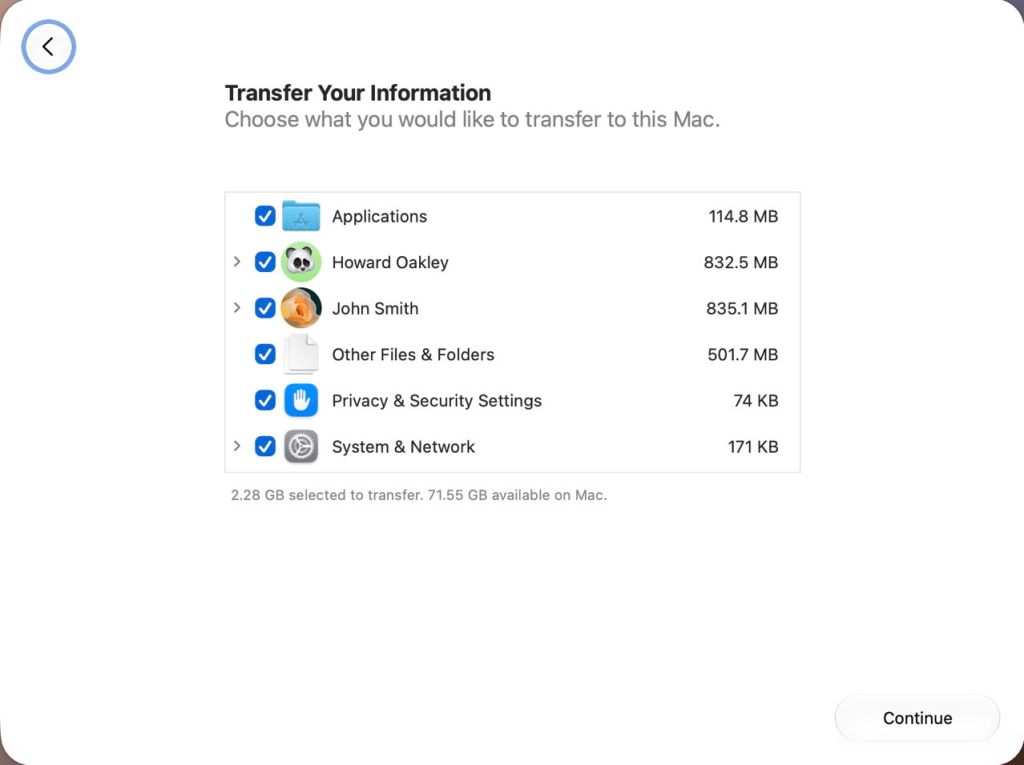
Select
When those are complete, the destination offers them in a series of categories you can refine.
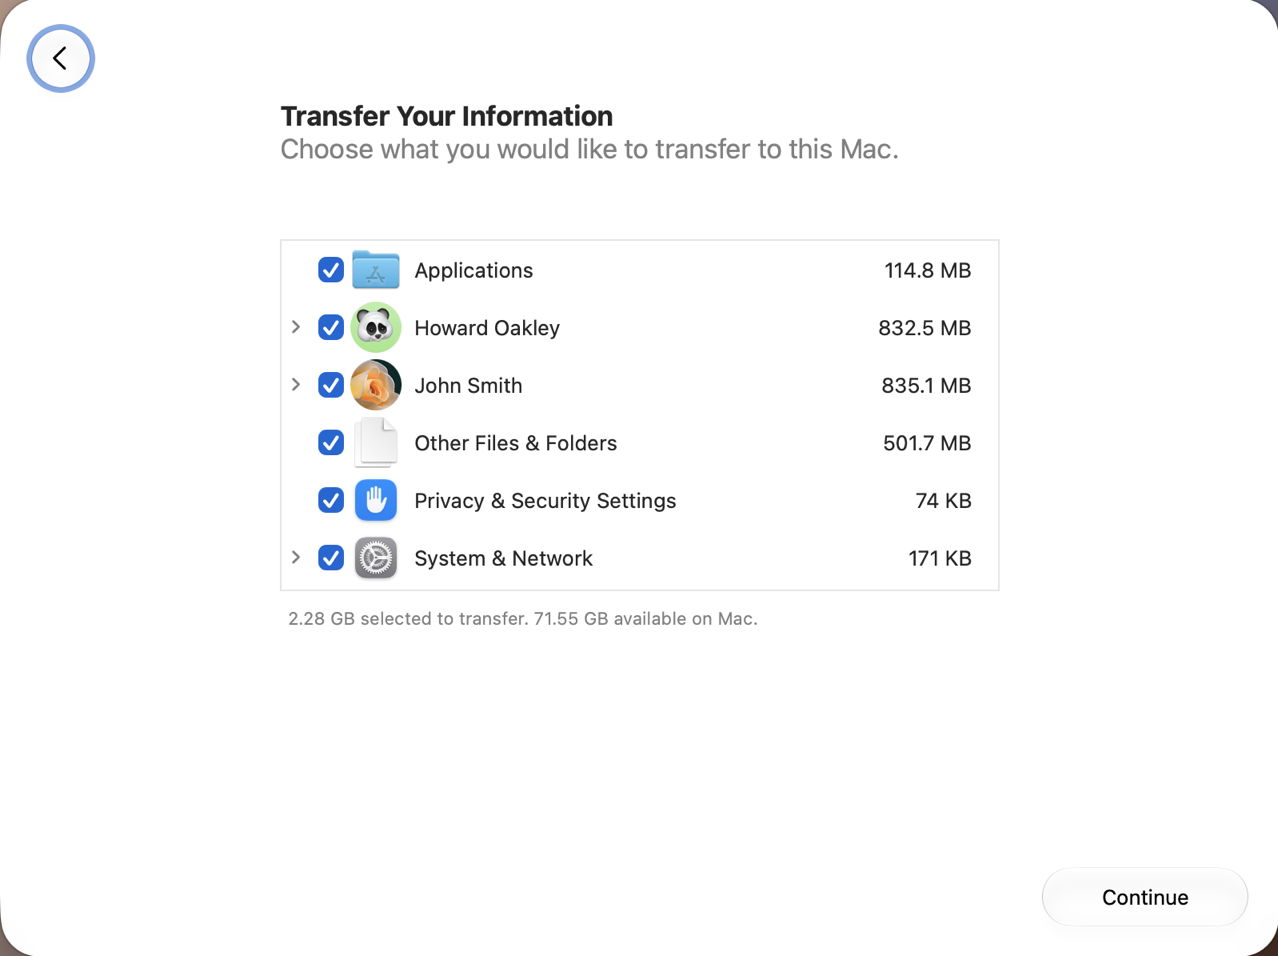
Once you’re happy with the contents to be migrated, click Continue.
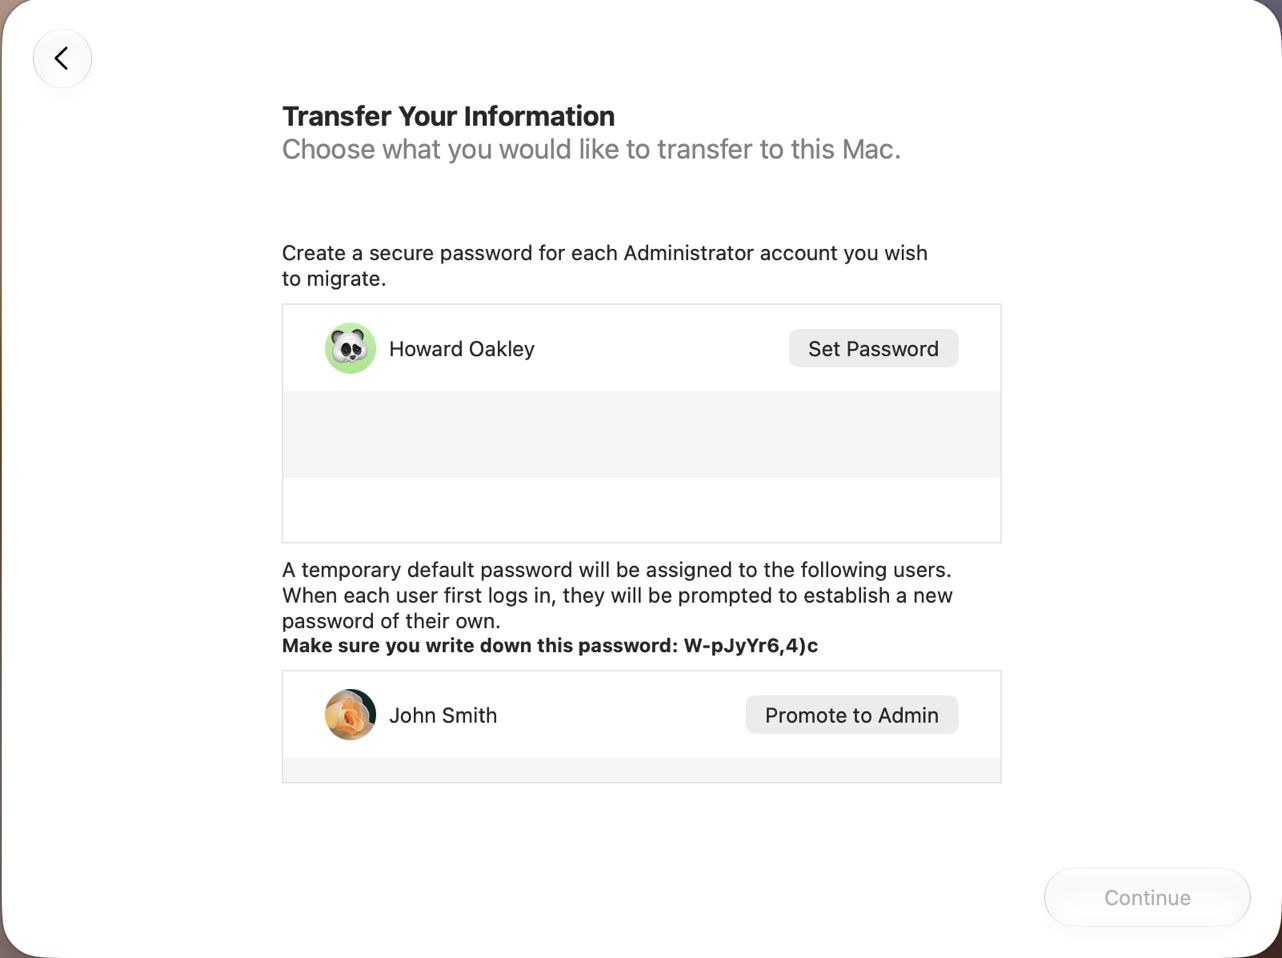
You may well be asked about passwords for accounts to be migrated. Normally the new primary admin account will offer the Set Password button. Additional accounts to be migrated will be assigned temporary passwords, which you must note, then use to log in as that user to complete their password change. If there are duplicate accounts, you will be asked whether to merge them, or create a new second account.
Complete
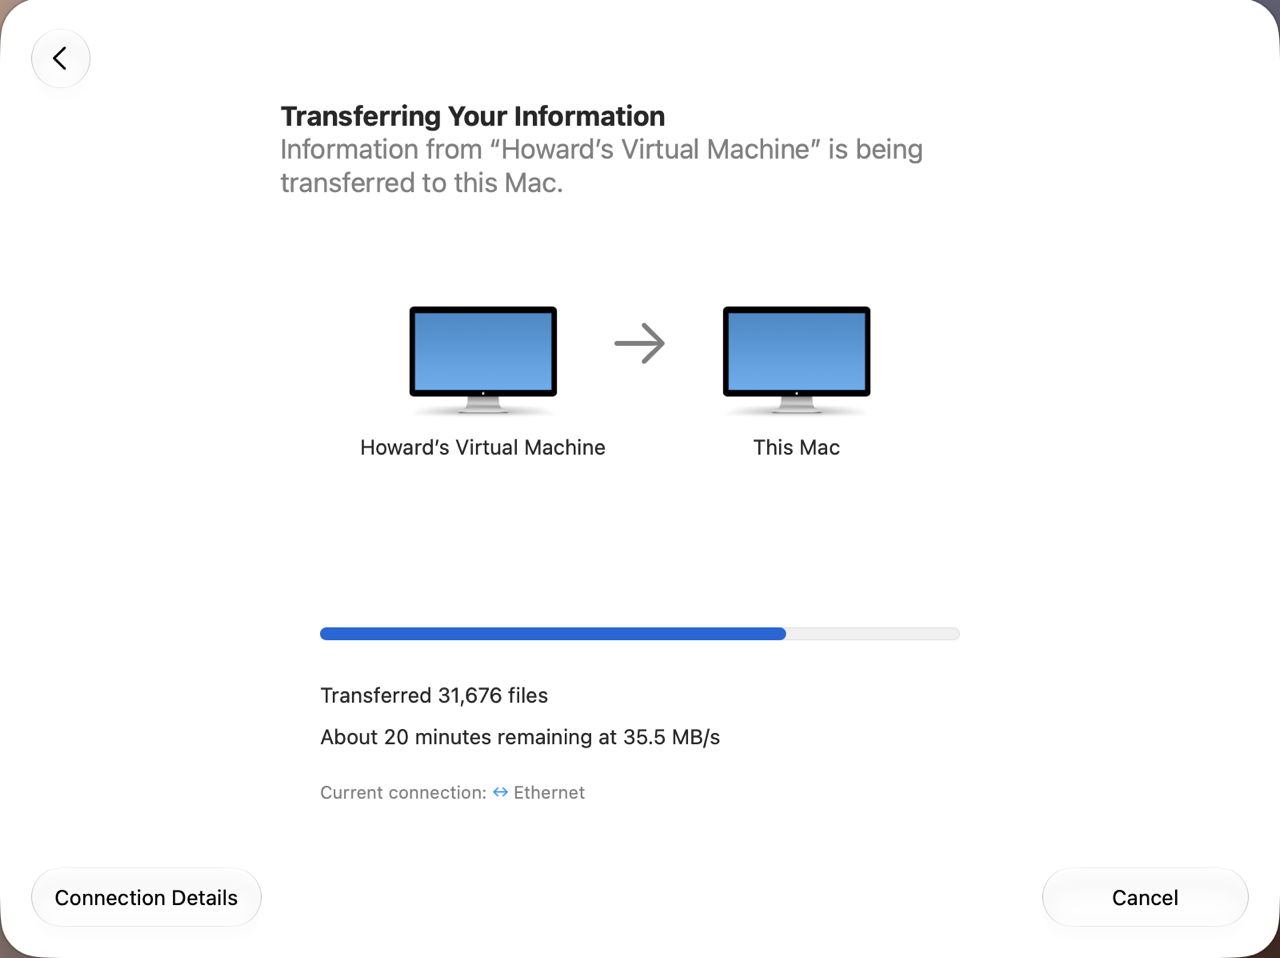
The migration then takes place.
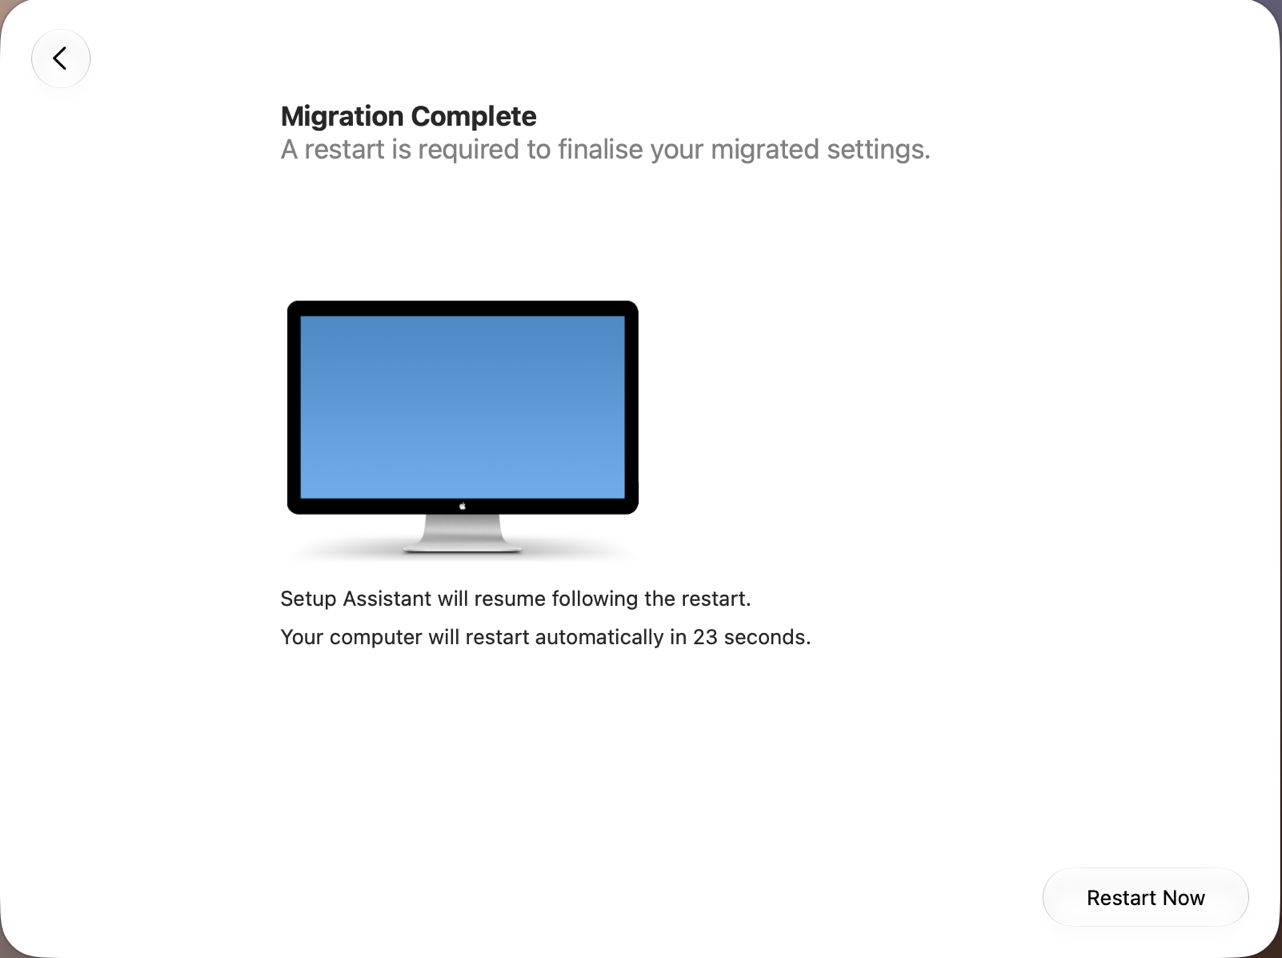
Once complete, the destination Mac will restart to complete the migration.
Problems and records
I’ve been unable to locate a migration log on either source or destination Macs, and it’s claimed that a record of migration is written to System.log, but I’ve not seen any sign of that either.
In the past, failed migrations have sometimes succeeded on a second attempt, although that depends on how complete the first was.
Experience shows that the closer the versions of macOS running on the source and destination, the better the result of two-Mac migration is likely to be. Migration Assistant is one of the components in macOS that is updated with almost every macOS update.
Key messages
- Transfer the contents of Data volumes, or individual accounts, using Migration Assistant rather than trying to copy or restore them.
- Two-Mac migration operates between a source Mac running Migration Assistant, and a destination.
- One-Mac migration uses an essentially complete Data volume on a connected disk.
- Migration can be performed during the configuration of a fresh macOS installation, or later.
- You can migrate additional user accounts, and merge accounts as necessary.
- Use the fastest means of connection between source and destination.
Apple’s user documentation is here.

