
Creating and using macOS virtual machines (VMs) on Apple silicon Macs costs nothing and is extremely simple. Those VMs have many uses, as they generally run apps as briskly as running them native on that Mac. They’re fully customisable, and far easier and more reliable than booting Apple silicon Macs from an external disk. In this tutorial, I show how to download the image and install a Ventura 13.1 VM on an external SSD, in this case my trusty and fast OWC Envoy Pro FX 4 TB, which now houses my growing collection of VMs going back to macOS 12.4.
Download and install the VM
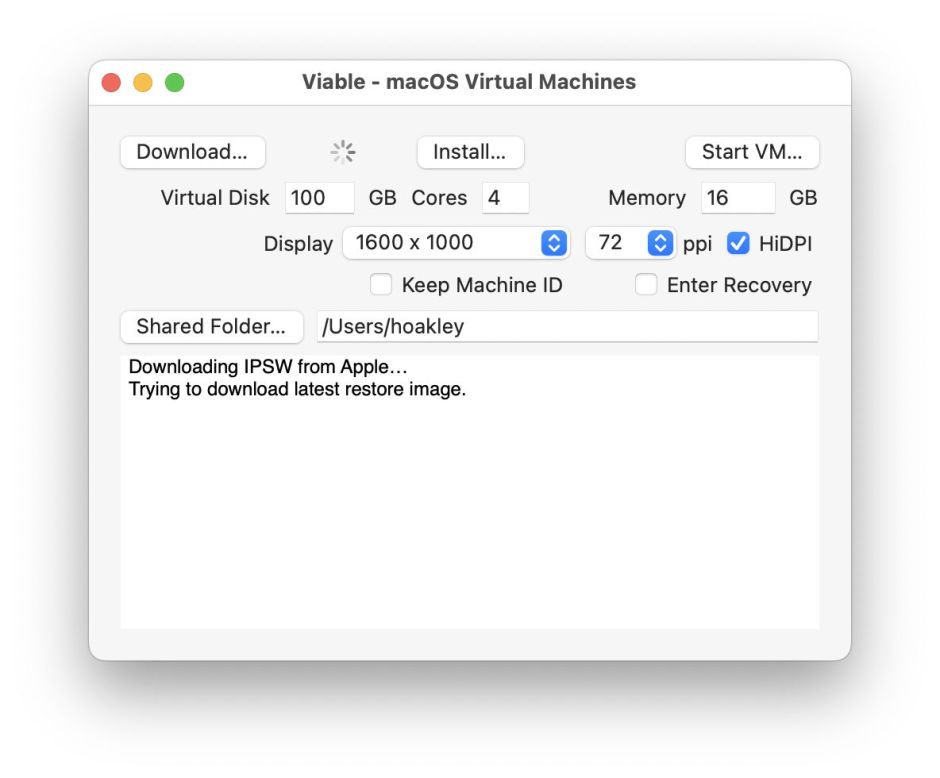
If you have already downloaded the IPSW image required to make a VM for your chosen version of macOS, use Viable’s Install… button to select that and install it into a new VM bundle. If you want the current version and haven’t got the required image, click the Download… button, as Viable will first download the image then perform the installation for you.
Either way, there’s one important setting to make in Viable’s main window before starting:
Virtual Disk: here I’ve chosen 100 GB to provide ample space for apps; the smallest practical size is around 50 GB. While you can go smaller than that it risks not having sufficient free space to update the installed macOS.
When you have clicked on either button and are prompted to enter the name of the VM bundle to be created, ensure that it has the .bundle extension given explicitly. Ventura is currently going through a little turmoil over types and extensions, and I will be improving this in future versions of Viable.
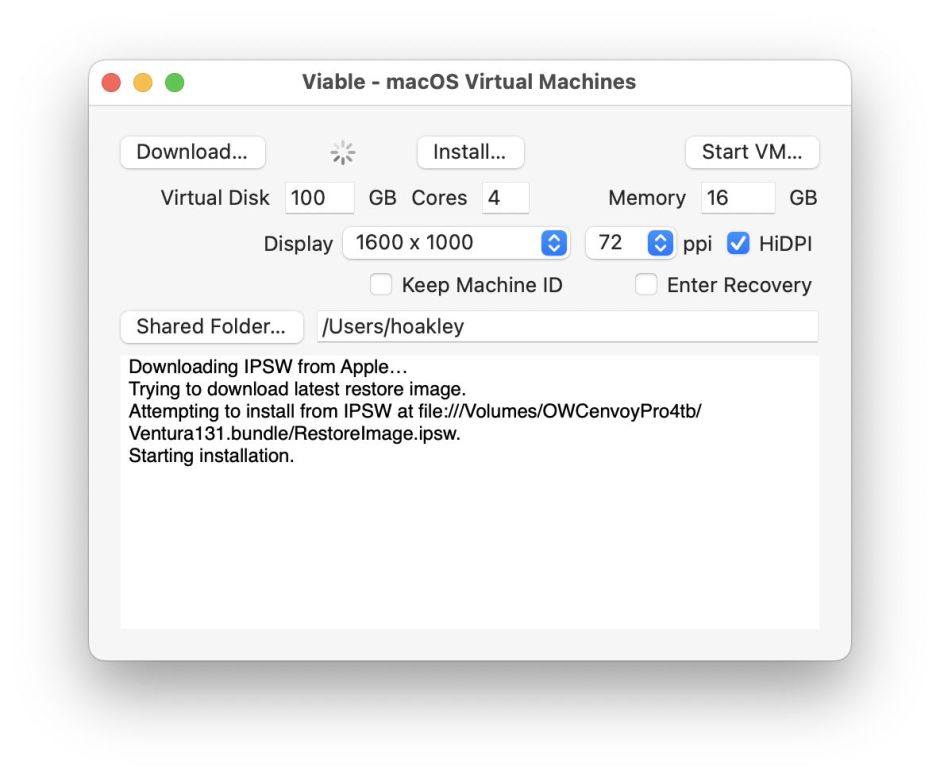
Once you have clicked on the Save button, Viable’s window reports its progress. As the IPSW image is over 12 GB, this does take a while to start off. Once the download is complete, the window reports the start of installation.
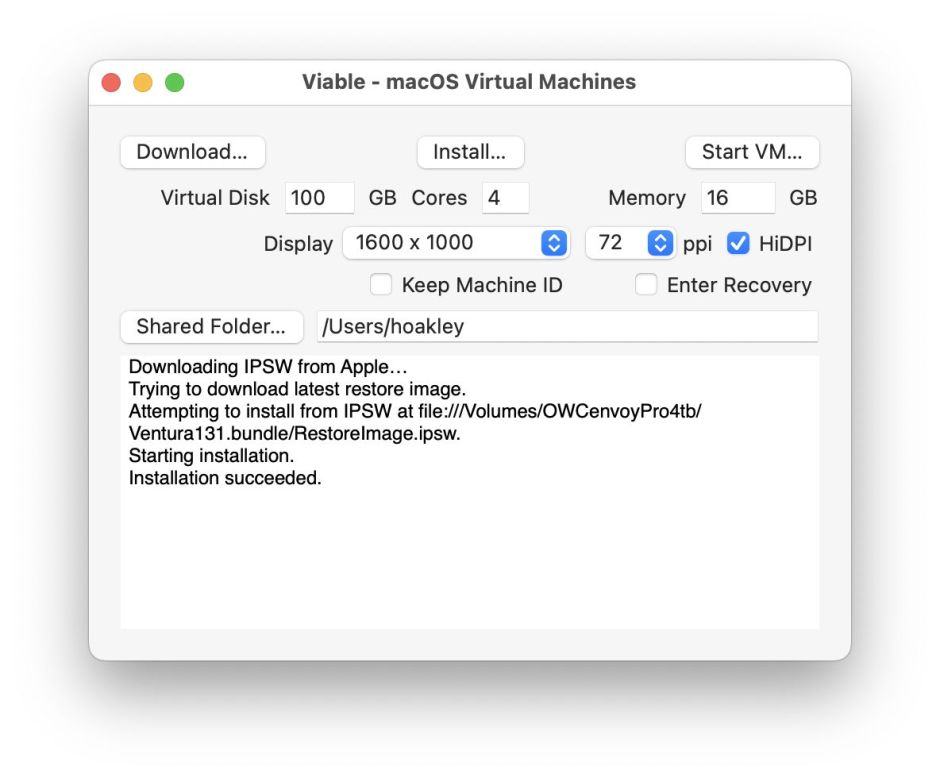
At the end of Download or Install, you’ll have a bundle containing:
- AuxiliaryStorage, with ‘firmware’ and other essentials such as NVRAM contents,
- Disk.img, a disk image with the whole boot disk for the VM,
- HardwareModel, with details of the hardware,
- MachineIdentifier, with the Machine ID,
- RestoreImage.ipsw, the image downloaded from Apple.
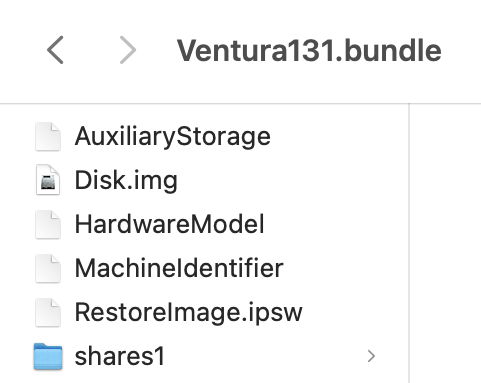
Alongside them, create a new folder in which you can place shared files and folders.
Although the IPSW image is large, and might appear out of place here, you can remove it if you wish: nothing after the installation requires it, but if you want to make another VM using the same version, it saves you downloading it again.
Personalise macOS
The VM is now in a similar state to a factory-fresh Mac that has never been run. The next step is to open it for macOS to run through its configuration and personalisation. For this, set Viable’s options to:
- Cores: ideally 4 if you can,
- Memory: at least 8, preferably 16 GB if you can,
- Display: 1600 x 1000, 72 ppi, HDPi,
- Shared Folder: select a useful location, such as your iCloud Drive folder, or leave it as the default.
Then click the StartVM… button and select the VM bundle you just created.

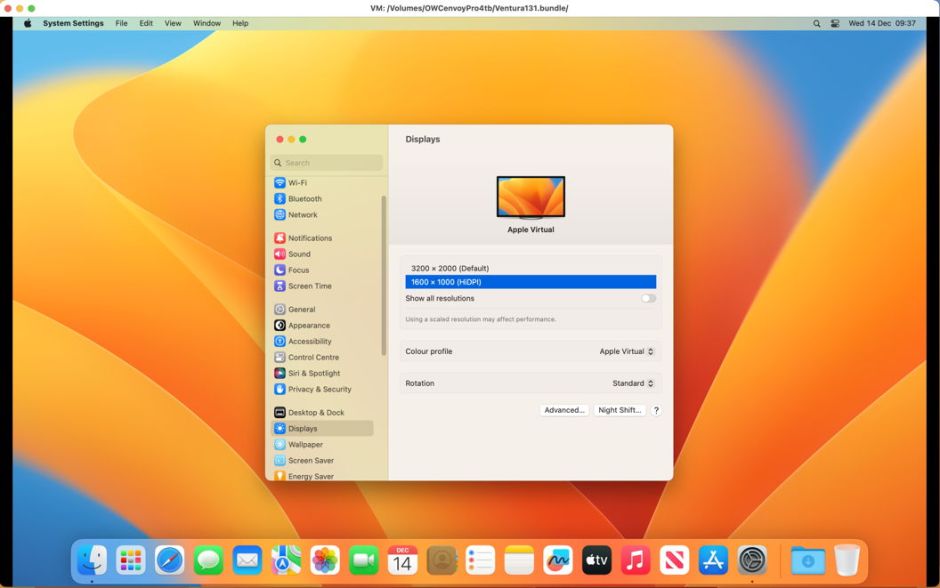
The snag with this first run is that, as far as I know, you can’t switch it to use HiDPi until you have logged into your new account, so the initial configuration screens might need a magnifying glass.
During this, don’t try using Migration Assistant, and skip Apple ID as it can’t work. Once the new account has been created and the Finder welcomes you, open System Settings > Displays and select 1600 x 1000 (HiDPi) and suddenly it all becomes so clear.
There are a few other tweaks you’ll want to make early. Open System Settings > General >: Date & Time, switch off automatic setting of the time zone, and set it manually.
Set the Finder up as you wish, then consider what you want to copy across to it using shared folders. You’ll see those in My Shared Files in the Finder’s Locations. I normally use the folder I created in the VM bundle to transfer apps and documents that aren’t available in the other host locations. You can run most apps from the host’s /Applications folder if you want, but that doesn’t let you work around the limitation imposed by the lack of Apple ID. You also shouldn’t attempt to do that with an app like Xcode, which should be installed into the VM using its special compressed .xip archive.
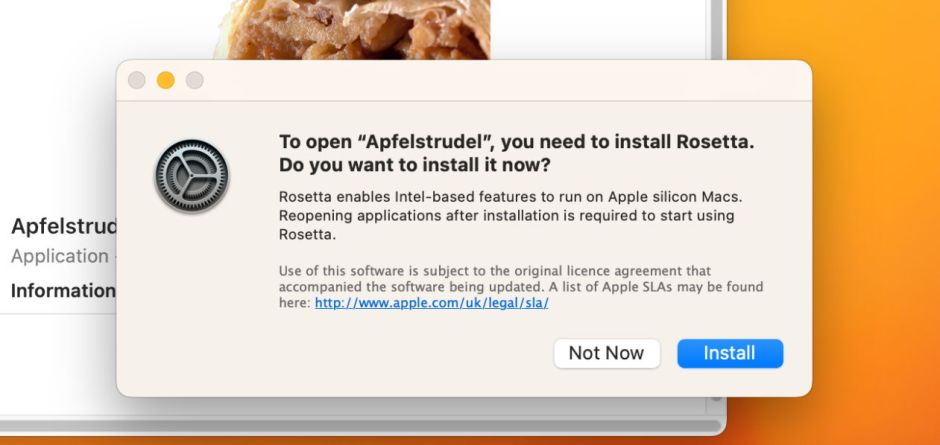
Rosetta 2 is available, so you can run Intel-only apps within the VM when you wish. The first time you do so, you’ll be prompted to install Rosetta support in the usual way.

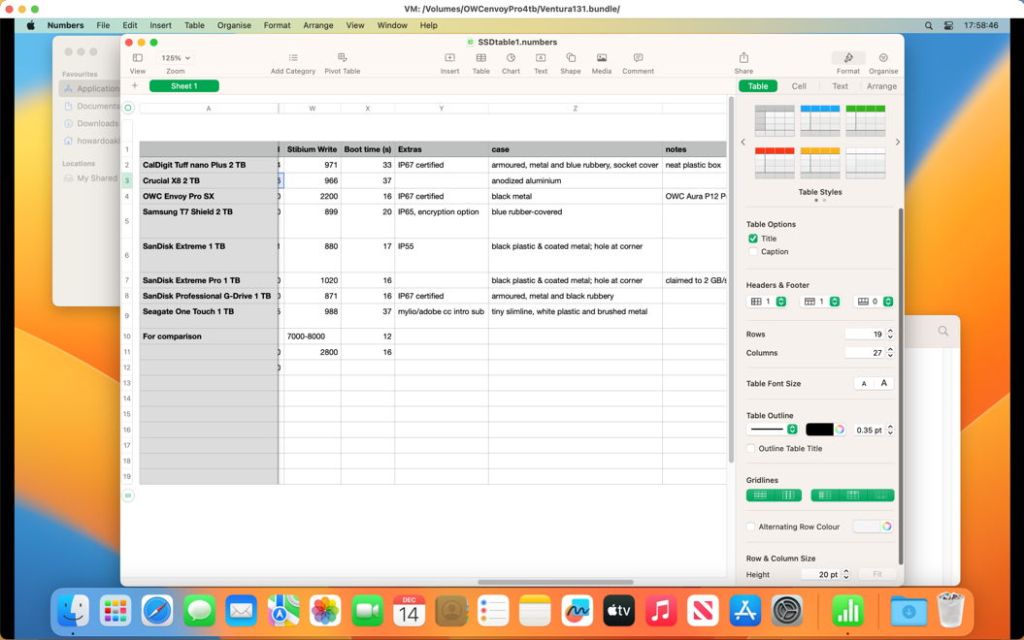
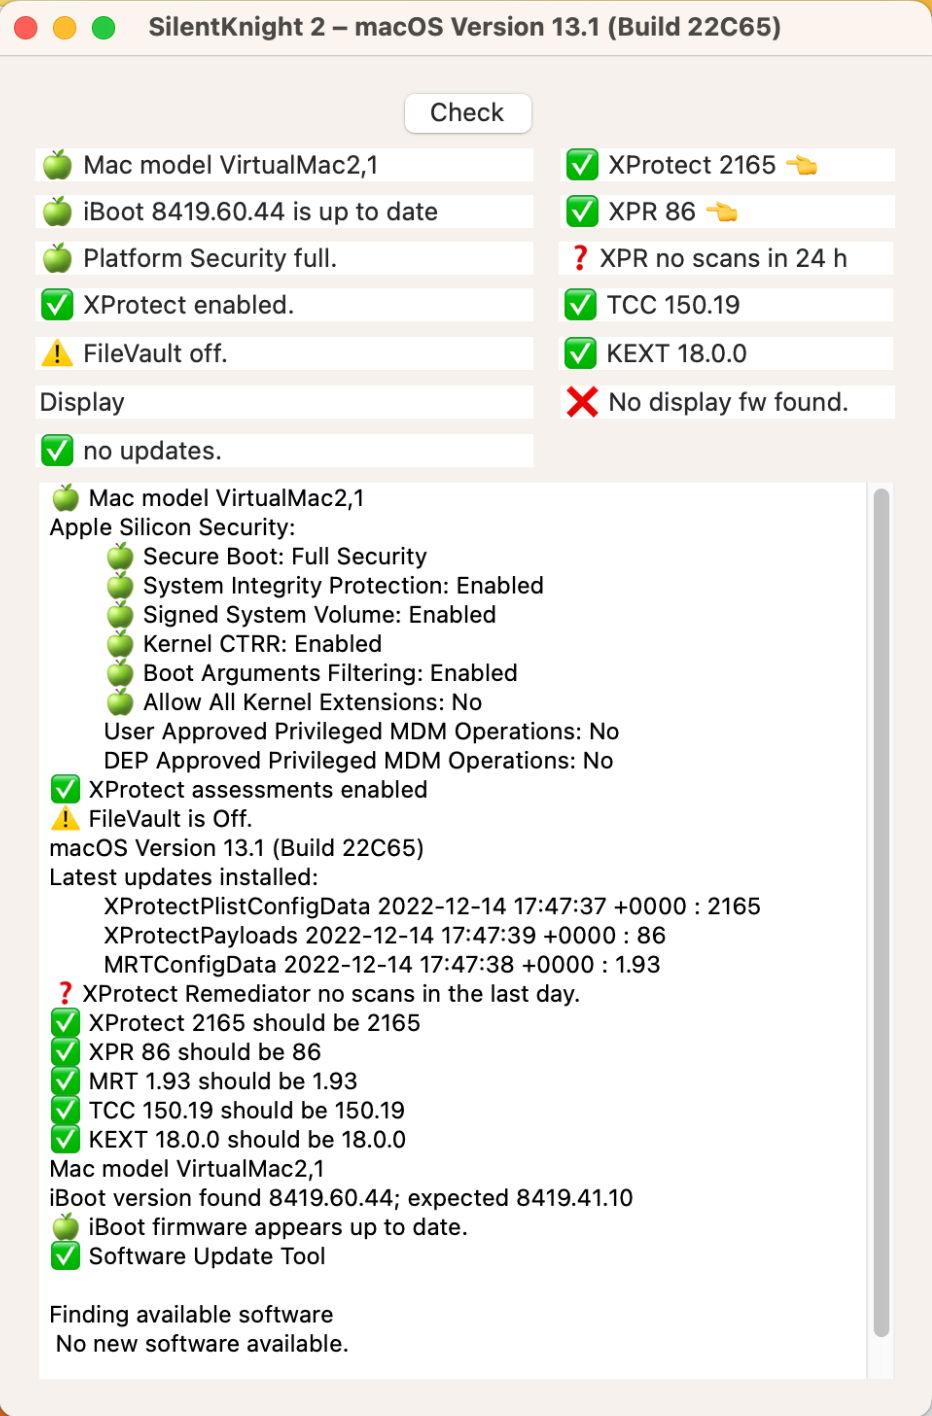
Although all paid-for apps in the App Store are locked out, because of the lack of Apple ID, you can copy across and run Apple’s ‘free’ apps including Numbers (above), Pages and Keynote. Although I haven’t explored it yet, you can also run the new bundled app Freeform. Free utilities like SilentKnight also run fine, and let you keep the VM’s security data files up to date.
The one irritating problem that I’ve noticed in Ventura is that trackpads don’t work so well, particularly for scrolling, and there’s no Trackpad entry in System Settings to adjust them. This is probably the result of Ventura VMs using a different Virtio driver from Monterey VMs, and hopefully will soon be fixed.
When you want to close your VM, just use the Shut Down command, wait until the VM window becomes completely black, and close that window.
I hope this has encouraged you to try a macOS VM on your Apple silicon Mac, and shown how cheap and simple they are. I haven’t touched on many other features available, including the creation of VMs with the same Machine ID, so that their identifiers are identical, use of Recovery mode to change boot security settings or to disable SIP, or running two versions of virtualised macOS side by side. You’ll find most of these covered in previous articles here, listed on Viable’s Support Page.
