
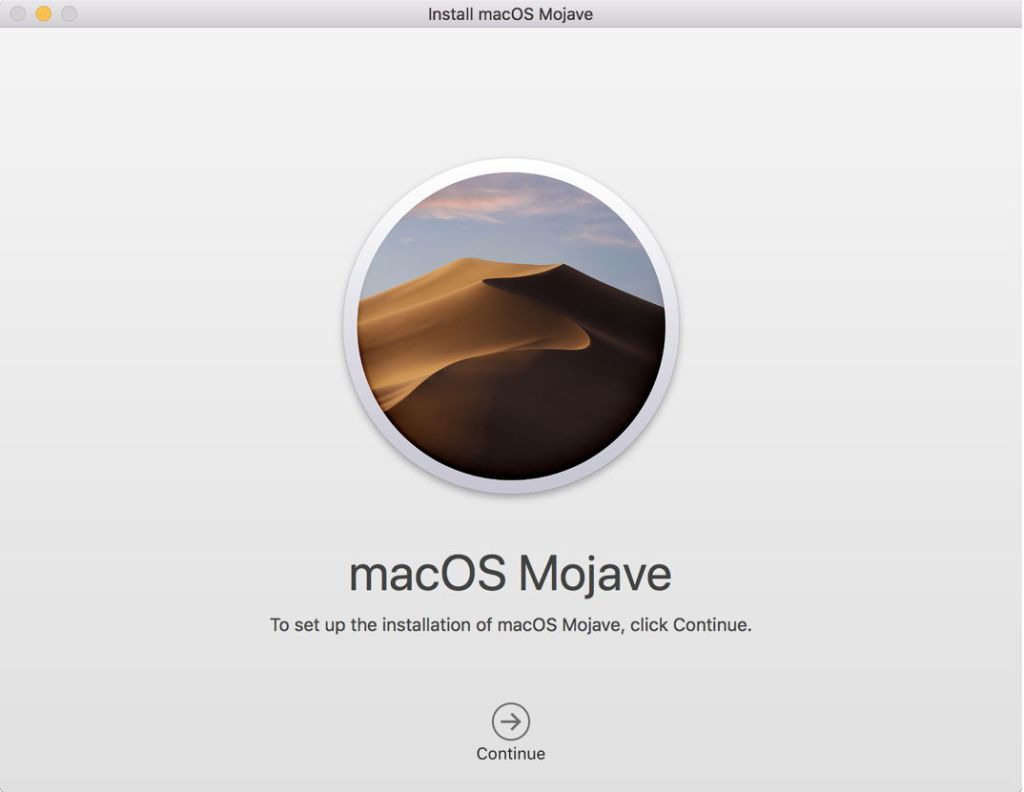
Apple released macOS 10.14 Mojave at 1700 UTC on 24 September, as scheduled. Although the App Store didn’t always seem to want to offer it, showing High Sierra as the current macOS available for some time after its release into the Store, it is there and ready for download free of charge.
Apple provides it in a monolithic 6 GB installer app; after last year’s failed experiment with a two-part installer, I’m delighted that this sticks to the proven system.
When it has downloaded, ensure that you make at least one safe copy of the installer, as in previous cases it does remove itself once the upgrade is complete. A copy is essential if you want to make a USB bootable installer, or upgrade other Macs.
If you have an iMac 27-inch Late 2012 with a 3 TB hard disk and a Boot Camp partition, you must remove that partition before you can install Mojave, according to an Apple support note just published. Other models and configurations are not, apparently, affected.
If you are upgrading a ‘cheesegrater’ Mac Pro (Mid 2010 or Mid 2012), Apple provides detailed instructions for those models at this page, which lists compatible graphics cards. This requires turning FileVault off before upgrading, and ensuring that you upgrade only from High Sierra 10.13.6 rather than any earlier version of macOS.
Many users with MacBook Pro 2018 models with the T2 chip are reporting that upgrading fails towards the end of the process. Recommendations which have proved successful for some include resetting the SMC prior to upgrading, and reinstalling High Sierra in Recovery mode before trying the upgrade. If you have problems, you would be wise to contact Apple Support for their latest solution.
I have so far installed it on my MacBook Pro 2017, as an upgrade from High Sierra 10.13.6 (it has been running Mojave betas from an external SSD). On this Mac, the installation sequence took just under half an hour in total, passing through the following stages (elapsed times in minutes:seconds from the start):
- installer splash screen – this is the point to ensure you make a copy or three
- licence agreement
- choice of installation disk
- 00:00 “About 9 minutes remaining” according to installer window in High Sierra
- 02:25 restart to black screen, then white Apple logo and progress bar
- 03:25 grey screen, then black with Apple logo and progress bar “About 36 mins remaining”
- 17:05 brief black screen, back to progress bar as before
- 18:00 blink black, back to progress bar
- 18:20 “About 16 mins remaining”
- 28:30 complete.
Your times and stages may well, of course, vary, particularly if the installer is converting a large Fusion Drive to APFS. It’s also heartening to see the Installer using the privacy protection system too.
New: I have now checked the EFI firmware updater from the 10.14 installer, and it doesn’t bring any new updates from 10.13.6. So few Macs are likely to undergo any EFI firmware update. I have updated my list of EFI firmware versions accordingly.
You’ll then need your Apple ID password to enter the App Store, and the standard 6-digit code for authentication as if it was a new Mac.
If you need to create a bootable installer, for example on a USB memory stick, then Apple’s official instructions are here, and have been updated for Mojave.
(Updated 29 September 2018 with EFI firmware information.)
