

I have been a bit remiss. In my otherwise fairly comprehensive coverage of the new Privacy tab in the Security & Privacy pane in Mojave, I have barely mentioned one class listed on the left: Accessibility.
Well, it’s all about Accessibility features, so shouldn’t affect so many Mac users, should it? No: there’s actually much more to it than that, and some users of automation tools such as Automator may get to use it quite a lot.
The Accessibility list works like Full Disk Access: apps can’t declare their intent to be added to that list, as they can with Location, Calendar, or Camera, and it’s a list to which the user retains full access. But it’s also a bit smarter than Full Disk Access, in that Apple’s apps can add an item, but not apparently enable it.
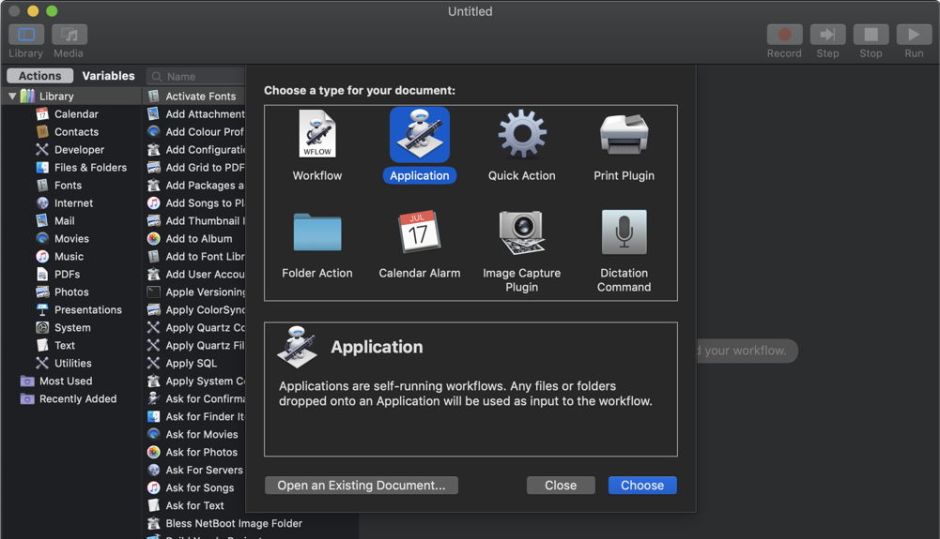
The best way to see it at work is, of course, to use it yourself. In Mojave, open the Automator app, and opt to create a new document.
The first step is to record a series of user actions, which will add an app to the Full Disk Access list in the Privacy tab.
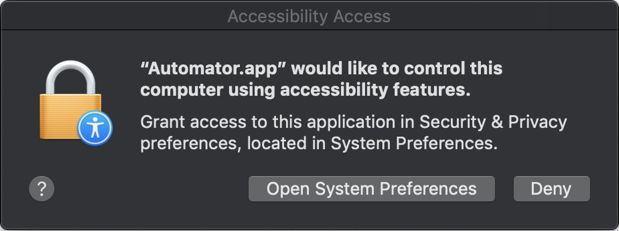
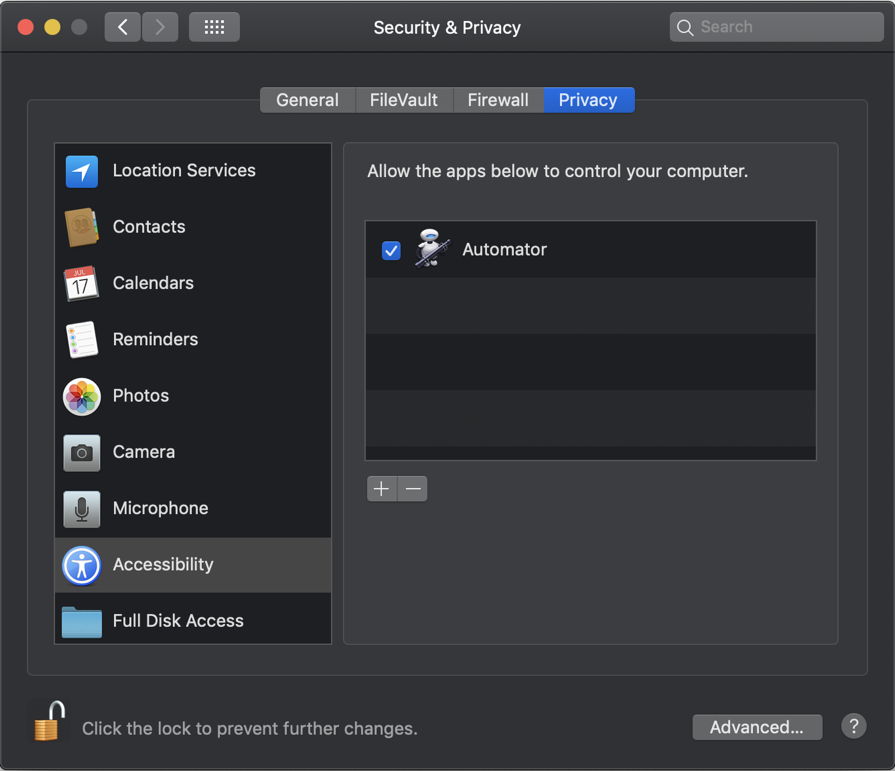
When you click on the Record button, you’ll be prompted to add Automator to the Accessibility list. Note that macOS has already added Automator to that list, but hasn’t ticked its checkbox to enable it. Do that.
Then close the pane, and click on Record again. Note another important difference between Apple’s apps and those built by third parties: when you add a third-party app to a privacy list, you have to quit the app and open it again for that change to take effect. With Apple’s apps, the change is effective immediately.
Now step through the sequence to add an app to the Full Disk Access list. Make this as complete as possible: start with System Preferences closed, and step through opening it, selecting the correct pane, clicking on the padlock and authenticating, selecting the Full Disk Access list, and adding a demo app using the + tool. Then close the pane and stop recording.
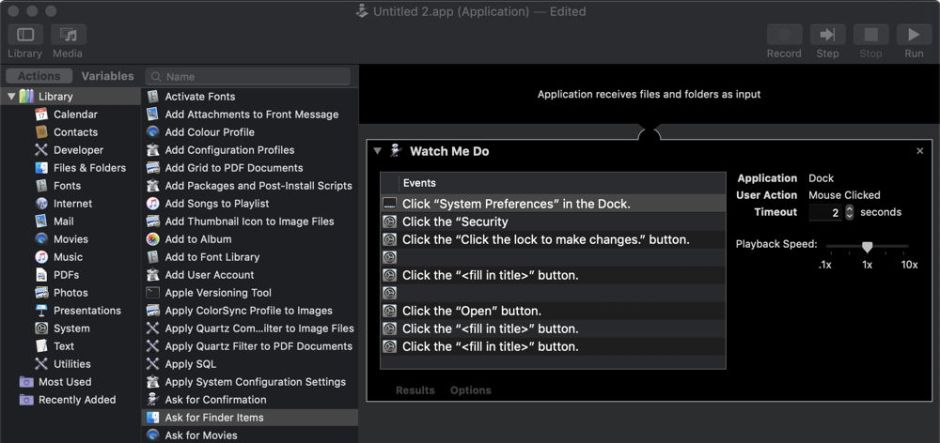
You’ll end up with a Watch Me Do workflow which takes you through those steps. Save that as an app, remove the demo app from the Full Disk Access list, and try running your saved Automator app from the Finder to add that app again.
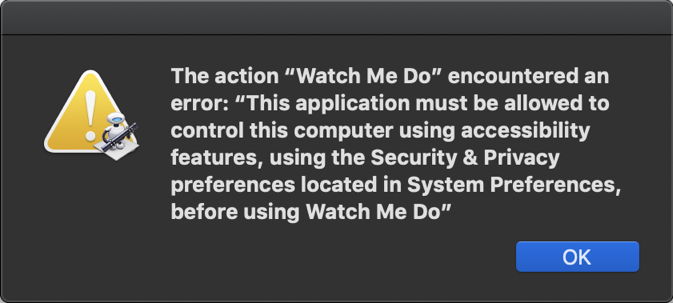
Here’s the catch: in order to run that workflow, your app must itself be added to the Accessibility list. Without that, running it just results in this error alert, and it quits.
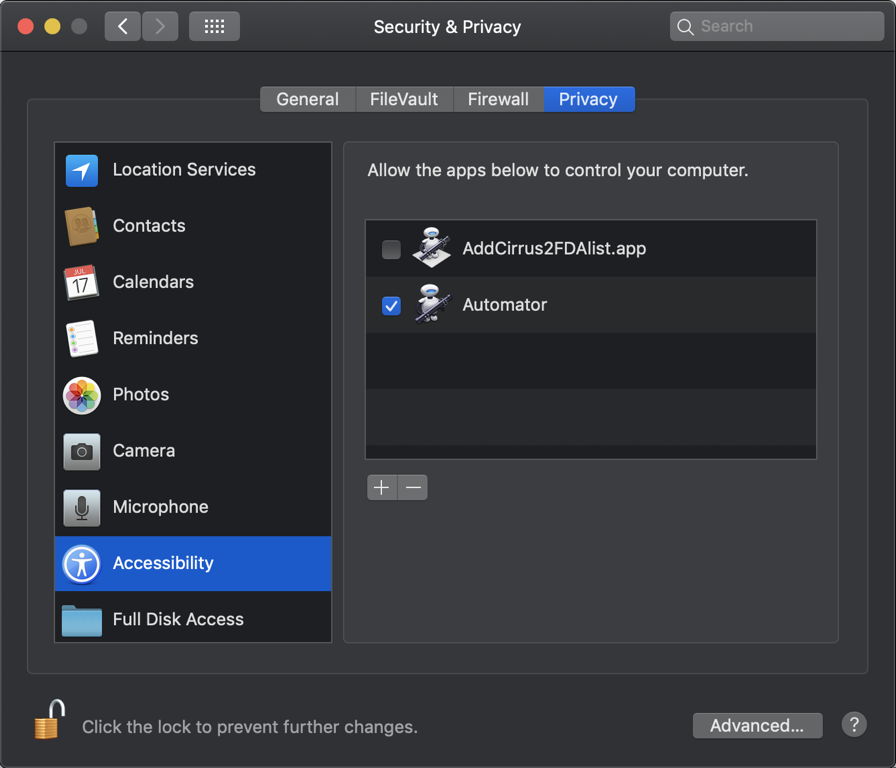
In fact, macOS is kinder than that. It adds your app to the Accessibility list, but you have to open that list, authenticate, and enable it by ticking its checkbox there.
Once you have done that, your new app will automatically add the demo app to the Full Disk Access list. But in order to do so, the new app has to be added to the Accessibility list, so you haven’t actually gained anything.
Although this may seem like a pointless failure, it has demonstrated some interesting behaviours:
- The Accessibility list controls which apps can use Watch Me Do style recording and playback of user actions.
- The Accessibility list behaves similarly to Full Disk Access, in that the user can add items to it. But Apple-signed apps, and Automator apps, can also add items to the Accessibility list, even though they still have to be enabled manually by the user. The behaviour of Automator apps in this respect is probably attributable to their use of pre-compiled Apple code in their bundle.
- Although you could use an Automator app to add multiple apps to the Full Disk Access list, perhaps, because that Automator app has to be added to the Accessibility list first, that would gain little.
If you can find a way of improving on any of this, please let us know.
