
A lot of those who have upgraded to macOS 10.12 and 10.12.1 Sierra have reported problems with Time Machine making proper backups. This article explains some approaches to solving those problems, and restoring normal backing up.
Prepare for the first post-upgrade backup
After a major system upgrade, such as going from 10.11.x to 10.12.x, the first backup is going to be large, and will take quite a long time, both in preparation and execution. The slower the connection between your Mac and the backup drive, the longer this will take. Before that first backup is due, ensure that the connection between your Mac and the backup drive is as fast as you can make it: Thunderbolt or USB 3 if possible, a wired network connection, or (if it has to be wireless) both systems close together so that they can benefit from the highest WiFi speed.
Before the backup starts, disable any anti-virus software, or set the backup drive to be excluded from scanning if that is impossible. Several anti-virus products have been reported as causing problems with Time Machine, and these appear worse with Sierra, and with older versions of those third-party products. Ensure that any other old or suspect third-party software is disabled too: manky old drivers for a scanner, for instance. Try to make your Sierra system as clean as possible, and as close to textbook spec.
Even then, some initial backups can take several hours. Over that period, maintain laptops on mains power (not battery), keep the systems well cared-for and cool, and don’t let them sleep. It is often best if you leave them to get on with it and enjoy your own sleep: it will stop you fretting about them and trying to force things.
If possible, quit all other apps during that first backup, so as to give your Mac all the processor and bus bandwidth it needs.
If it fails to complete
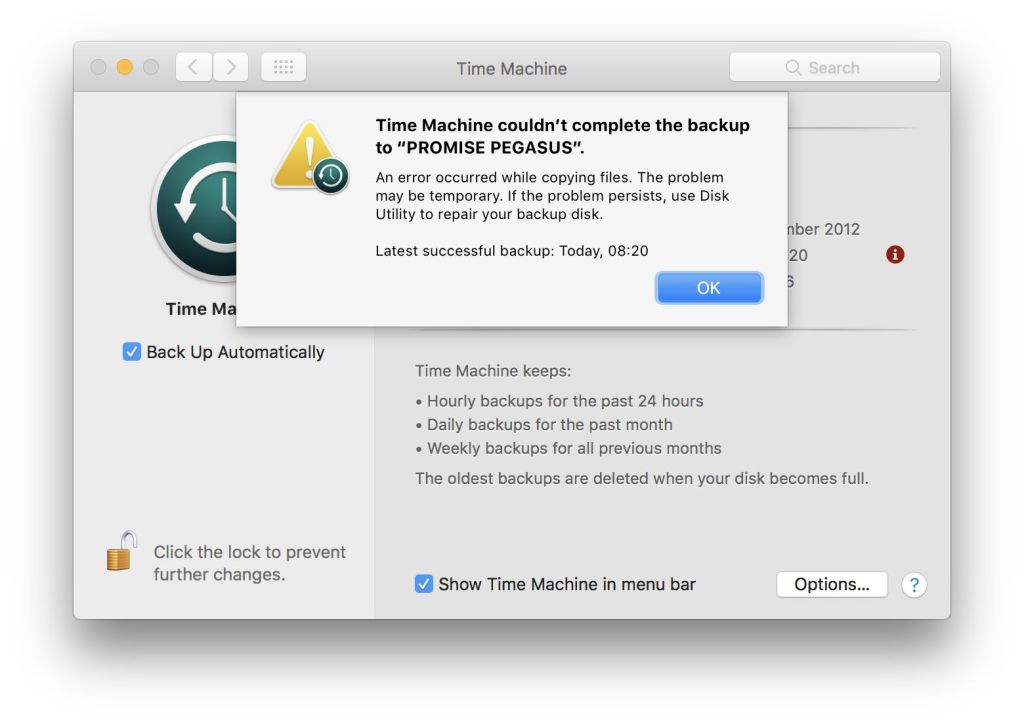
If you have problems with that first backup, and it fails to complete, restart in Recovery mode, and run Disk Utility. There, use the First Aid tool first on your startup drive, then on your backup drive. If either has errors which cannot be repaired, you will need to take appropriate action, such as backing the drive up then initialising it again. Backups are almost guaranteed to fail if there is an error on the drive being backed up, or the drive it is being backed up to.
‘Magic’ panaceas which can sometimes restore normal backups include:
- Starting up in Safe mode, leaving your Mac for a few minutes, then restarting normally. This flushes various caches, but doesn’t do anything specific about backups.
- Resetting the NVRAM and/or the PRAM. Again this shouldn’t do anything specific to fix this sort of problem, but some users report that it makes all the difference.
You’re welcome to try them, but don’t expect success.
If your Mac hasn’t run a successful backup for some time, the first backup will be a major one, and will take a long time to prepare, and to complete. This can also be true if the last backup was interrupted (for example, you restarted before it was complete), or failed. In such cases, allow ample time for the next backup.
Making a new backup
If your old backup is precious – maybe, like mine, it goes back for several years – it is worth considering starting with a fresh backup if Time Machine isn’t getting on well with that old one. You can then keep the old backup somewhere safe.
When buying a new disk to use as a backup drive, ensure that it has ample capacity. Although there is no sensible rule, if it is at least three times the expected size of a full backup, it should be good for a while. So if 500 GB of your startup drive is already taken up, a 1.5 TB drive is the smallest you should consider, and 2-3 TB is likely to be even better.
Before making the first full backup to that new disk, go through the same precautions as advised above, specifically:
- Turn off or disable any anti-virus and other intrusive software, and remove all old or creaky extensions, etc.
- Restart in Recovery mode and run First Aid on your startup drive. This is also a good time to initialise your new drive.
- Connect your Mac and the backup drive using the fastest means possible.
- Leave your Mac awake for several hours, not running other apps, to allow it to complete the first backup.
- Ensure your Mac is running from mains power and kept cool during the backup.
At any time during this, if you are encountering errors or backups get stuck, it is worth checking your logs to get a better idea as to what is going wrong. You will probably find it best to use LogLogger to do this – it is available free.
There may be bugs in Sierra’s Time Machine, and updates to 10.12.2 and later may make this all more reliable. But most Sierra users who run Time Machine are not having those problems. The above suggestions should help you join them. Apple’s tips are available here.
