
For better or worse, Adobe’s PDF has become the de facto standard for most electronic archival and many other purposes. Unfortunately, it was never designed to enable you to reconstitute an original, editable version from its files. When you search for an old project and can only come up with a PDF copy, you can expect to have to spend a long time working with conversion tools to try to turn that PDF into something that you can work with.
For my money, one of the most important new features in QuarkXPress 2016 is its ability to turn imported PDF pages into native objects, which you can then edit and rework. It saves the couple of hundred dollars paying for a plug-in, and should be much better to use. This article describes my initial experience working with a few PDFs. It is not a stress test, nor a comparison with those plug-ins and other tools: I wanted to see how well this new feature works, and whether I can rely on it in the future.
The way that this works in QuarkXPress 2016 is simple: you import a page of your PDF document onto a page in your document, then convert that PDF ‘image’ into native objects. It is that straightforward.
First create your new document using the New Project command in the File menu.
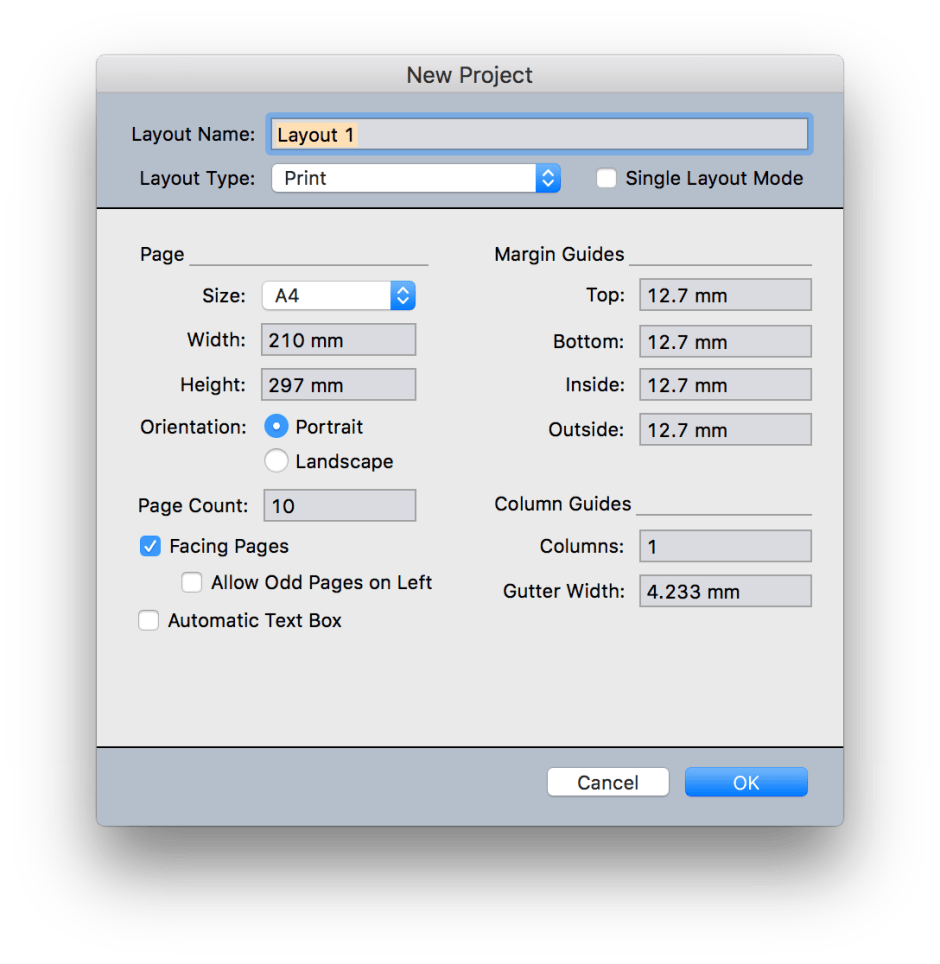
In the New Project dialog, set its page size, length, and other settings so that it will accommodate the PDF pages. When that document is created, select the first page into which you wish to import the first page of PDF. Then use the Import… command in the File menu to start the process.
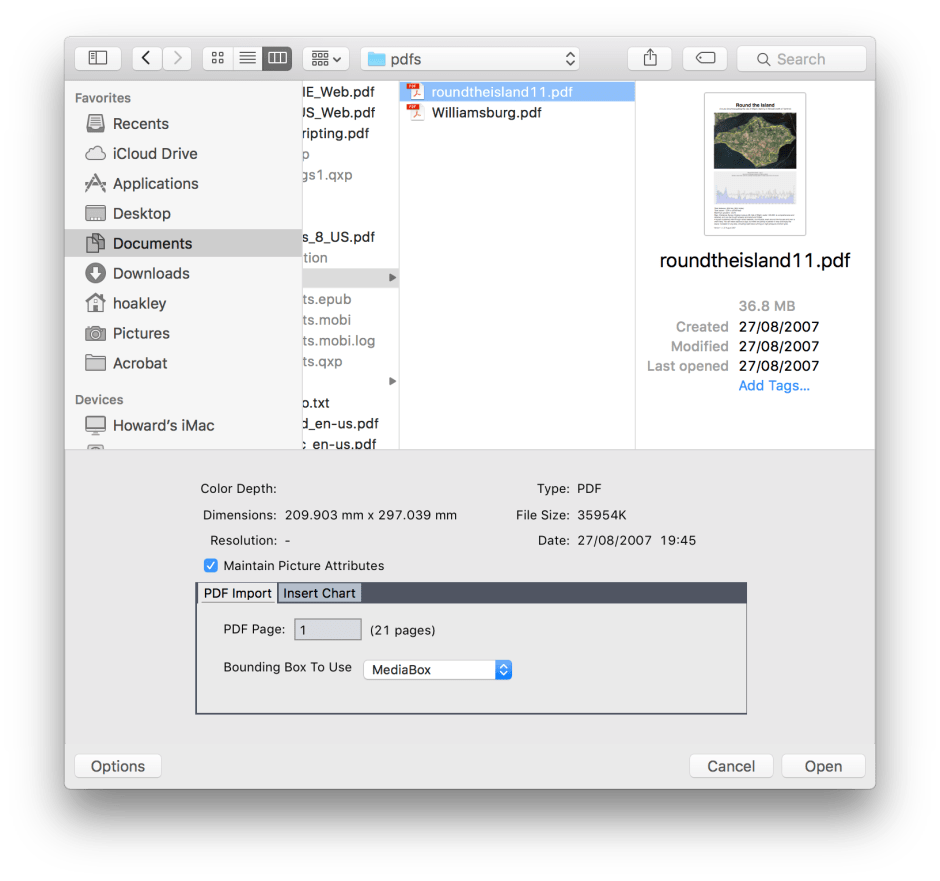
In the Import dialog, set the page number of the PDF document which you want to place. This accepts a single number in the page range of the PDF document, but not ranges or multiple pages. Then click on Open.
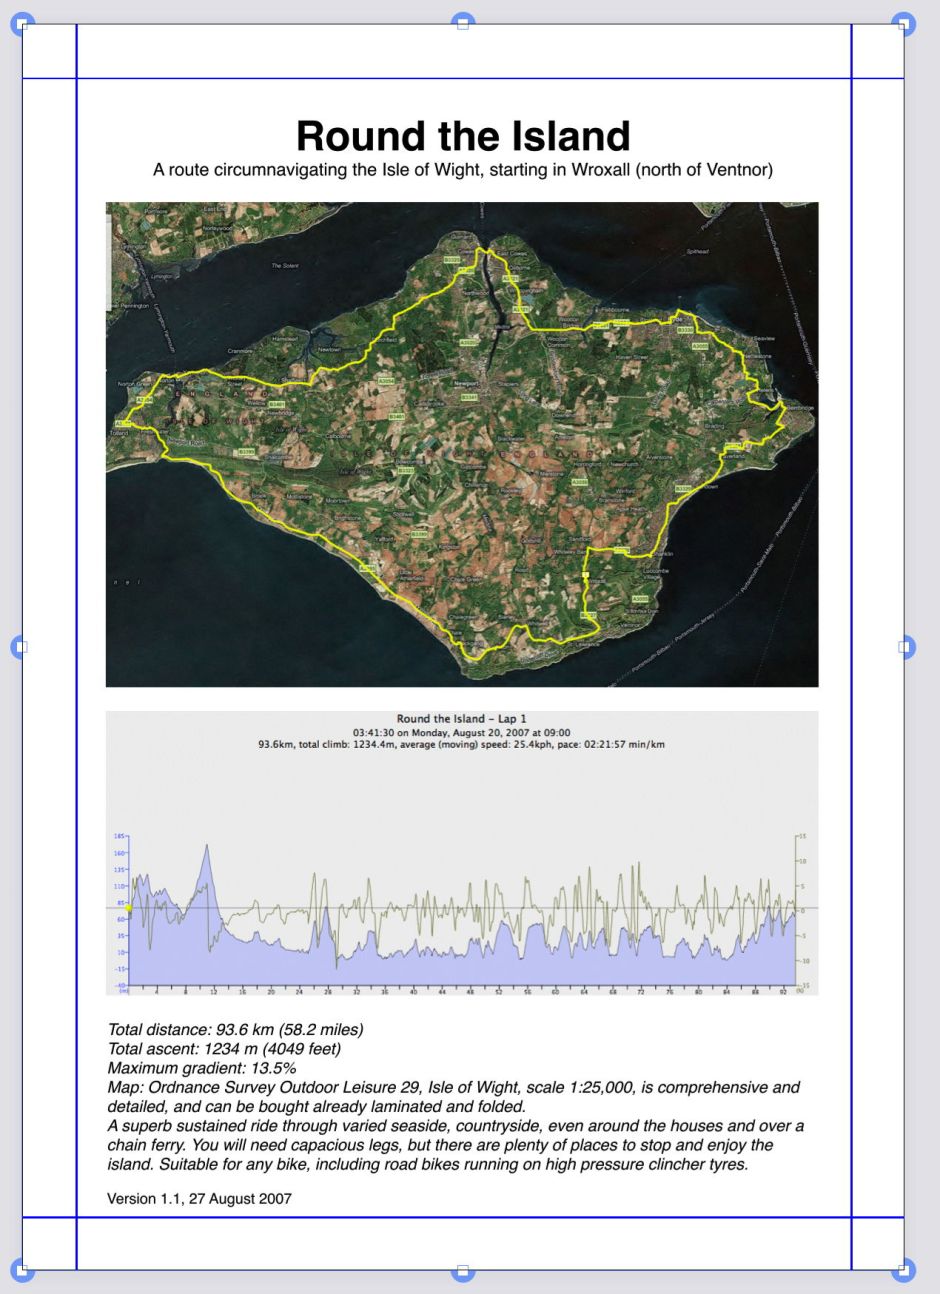
You will then see the selected page placed on your first page as a PDF image. With that selected, right-click and hold, or whatever gesture you use to bring up the contextual menu, and from that menu select the Convert to Native Objects command.
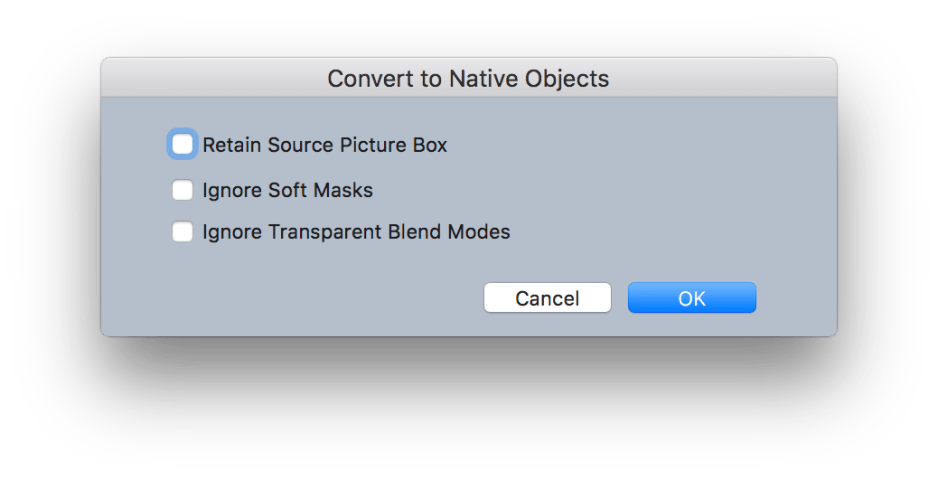
Click on OK in the next dialog, unless you want any of those options.
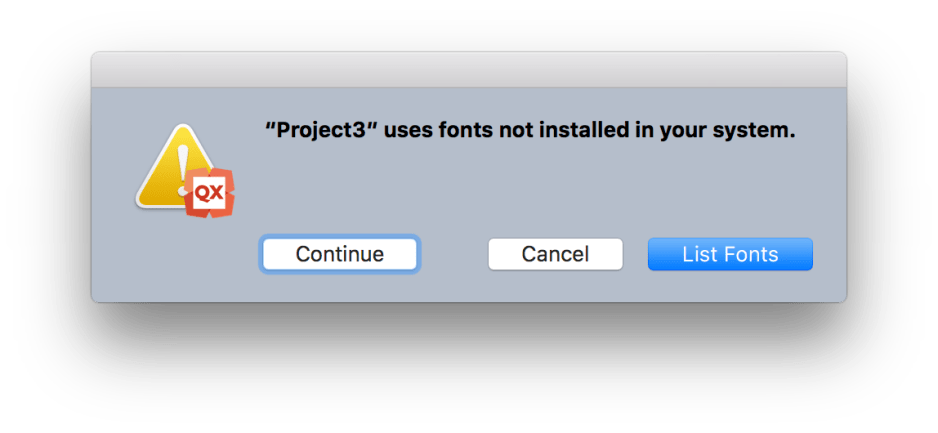
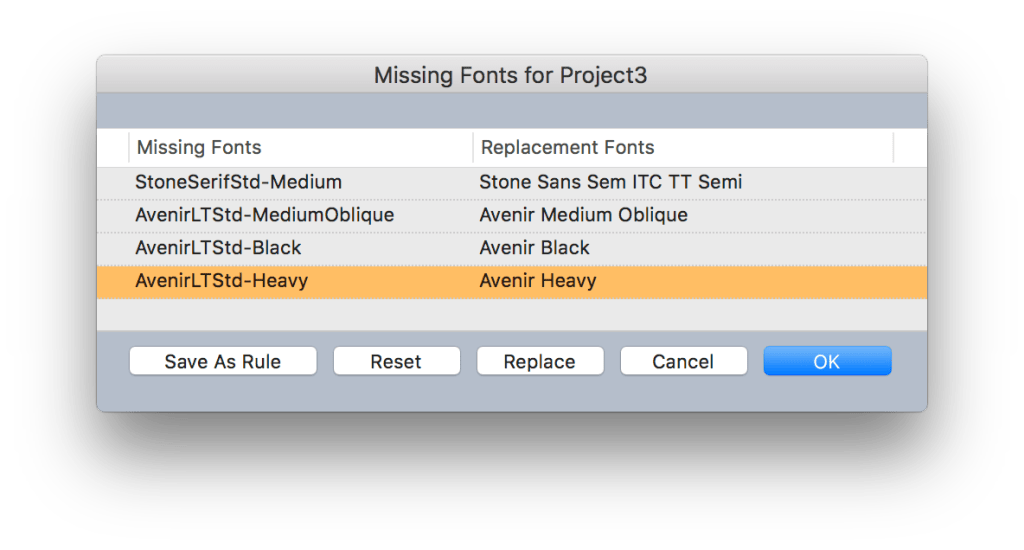
If the PDF content uses fonts which are not available, you will be informed of that. Click on List Fonts to inspect these.

The next dialog helps you make substitutes. Select one row and click the Replace button to pick an alternative font. When these are all set, you can save the substitutions as a rule for future use, then click OK to complete conversion. If you already have all the fonts installed, you will not see these dialogs, of course.
This turns the PDF image on that page into a grouped object. You are almost certainly going to want to edit it further, for which you should use the Ungroup command in the Item menu.
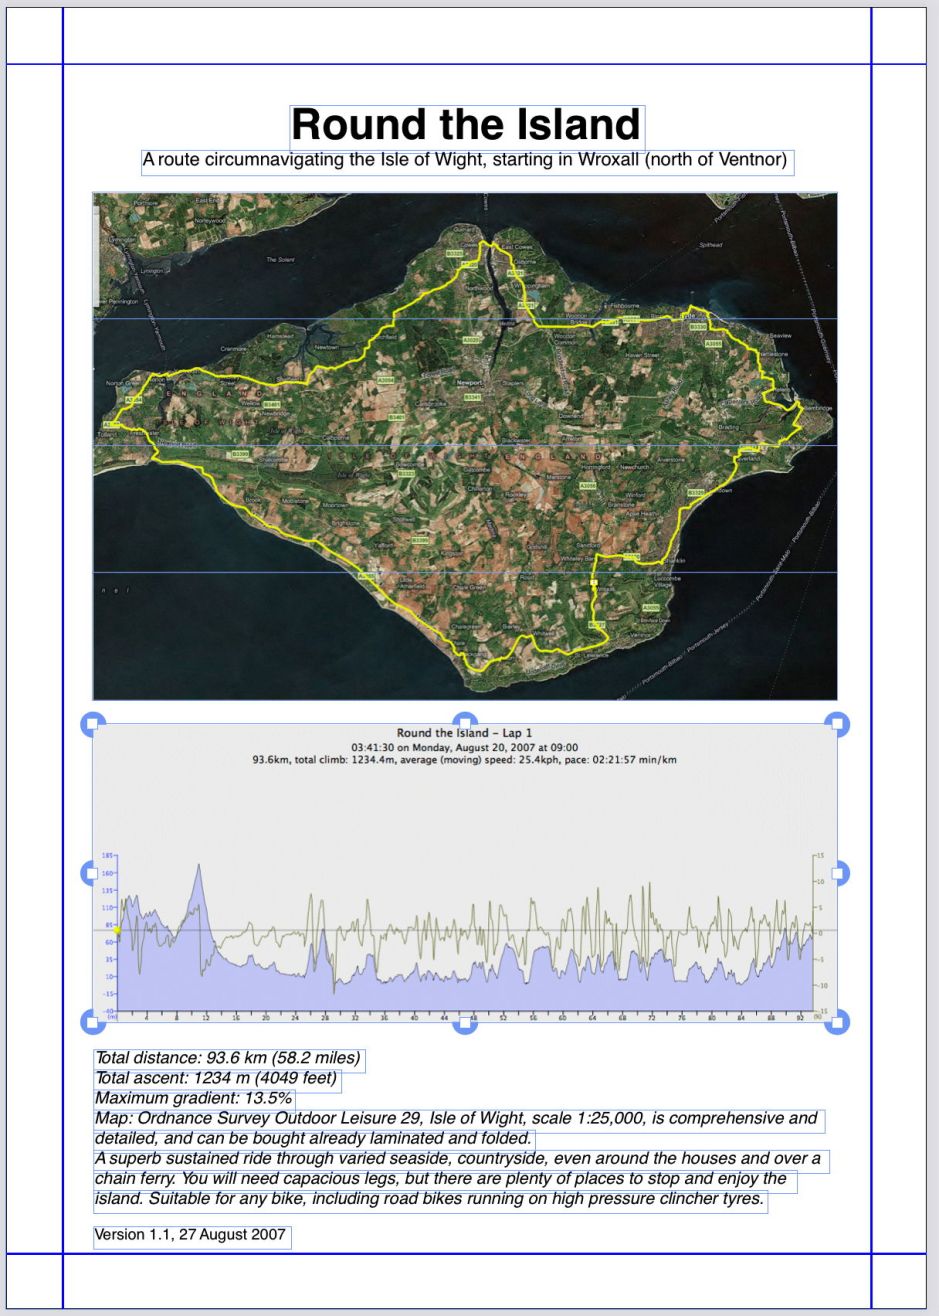
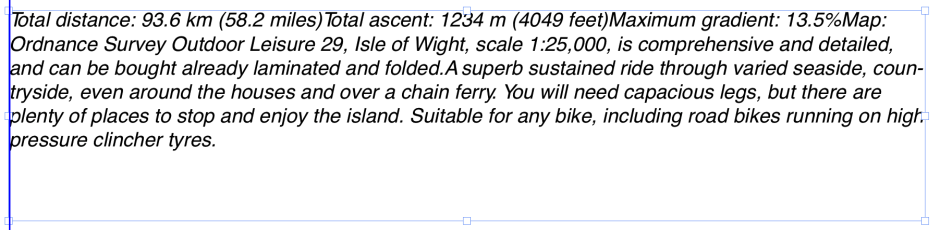
One of PDF’s many issues is that paragraphs of text are invariably broken up into smaller sections, making even minor edits very tricky. One way to work around this is to link the individual text boxes together, so that you can flow them into one. Ensuring that you are using the Item tool, and holding the Shift key to allow multiple selections, select each of the text boxes which you wish to merge.
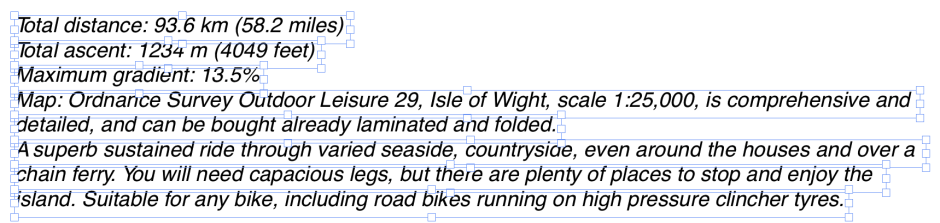
Then use the Linkster… command in the Utilities menu to link them together.
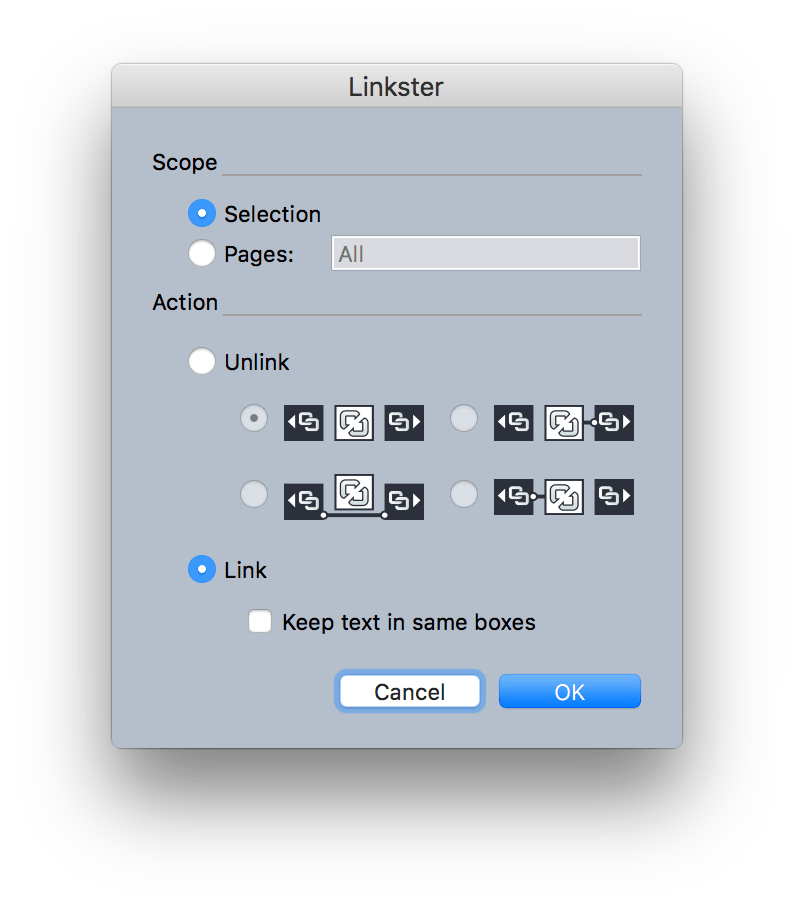
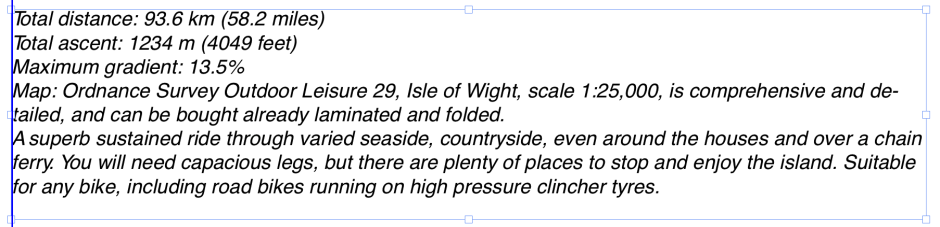
Once they are linked, select the first text box and resize it until all the text flows into it, leaving the following text boxes empty. Select those empty boxes and delete them (Delete key). You can now adjust the one remaining text box to its correct location and size, and edit its contents as appropriate.
Simply repeat this process for each page. It seems a bit fussy at first, but this is inflicted by the way that elements are stored in PDF. Once you get a system going, you will be amazed at how quickly you can import, convert, and reflow pages of PDF.
I tried quite a range of documents here, and the only ones which were not perfect were some old graphical spreadsheets from Apple’s Numbers app, which seem to be stored in the PDF files as straight images. Nothing is going to open those up any better, I am afraid, apart from Numbers itself.
