
All it takes is $350, plus shipping and tax, to own an Oculus Rift DK2 – the hottest hardware at games shows over the last year or so. But before you borrow that from next summer’s holiday money, you should know what you are getting yourself into.
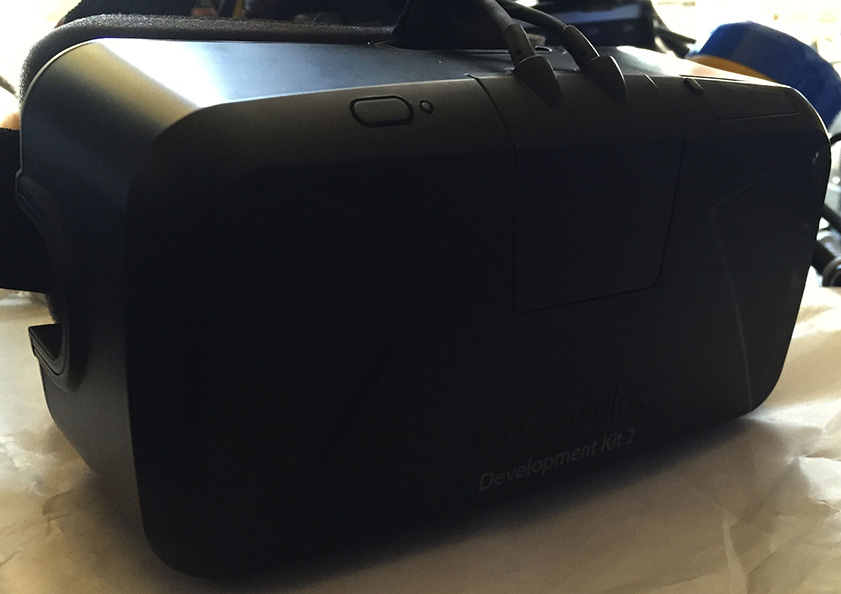

A VR display system has to present the eyes with carefully constructed images to enable the brain to assemble them into a 3D space. For a truly immersive effect, the Oculus Rift (and similar devices) achieve this in a pair of goggles, incorporating small displays identical to those used for smartphones. This is different from augmented reality (AR), as in the Google Glass and Microsoft’s HoloLens (when it eventually ships): those add virtual features to what you can already see in the world around you. VR aims to completely replace the real with the virtual.

One big difference between this type of VR system and a 3D display is that the goggles create the illusion of a complete world. Turn your head, and the images in the displays pan as if you were viewing virtual space in reality. So the Rift has a positional tracker to watch where your head is pointing at any time.
Positional tracking seems quite a simple idea, but turns out to be surprisingly difficult to accomplish properly. The big issue is the lag between detecting head movement and producing the required shift in the displayed images: if that is noticeable, it makes the experience unpleasant enough to bring on motion illness. Oculus has been working hard to get this aspect right, and although they are continuing to reduce lag, the DK2 is eminently usable and not too nauseogenic.
The other essential component in most VR systems is some form of 3D audio. This is another feature built into the latest ‘Crescent Bay’ prototype; the DK2 leaves you to sort out your sound system for yourself.
At this stage of development, input devices other than positional tracking are on the back burner. Oculus Rift can be integrated with a Leap Motion sensor, games controllers, and anything else, but that is not intended to be part of the first consumer release bundle.
The DK2 is understandably the second development prototype made available by Oculus. Late last year they demonstrated further improved hardware in the ‘Crescent Bay’ prototype, but it is not clear whether that will feature in a DK3 before the first consumer model is launched, hopefully later this year. The table below summarises features of existing models of the Rift, as far as I can establish.
|
DK1 |
DK2 |
‘Crescent Bay’ |
|
|
Date shipped |
Mar 2013 |
Jul 2014 |
unreleased |
|
Display |
LCD |
OLED |
OLED |
|
Resolution (each) |
640 x 800 |
960 x 1080 |
‘higher’ |
|
Refresh |
60 – 75 Hz |
‘higher’ |
|
|
Persistence |
2 ms + |
||
|
Field of view |
110˚ |
100˚ |
|
|
Rotational tracking |
3 axis |
3 axis |
full 360˚ |
|
Positional tracking |
none |
3 axis |
|
|
Weight ex cables |
0.38 kg |
0.44 kg |
‘lighter’ |
|
Audio |
none |
none |
3D |
The DK2 is fairly mature hardware, with extensive support for development, but has some rough edges. If you expect peripherals just to plug in and work, then it is definitely not for you. If you are prepared to fiddle about a bit, and see yourself creating something using VR, then it is an excellent way of getting a lead in the field. If you are a potential VR software developer, then this is probably old hat to you.

The Oculus Rift DK2 ships with the following:
- the Rift headset, including goggles, adjustable harness, and cables;
- lenses A (for the normal and moderately myopic) and B (very myopic), which can be worn with most types of spectacle;
- the positional tracker, which sits on top of your display, or similar, and its cables;
- power adaptor with plug adaptors for US, UK, EU, and AU;
- a DVI to HDMI adaptor, suitable for PCs but not Macs.

You will also need:
- a fairly modern and fast Mac with HDMI or Thunderbolt/Mini DisplayPort display output (I use an iMac 27″ with 3.4 GHz i7, 16 GB RAM, and an AMD Radeon HD 6970M graphics card with 2 GB);
- two free USB ports, which can be on a hub;
- a mains power socket (low power) for the power adaptor;
- a Mini Displayport/Thunderbolt to HDMI adaptor (if you do not have an HDMI port); I bought a quality Neet model from Amazon for £11.99; note this needs to provide an HDMI socket (female) to accept the male plus from the headset;
- plenty of hard disk space; the software tools and demos are all pretty huge, so allow at least 5 GB if you are going to have fun; all the software is downloaded from Oculus., where you will need to create yourself an account (free); the most vital download is the current runtime for the Mac.
Hardware installation is detailed in the printed instructions, and in a PDF. Oculus is currently shipping DK2 hardware which no longer needs the vital firmware update, so you should not need to fiddle around with that step. You will need to adjust the lenses (maybe) and their standoff (distance from the eye); the latter can be done using a 1 p coin or similar to turn the screw at each side of the goggles. I suggest that you start out with the standoff at maximum, which keeps the lenses as clear of eyes or specs as possible.

Once you have got it all connected and powered up, start the Oculus Configuration Utility (link placed on your Desktop when you installed the Oculus Runtime), and it should turn your positional sensor on, recognising that and the goggles. You may then wish to take a small dose of an appropriate drug against motion illness, give it some time to work, and get ready to don the headset.
Your Mac will now have two displays, shown in the Displays pane of System Preferences. Unfortunately the DK2 display has to be rotated through 90˚, which needs to be done on the DK2 display. So open the Displays pane (on your main display, no goggles) and position it centrally on the screen. Then select the Arrangement tab. You will see the DK2 appears as a thin second screen in portrait mode. Don the goggles, and then move the pointer over to the DK2 display, locate the Displays window there, and switch the orientation to 90˚ of rotation. This is far harder than it sounds, and if you manage to do it without barfing or developing a blinding headache, be proud.
You will quickly have observed a snag with the DK2 when used as a regular display: the indicated screen area in the Displays pane is actually two separate halves, one shown to the left eye, the other to the right. You will therefore need to close one eye, alternating eye according to whether you wish to see the left or right half of the display, or you will never be able to work out which half display the pointer is in. This is worst while your DK2 is unrotated, and does get easier, although still quite tedious and eye-straining.

In order to run anything on the DK2 in VR mode, you will need two windows open and readily accessible on the DK2 display: the Displays pane, and the Oculus Configuration Utility. You will also need a Finder window or similar location containing the VR apps, etc., that you wish to run. It is worth getting this set up on your main display, with the windows fairly central, so that when you switch the main display everything remains accessible. There is nothing so frustrating, and eye-bending, as trying to put the mess right with the DK2 as the main display, or straining up towards the menu bar, or down to the Dock. They will probably be unreachable unless you change the display’s settings. Now you know why this is a Developer Kit: it develops the muscles in your neck and eye.
Once you are ready, on your main display, using the Arrangement tab, drag the menu bar from the main display and drop it on the DK2 display. Your windows will flip over to the DK2, ready for you (winking away and battling to keep the pointer in the right place) to run the first VR demo, such as that in the Configuration Utility.
There are dozens of different demos, early releases of games and other products on the Oculus website. My personal favourite, which should impress the most as it seems to work straight from the box, is Iceland. This fly-through of an extensive Arctic virtual world is extremely impressive, strong VR without making you reach for the puke bowl. Another package to look at early is Whirligig, although it is more fiddly to set up properly. I also recommend LiveViewRift once you are getting the hang of using the DK2. In a future article, I will provide further details of suggested explorations.
So yes, Oculus Rift DK2 works, and works extremely impressively. For a content or software developer, it is an excellent platform for the future. If you have a GoPro or suitable camera for building 360˚ images, you can get started quite easily. If you are familiar with Unity or one of the other games development platforms with DK2 support, then please get to work. The consumer model is going to be simply stunning…
