
If you’ve more than one Mac, there will come the time that you need files from one on the other. This article provides a brief summary of the most popular ways of transferring files from one Mac to another in the same location.
Most convenient: AirDrop
What you need: the Macs need to be close enough to one another for Bluetooth to connect. On the same desk is good, in the next room is likely to fail. Both need to have Bluetooth and Wi-Fi turned on. They don’t need to be connected to any network, nor to iCloud.
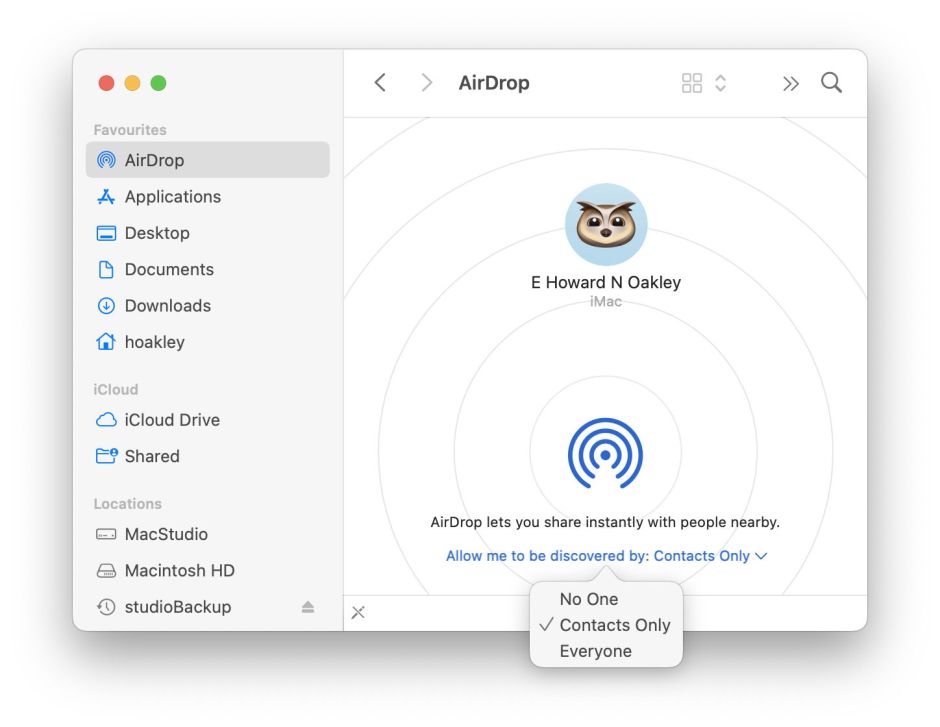
How to turn it on: in the Control Centre, where you also determine who can use it to send you files. You can also set these in a Finder window using the AirDrop item in the sidebar.
Pros & cons: easy to leave on all the time, as Bluetooth and Wi-Fi are also required for Handoff features. Although very convenient for a few files, it’s just about the slowest of these methods, with transfer rates around 40 MB/s between recent Mac models. It doesn’t require turning File Sharing on, but transferred files end up in your Downloads folder, complete with quarantine flags set. If you want to avoid the latter, compress the files first using Cormorant, and decompress them on receipt, as Cormorant automatically strips any quarantine flags during decompression. If your Macs are somewhere fairly public, or in an open-plan office, beware of letting anyone AirDrop files onto your Mac, as it could be used maliciously.
Faster: Network File Sharing
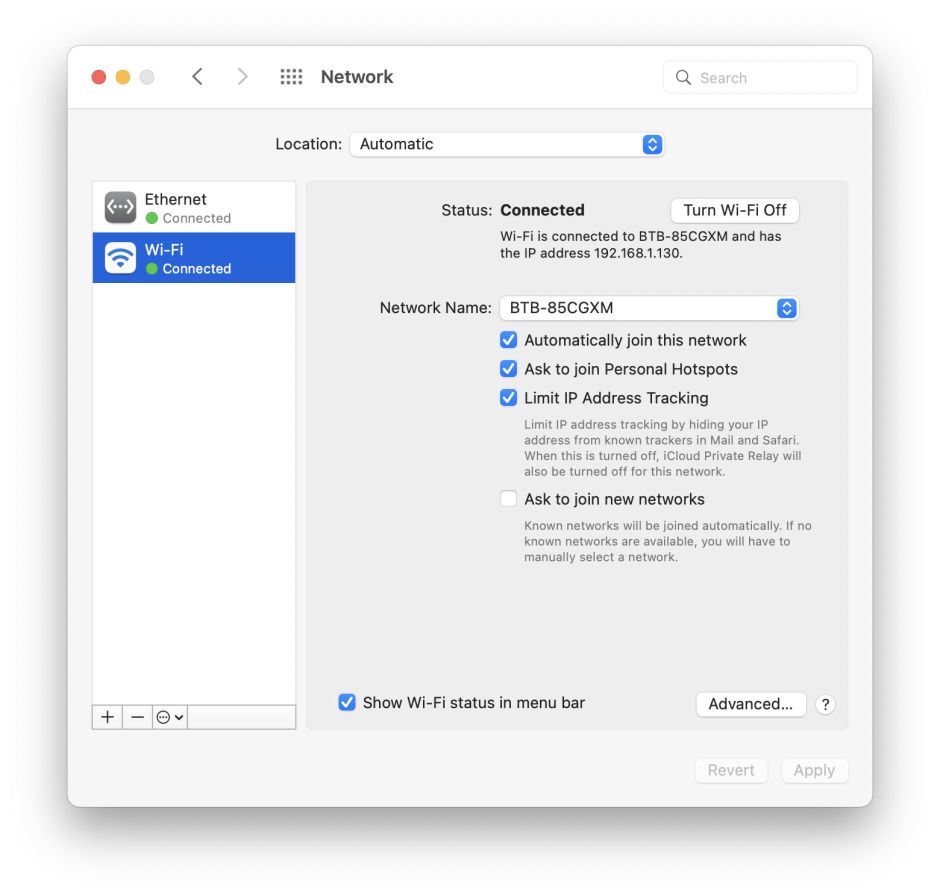
What you need: both Macs have to be connected to the same local network, or networks which are connected to one another, e.g. via a bridger. Connections can be over any interface supported by the Network pane, commonly including Wi-Fi, wired Ethernet, or Thunderbolt. That network interface must be configured so that the two Macs can ‘see’ one another over the network.

You must also make at least one of them a File Sharing server in the Sharing pane, add shared folders, and designate users. These are simple if this is for the same user on different Macs, but gets more complicated with different users.

How to turn it on: once configured, tick the File Sharing item in the Sharing pane. Then on the other Mac, use any means in the Finder, etc., to connect to that. Often the easiest is to select the Network item in the sidebar, and connect from there.
Pros & cons: the standard for those who need to move files around on a more regular basis. As your Macs are already likely to be connected to a local network, for many the only change required is to set up and enable File Sharing. By limiting access to specific users, this can be fully secure, so files transferred don’t get a quarantine flag attached to them. That’s a big benefit if you transfer apps which haven’t been notarized. The File Sharing server is essentially the passive partner: use the client to copy files to and from the server.
Connection media and speed: as File Sharing works across the full range of connection media, transfer speeds vary considerably. Older Macs with slower Wi-Fi may have speeds similar to AirDrop; faster Wi-Fi rivals basic 1 Gb/s wired Ethernet. Direct connections using 10 Gb/s wired Ethernet and Thunderbolt are the fastest, and should approach 1 GB/s when everything’s working well.
Fastest: Target Disk Mode
What you need: a Mac which supports Target Disk Mode, these days over Thunderbolt, connected to the other by a Thunderbolt cable, preferably TB4. Older Macs can also connect via USB or USB-C, but that doesn’t work any more in macOS 11 or later, which only supports Thunderbolt connections.
How to turn it on: connect the two Macs with the Thunderbolt cable. With an Intel Mac as the server, either select Target Disk Mode in the Startup Disk pane and restart, or hold the T key during startup. Once that server is in Target Disk mode, it’s automatically mounted on the client and ready to access.
With an M1 Mac as server, start it up in Recovery, holding the Power button pressed until it loads Options. Select Options and click Continue under it. Once the main Recovery mode window has loaded (offering its four options), open the Utilities menu and select the Share Disk command. Work through the sequence to select the disk until it offers you a button to turn sharing on; click that. On the client, you should then see the server available for connection over the network.
Pros & cons: by far the best solution for speed and access when you don’t need the server to be doing anything else. Totally secure, but a lot of effort for casually swapping a few files. With an M1 Mac as a server, you should see a read rate of 1.2 GB/s, and write of 1.9 GB/s.
Unlimited capacity: External storage or Sneakernet
What you need: external storage, from USB Thumb drive to hard disk or SSD, which you can attach to both Macs.
How to use it: connect the storage to the first Mac and load it up with files. Eject and disconnect it, then connect it to the second Mac, and copy all the files onto that.
Pros & cons: ideal when you need to transfer many files and large amounts of data between any two systems anywhere in the world. For large quantities, still the fastest, even if it lacks the convenience and sophistication of others. With the right storage, it can also be literally bombproof.
Miscellaneous
Worth thinking about: dedicated file servers or NAS systems if you share a lot over your network, also for network backups.
Avoid: iCloud and other cloud services. Very inefficient, and often unreliable. Sometimes they’re the best method, for example to obtain PNG screenshots from iOS and iPadOS devices. Sometimes a quick and dirty fallback if AirDrop stops working.
