
As Apple doesn’t yet appear to provide complete instructions for the creation of a bootable external disk in recent versions of macOS, and the information which it does provide is at best misleading in places, this article attempts to remedy this for both Intel and M1 Macs.
T2 Macs: enable booting from external
If you’re using an Intel Mac with a T2 chip, you first need to check that your Mac is configured so that it can boot from an external disk, unless of course you already know that because that’s what it’s doing now. To do that, restart in Recovery mode (Command-R), open Startup Security Utility and enable your Mac to boot from external media. You don’t and can’t do that on an M1 Mac: this only applies to Intel Macs with T2 chips.
Format and mount the external disk
Although you can do this immediately before you install macOS onto it, it’s usually better if you connect the external disk now, open Disk Utility, and format it ready for the installation. Normally, you should choose to format it in APFS but not Case-Sensitive, for greatest compatibility with software. If you prefer, and are sure that everything will cope, you can use APFS Case-Sensitive if you prefer. Encryption is up to you, although external disks don’t benefit from the hardware encryption provided to internal SSDs by T2 or M1 chips.
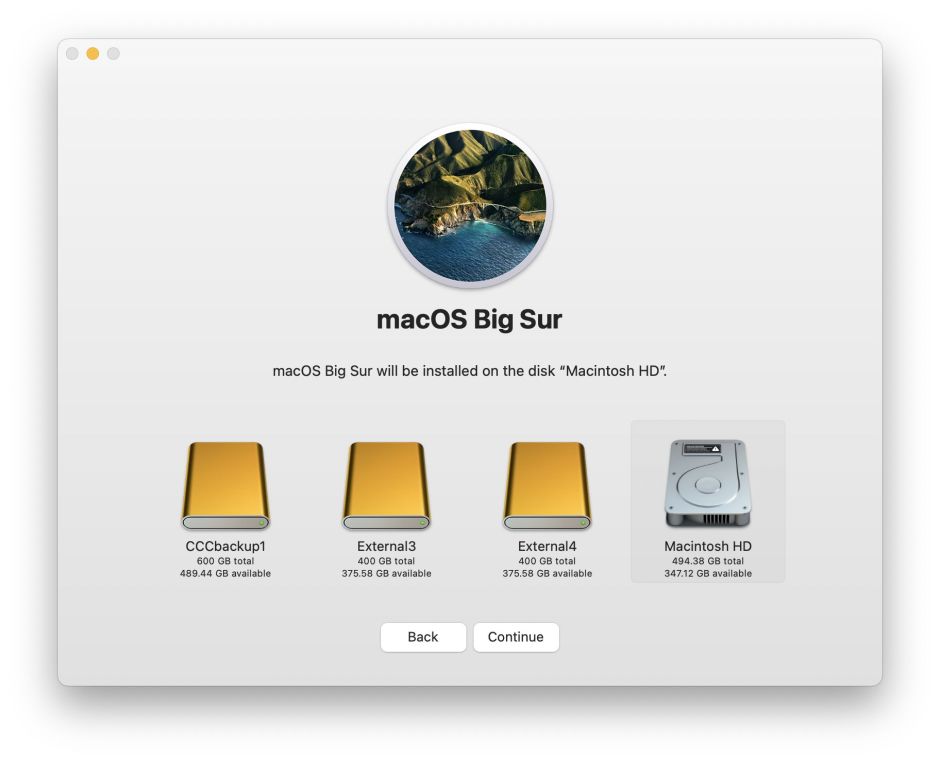
Avoid naming the volume Macintosh HD, which would normally coincide with your internal storage. Although macOS should cope with that, you’ll likely get confused.
Do you want to install from Recovery?
If you want to install the same version of macOS as that provided in Recovery mode, you can now start up in Recovery and run the macOS installer there, selecting your external disk as the destination. However, you’re limited as to which version of macOS this can install, and it will be downloaded in Recovery mode.
Intel Macs can be booted with Command-Option-R held to enter Recovery mode and be offered the latest available version of macOS which is compatible with that Mac. Before the release of Monterey, that will be the latest version of Big Sur, but once the current macOS version becomes 12, you won’t be able to obtain Big Sur in Recovery mode except through the command line.
M1 Macs don’t currently have an option to enter Recovery mode for the latest version of macOS on offer. Unless Apple changes this on the release of Monterey, the only version Recovery will offer matches that of the installed firmware, although that may not be the current version installed on that disk! For example, when Monterey is released, Recovery should continue to offer to reinstall Big Sur unless you’ve installed one of the Monterey beta-releases on that Mac (even on an external disk), in which case it should offer Monterey. I think.
If you’re confused, you can always boot into Recovery and check, or just give up and opt to use a full installer app instead. Unlike installing in Recovery, that also ensures you have a copy of the installer to use again should you need.
You can also perform the whole installation in Recovery mode on Intel Macs, and with some care on M1s too – see this article and discussion
Downloading a Full Installer
The alternative is to download the full installer app for the version of macOS which you wish to install to your external disk, and run that. Apple lists some of the available installers in this article.
Apple currently makes installers available via softwareupdate from 11.3.1 onwards (use softwareupdate --list-full-installers to check), but once 12.0 has been added to that list, it’s likely to remove older versions of Big Sur, perhaps leaving just 11.5 and later. Mr Macintosh provides links for all full installers available from 11.2.3 onwards. There are also other helper sites and tools you can use, but whatever you do, only download a macOS installer from one of Apple’s servers.
Do you need to install from an external bootable installer disk?
For a long time now, Apple’s installers can only open and install the current and newer major versions of macOS. If you’re already running a beta-release of 12 and want to install any version of Big Sur, then you can’t simply run the installer app. If you try, you’ll get a misleading error.

Normally, installers still work between minor versions, though, so you should still be able to run the 11.4 installer if your Mac is now running 11.5.2, although even that isn’t guaranteed. What should always work is creating a bootable installer and booting from that to perform the installation.
To do this, connect the flash or other disk you intend to turn into your bootable installer disk, open Disk Utility and format that external disk in Mac OS Extended (Journalled), HFS+J – not in APFS. That may seem strange, but all macOS bootable installers adopt the older file system and are likely to fail if run from APFS.
With the external disk still mounted, and the full installer app available, here for example in your current /Applications folder, open Terminal and type a command of the form
sudo /Applications/Install\ macOS\ Big\ Sur.app/Contents/Resources/createinstallmedia --volume /Volumes/MyVolume
for Big Sur, or
sudo /Applications/Install\ macOS\ Monterey.app/Contents/Resources/createinstallmedia --volume /Volumes/MyVolume
for Monterey. Confirm the latter by checking the name of the installer app, and in both cases use the correct path to the installer app, and to the external disk, which is here assumed to be named MyVolume. Apple’s instructions, including commands for older versions of macOS, are given here.
The macOS installer will then be installed on your external disk, to turn it into a bootable installer with a different name.
For many M1 Macs, this isn’t exactly convenient. You need one USB port for the ‘thumb’ drive containing your bootable installer, and a USB-C or Thunderbolt port for the external disk on which you want to perform the installation. One trick you can try is to use one SSD for both: first format it as a single APFS volume, then repartition it to add a 50 GB HFS+J partition on which to create the bootable installer. Ensure that the partition for the bootable installer is formatted in Mac Extended with journalling, HFS+J.
On an Intel Mac, restart with the Option key held to see the choice of startup disks. Select your bootable installer, and press Return to allow startup to complete.
On an M1 Mac, start up with the Power button pressed until you see that your Mac is loading Options. Wait until all the available boot disks are displayed, select your bootable installer and click Continue underneath it.
Installation
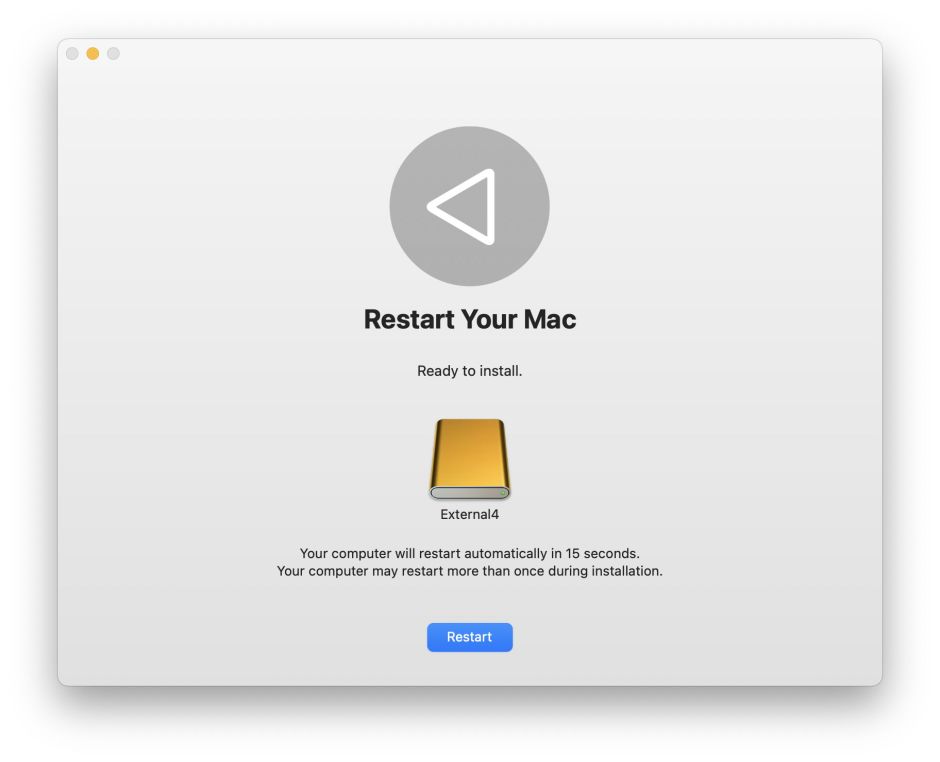
If you’re installing on an Intel Mac, the installer will take you through the installation process, boot from the new macOS on the external disk, invite you to personalise it and proceed to completion.
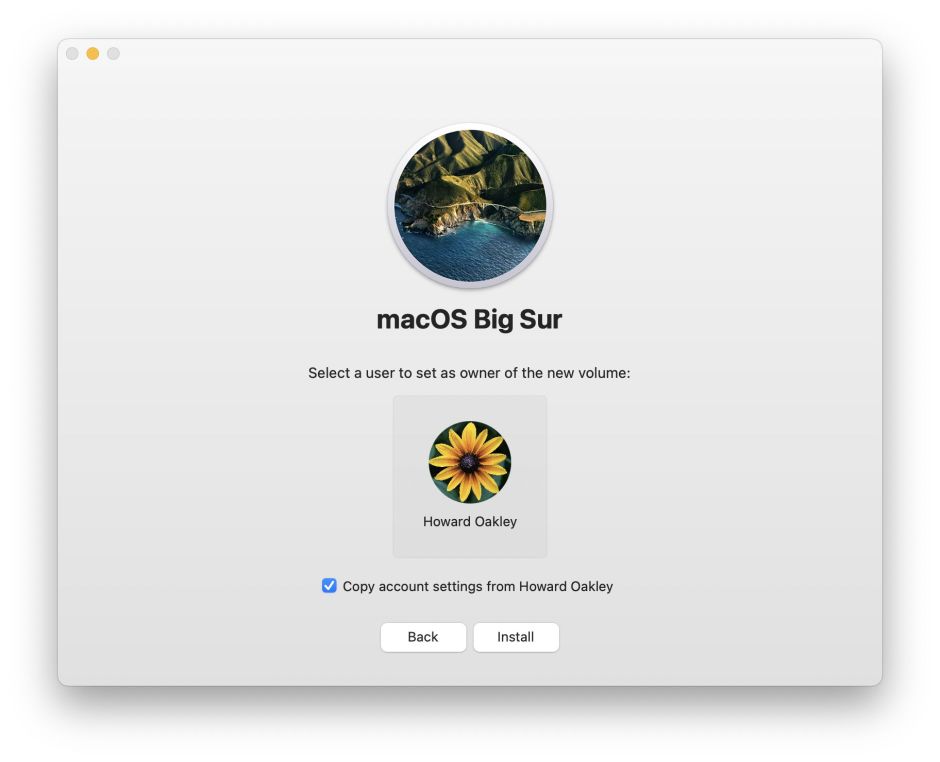
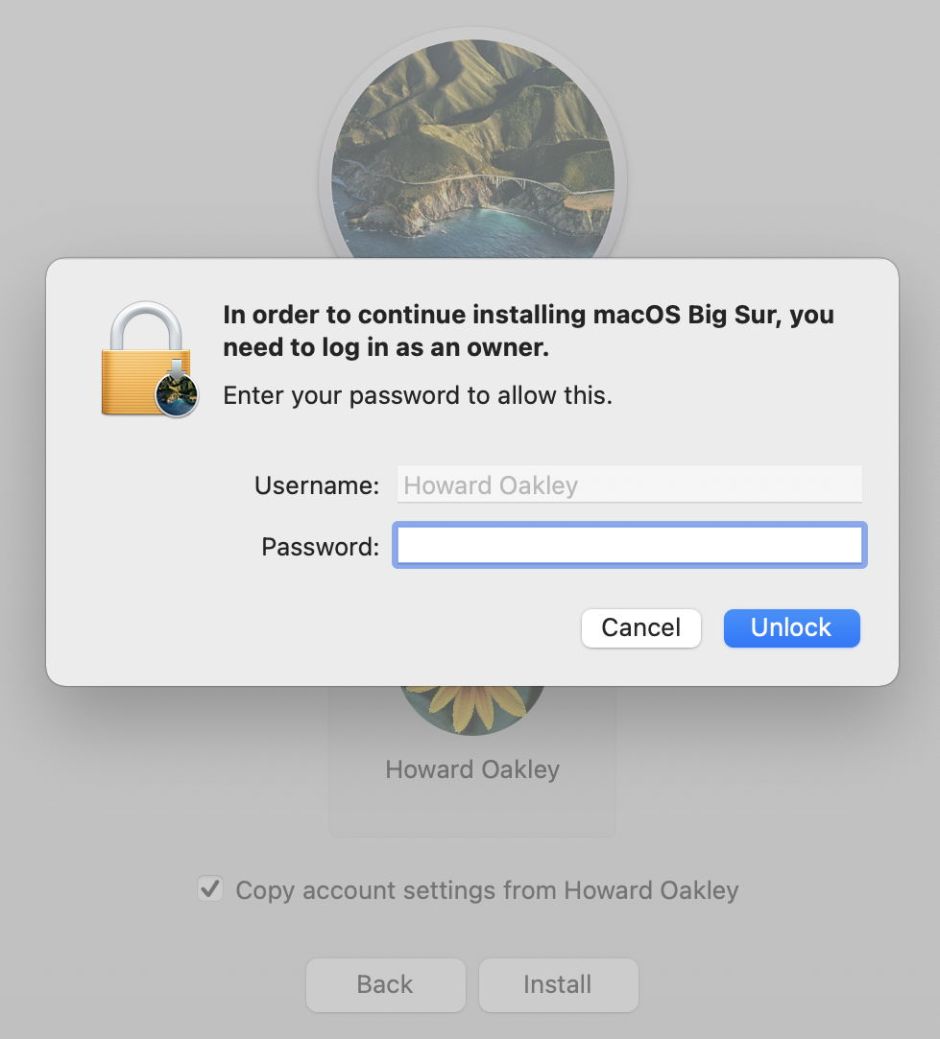
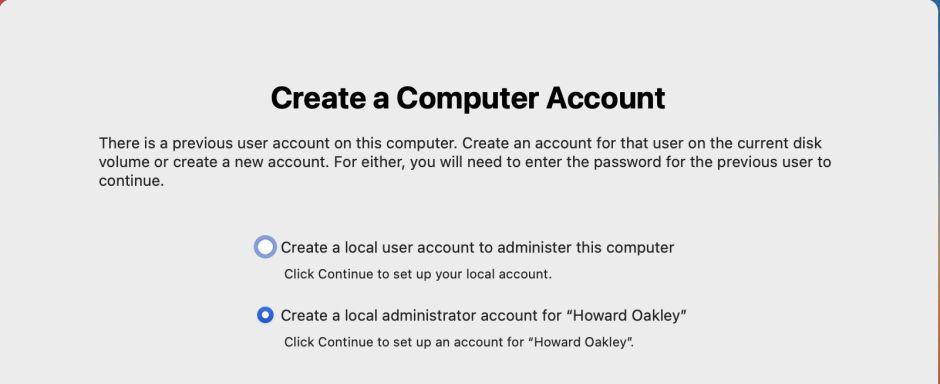
 If you’re installing on an M1 Mac, there’s an additional step in which you’ll be prompted to make the current user the owner of the new bootable disk. Unless there are compelling reasons, agree to that as it should make use of the disk much simpler. Each bootable system requires an owner, and agreeing to this will make the primary owner of that external system the same as the selected user, preferably the primary admin user of the internal SSD. This saves ending up with two or more users of that system, and subsequent confusion, particularly when updating macOS. If something goes wrong with this process, Apple provides some tips in this article.
I am very grateful to Pico for pointing out that T1 chips don’t support Secure Boot, so require no special measures.
