
Does your Mac still back up to an Apple Time Capsule? If so, it’s time to replace it, or at the very least its hard disk. The last model, the 802.11ac numbered A1470, is now more than three years old, and the risks of its hard disk failing are climbing every day. All older models, manufactured before 2013, are now running on borrowed time, as they’ve turned eight at least.
Unlike SSDs, hard disks are electro-mechanical devices, and wear out. They’re designed and constructed so that failures are few until they reach a certain age, then the risks of failure rise steeply. Although some ‘enterprise’ specification hard disks still come with warranties of five years, the great majority only have three year cover. That means the disk manufacturer knows that, once their warranty has expired, failure rates become too high to replace them free of charge.
Replacing the hard disk
For most, the best way to get this done is through a Mac repair specialist. If you fancy doing it yourself, iFixit offers three guides:
- for the A1254, described as being “easy”,
- for the A1302, which is of medium difficulty,
- for the A1470, which is also of medium difficulty.
For other models, you’re on your own, it seems.
Replacing your Time Capsule
Apple stopped making Time Capsules over three years ago, and there isn’t any strong candidate for their complete replacement. For most, this will mean returning to separate Wi-Fi base station and storage systems.
Replacement storage is the more difficult, and the first question to ask is whether you really want or need networked storage. Good replacement NAS systems are relatively costly and back up more slowly than local storage does. Particularly if you’ve already upgraded to Big Sur, or intend doing so in the near future, you’ll get most benefits from its new Time Machine backups to APFS volumes if your storage is directly connected to your Mac.
Another alternative is to connect external storage direct to your workhorse Mac, which backs up most, and to share that using the Sharing pane, so that other Macs can make their own backups on the shared disk. To do that in Big Sur, you’ll first need to share the folder on your external disk in which the backups are to be stored. Then Control-click on that shared folder, select Advanced Options, and make it a shared Time Machine backup destination. Client Macs connected to that network should then be able to connect to it, and Time Machine should recognise it as a destination.


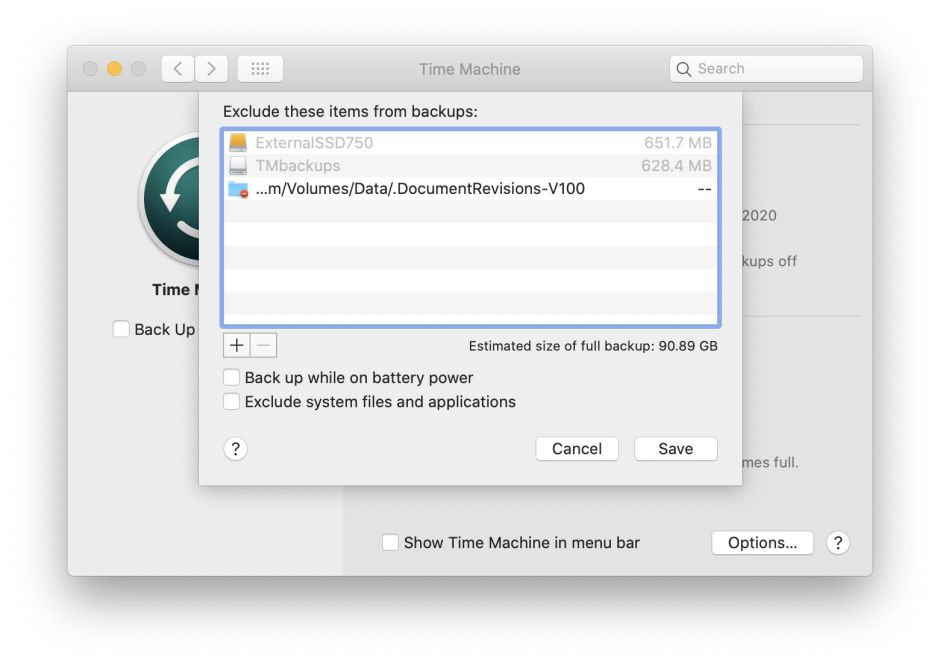
If you’re going to back up over a network, these days SMB is the most likely connection, as AFP is on its way out, and unsupported by M1 Macs in particular. This doesn’t get on well with backing up folders containing very large numbers of files, such as the hidden version database on each volume, or apps like Xcode. Catalina may not help you here, and you may need to ensure that version databases are manually added to Time Machine’s exclude list. One improvement in Big Sur is that they’re automatically excluded, but you’ll still need to add others such as Xcode, as necessary.
If you can, try to replace your old hard disk with an SSD. When used for backups, the load on an SSD is light compared to that of your boot volumes. There’s every reason to expect that an SSD storing Time Machine backups should last ten years, something which few hard disks achieve before failing terminally.
What to do with an old Time Capsule
As it should still have all your old backups on it, store it away safely so that you can refer back to it if you ever need. Even if you have its hard disk replaced, keep that old disk until you’re certain that you don’t need to access any of its contents.
When you do come to dispose of it, open it up and physically damage its hard disk so that no one can gain access to the contents. A drill or hammer and stone chisel are ideal for splitting open the disk case and mangling its platters. You should feel good doing this: it’s highly therapeutic. Once you’ve vented all your frustrations at Apple discontinuing Time Capsules, send the remains for recycling, please.
Replace and upgrade
Replacing your Time Capsule and upgrading to Big Sur are complementary activities. To back up from Big Sur using Time Machine to APFS you’ll need a fresh APFS volume. Trying to create that on an old Time Capsule while not destroying your existing backups isn’t easy. To get best value, connect your new storage just before you start the upgrade and clone your existing boot volumes using Carbon Copy Cloner or SuperDuper!, to your new storage. The timing couldn’t be better.
