

I’m delighted to report that five months after I wrote that M1 Macs had problems starting up from external disks, Apple has finally fixed Big Sur 11.4 so that they now work fully.
If you have an M1 Mac, you should now be able to connect supported storage, such as an SSD, install on it any version of Big Sur from 11.2 onwards, select that in the Startup Disk pane, and boot your Mac from that external disk. The procedure for doing this is exactly as you would expect:
- Connect the disk to an available port on your M1 Mac, which could (subject to its compatibility) include a dock or hub.
- Format the disk using Disk Utility. If it has been previously formatted using an older version of macOS, I recommend re-formatting it with 11.4 if possible. At this stage you can divide it into containers for multiple versions of macOS if you wish.
- To install a fresh copy of any version of Big Sur since 11.2, run its full Installer app and select that external disk as the destination.
- To make a copy of an existing boot volume group, use a cloning tool such as Carbon Copy Cloner 6 in ‘legacy’ mode.
- Towards the end of the installation process, the installer may claim there’s “about a minute remaining” for many minutes. Give it time!
- Once installed, the Mac will start up in the newly installed macOS for you to configure it in the normal way.
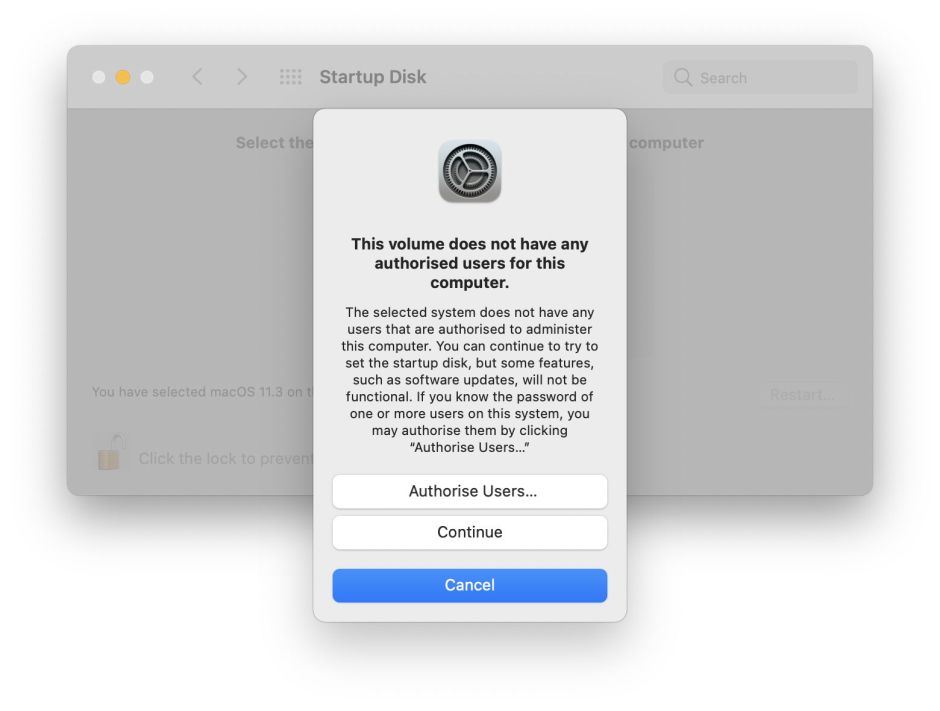
You can then switch between available boot systems using either recoveryOS or the Startup Disk pane. When using those, the first time that you choose a startup disk to boot from you’re likely to be asked to assign it an authorised user. You may also be asked to authenticate up to three times in rapid succession. There may be quite a long pause before your Mac restarts from the chosen boot disk. Once started up using the external system, you’ll be prompted to authenticate to access the Mac’s encrypted internal SSD.

Changing between external boot disks is normally simple and direct using the Startup Disk pane. Changing back to the internal SSD when booted from an external disk usually requires a visit to recoveryOS, where you need to authenticate in Recovery Assistant. After a long pause, once that has been accepted as successful, select the Restart button.
Checks
Check LocalPolicy for your bootable systems using sudo bputil -d, which should then list available macOS installations by the UUID of their boot volume group:
This computer has several macOS installations:

1: 126AC84B-82E4-49DF-A3CB-FEFD8099AFF1

2: 36F06ED1-BC14-4705-9E66-AE9CE802A799

3: DD539E79-F021-4F19-BB80-DDEDB26A0C47

4: 5B149101-9D13-41BD-882B-DD5CCD76F9F3

5: CF3EE91B-D9F8-430C-B5B3-13886470F1FC

6: 6A516FF1-2AB9-45BD-941A-EEA5568570BF

7: A33F9FC1-01A0-4C1E-B1AD-7E9B785440C0
A normal boot volume group set to Full Security should then read
Current OS environment: macOS

Current local policy:

Local Policy Signature Type                  : BAA

Unique Chip ID                         (ECID): 0x0000000000000

Board ID                               (BORD): 0x00

Chip ID                                (CHIP): 0x0000

Certificate Epoch                      (CEPO): 0x1

Security Domain                        (SDOM): 0x1

Production Status                      (CPRO): 1

Security Mode                          (CSEC): 1

Volume Group UUID                      (vuid): 00000000-0000-0000-0000-000000000000

KEK Group UUID                         (kuid): 00000000-0000-0000-0000-000000000000

Local Policy Nonce Hash                (lpnh): 000000000000000000000000000000000000000000000000000000000000000000000000000000000000000000000000

Remote Policy Nonce Hash               (rpnh): 000000000000000000000000000000000000000000000000000000000000000000000000000000000000000000000000

Next Stage Image4 Hash                 (nsih): 000000000000000000000000000000000000000000000000000000000000000000000000000000000000000000000000

Full Security enabled                  (smb0): absent

Manual MDM enrollment disabled         (smb3): absent

Device Enrollment Program MDM disabled (smb4): absent

SIP enabled                            (sip0): absent

Signed System Volume enabled           (sip1): absent

Kernel CTRR enabled                    (sip2): absent

Boot Args filtering enabled            (sip3): absent

3rd party kexts disabled               (smb2): absent

User Authorized Kext List hash         (auxp): absent

Auxiliary Kernel Cache Image4 hash     (auxi): absent

Kext Receipt hash                      (auxr): absent

CustomKC or fuOS Image4 hash           (coih): absent
with appropriate IDs, UUIDs and hash values.
Problems
If your external disk connects by USB-C rather than Thunderbolt and you experience problems, try connecting it using a USB-C data cable rather than a certified Thunderbolt cable. If that doesn’t help, and you have a USB-A port available, use a USB-C to USB-A cable instead, which appears to be the most reliable.
If you experience problems updating an existing external disk, try changing its LocalPolicy from Full Security to Reduced Security using Startup Security Utility in recoveryOS. Don’t do this without good reason, though: Full Security is there to protect your Mac.
I haven’t tried any of this with macOS 11.0.1 or 11.1, which at the time showed destructive tendencies such as kernel panics when trying to install them under later releases of macOS. macOS 11.2 onwards should be reasonably safe to install and use, though.
Note that disabling SIP, breaking the seal on a sealed system volume, and other reductions in security may automatically force that disk to be downgraded to Permissive Security, which blocks some features of macOS, including the FairPlay DRM. Permissive Security is bad news and is to be avoided if at all possible.
Although you can clone the macOS container on the internal SSD, you can’t clone its other two containers, and cloning that one container back to the internal SSD will almost certainly make that disk unbootable, except in recoveryOS. If you want to try doing that, ensure that you’re ready to put that M1 Mac into DFU mode and restore it using a second Mac with Configurator 2.
Conclusion
Previously, my major reservation about recommending M1 Macs has been their severe limitations with bootable external disks. Thanks to the AppleVPBootPolicy kernel extension and other fixes and changes in macOS 11.4, I can now recommend them without that reservation. M1 Macs are good to go at last.
