
One of Big Sur’s biggest attractions is that it can now make Time Machine backups to APFS volumes. For many of those who upgraded to Catalina, only to suffer protracted problems with Time Machine backing up to its traditional HFS+ destinations, this is one good reason to upgrade early. This article shows how you can set this up and solve one problem which can occur. If you’re still waiting to decide when to upgrade, this could help make your mind up.
You don’t have to prepare an APFS volume, as Time Machine will do that for you, but I prefer to make one ready using Disk Utility. In this case, it was important as I needed to format the disk, which had previously contained backups from another Apple Silicon Mac.
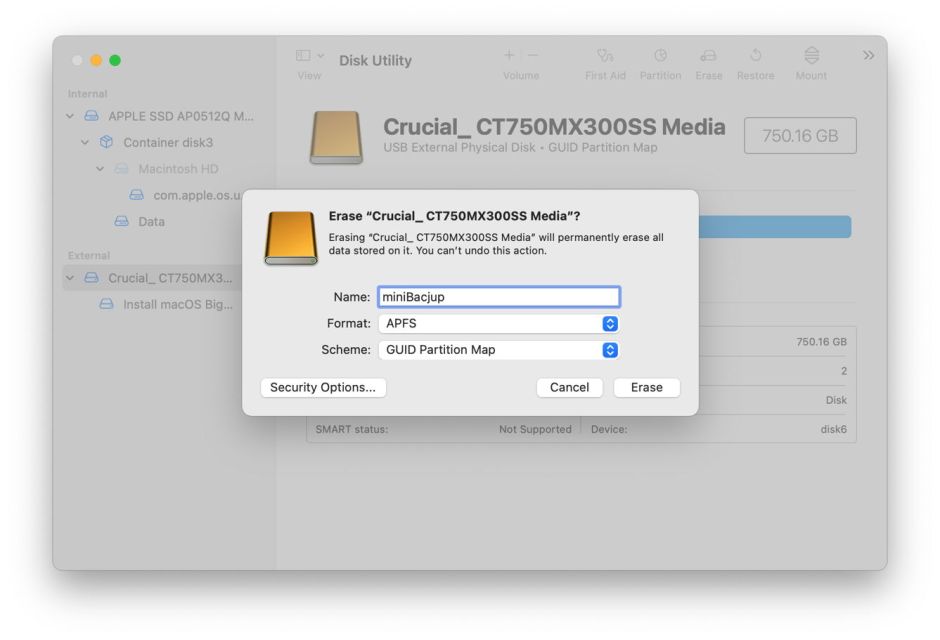
Connect your external backup disk, and once it has mounted open Disk Utility. Select the disk in the list at the left then click on the Erase tool to format it. In the settings, select Scheme: GUID Partition Map, and Format: APFS, although the latter will be changed later by Time Machine. That is the standard combination of settings for unencrypted APFS format external disks.
If you then wish to check that your new disk and its formatting are correct, you can run First Aid on both the disk and container. Occasionally, Disk Utility can still return an error claiming that it was unable to unmount the disk properly, so couldn’t format it. If that happens, simply try again, or try unmounting any existing volumes on the disk first.
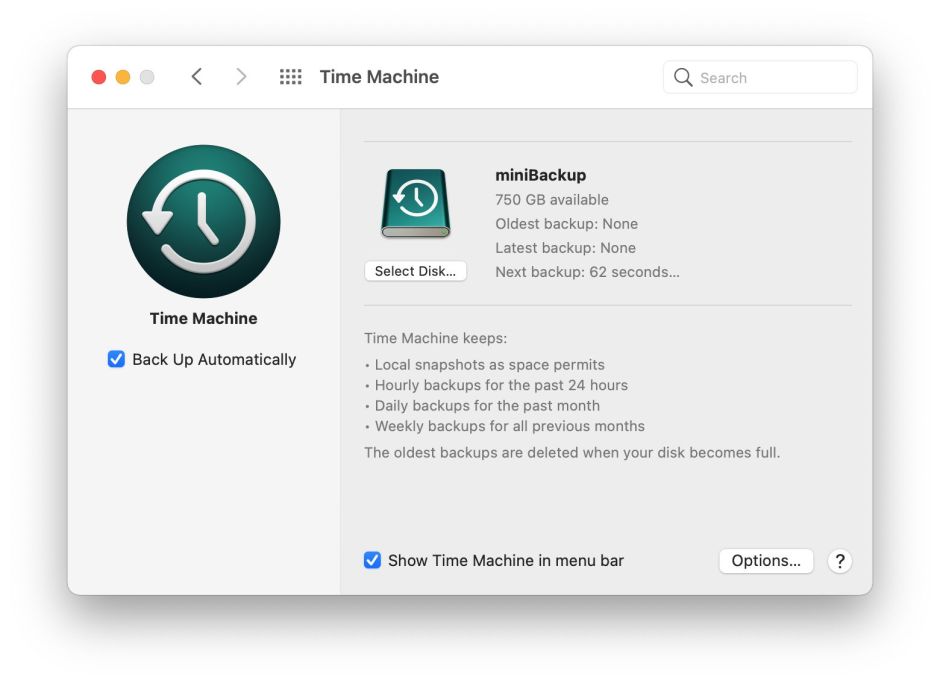
Next, open the Time Machine pane, and click on Select Disk to tell Time Machine to use your new volume for backups.
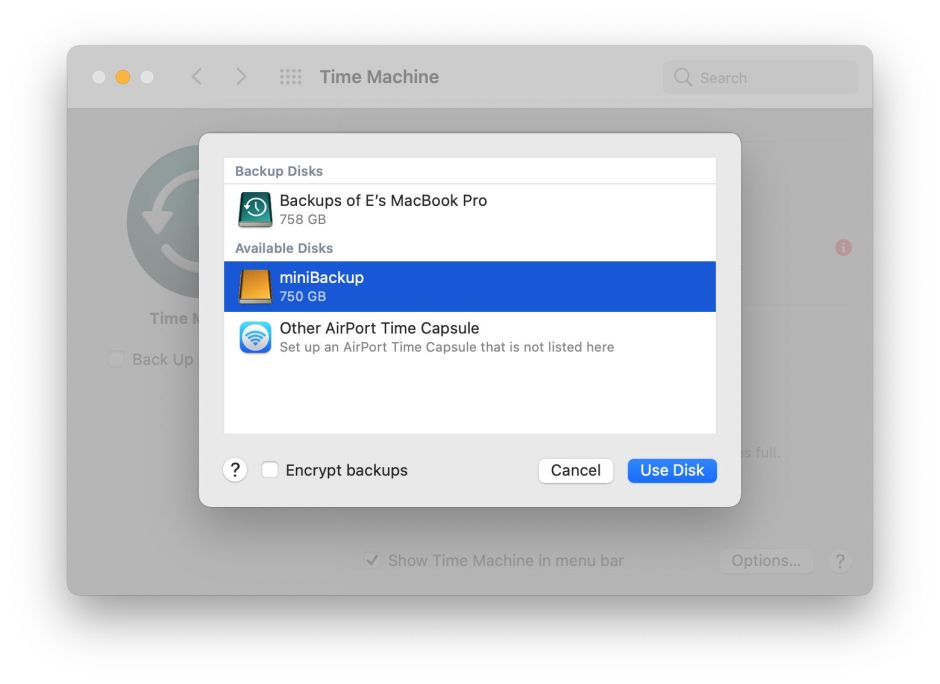
Here, select your freshly formatted disk, and enable Encrypt backups if you wish, then click Use Disk.
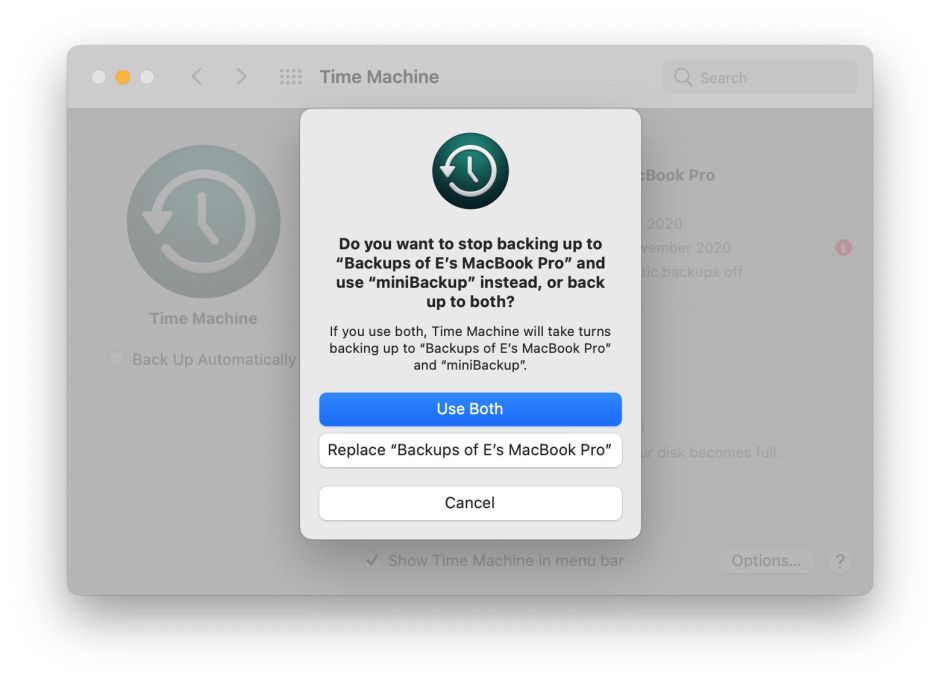
If, like me, you’ve already had Time Machine backups enabled, it may respond by asking you if you wish to switch to your new backup volume. If so, use the Replace button to confirm that. If you didn’t select encrypted backups, you’ll also receive a notification encouraging you to opt for encryption.
Time Machine will then prepare its backup volume by making another APFS volume using the case-sensitive option and designating it as a Backup volume. You can confirm that later using the Terminal command
diskutil apfs list
which lists all your APFS containers and volumes.
Once it has done that, Time Machine turns Back Up Automatically on, ready to start the first full backup in two minutes.
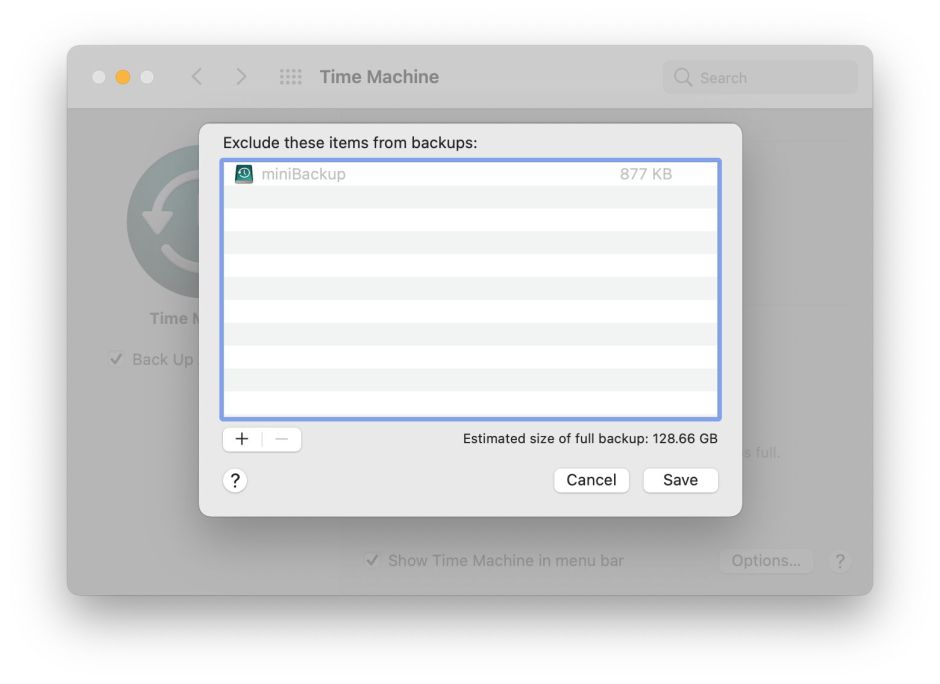
That should give you time to set any exclusions, such as Virtual Machine folders, using the Options… button.
If you need longer, disable Back Up Automatically and set up your options now before that first backup starts.
In my case, Time Machine became confused over the pre-existing backup, and its first full backup didn’t copy anything to the Data virtual volume on the backup volume. The best way to manage a failed first full backup like this is to open my free utility T2M2, or use the Time Machine menu, to make a manual backup once the automatic backup has failed. This should force the full backup to complete correctly.
While that first full backup is under way, use T2M2 to keep an eye on its progress, by clicking on the Check Speed button.
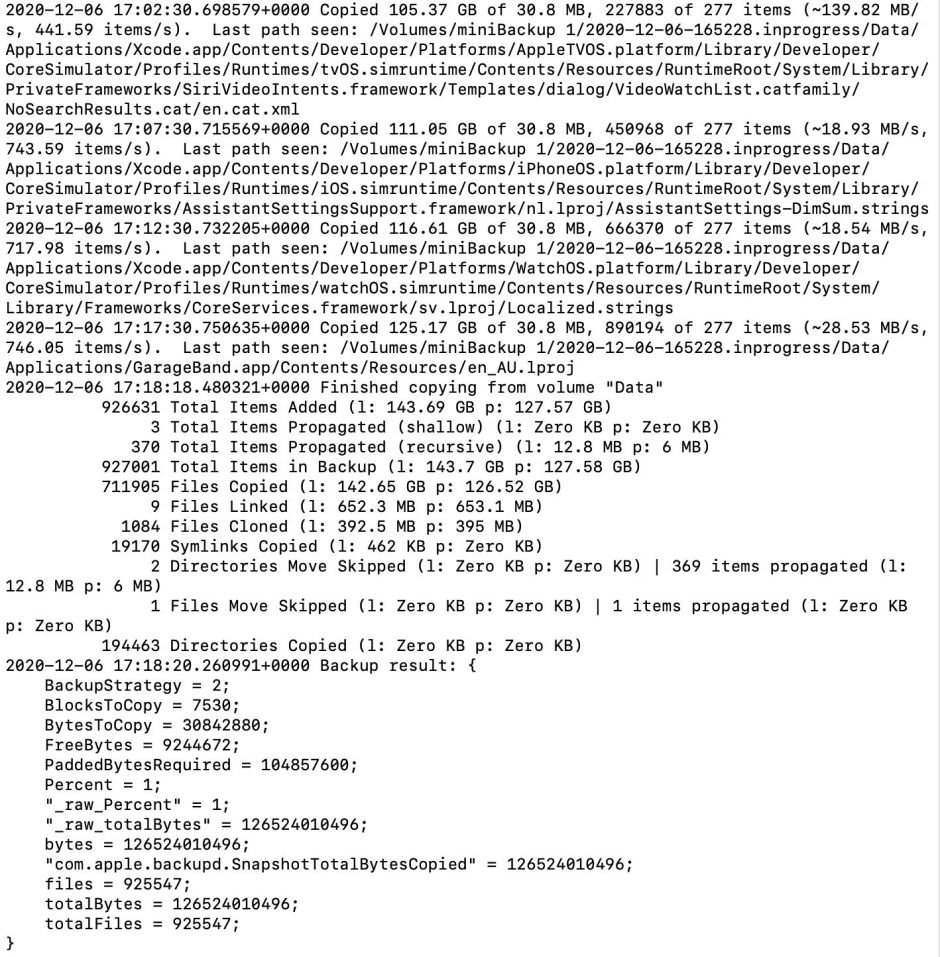
In this case, the first 70% or so of the backup progressed very quickly, at nearly 140 MB/s and over 440 items/s. Speed fell noticeably towards the end when Time Machine was copying large numbers of files from Xcode, when it fell to just over 18 MB/s. Check that the totalBytes transferred matches the size of the backup data on the disk, and the size expected from other entries in the reports provided.
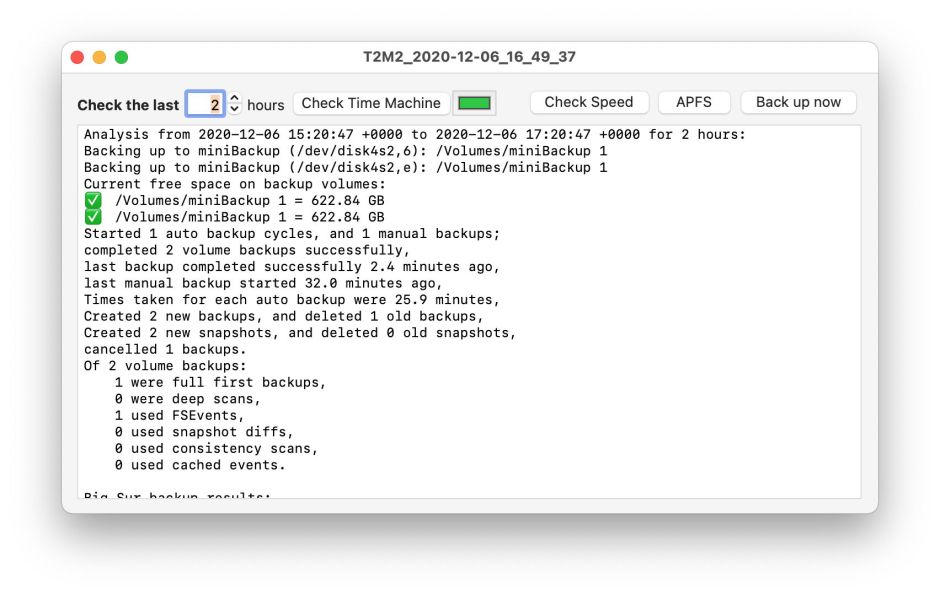
With that initial backup finished correctly, leave Time Machine to complete another couple of automatic backups. Use T2M2 to check that those complete without errors. Then exercise the Finder interface to those backups, and the Time Machine app interface too. T2M2 should show a green light, and you should be able to browse and restore from those backups. Keep an eye over the coming hours and days to satisfy yourself that your backups are now working correctly, and that you can restore individual items and complete folders from your new backups.
