
So the box has finally arrived and you’re just about to set up your brand new M1 Mac. Before you turn it on, here are some tips learned the hard way.
Update to 11.0.1
Your first and most important task to complete before you do anything else is to update it to macOS 11.0.1 or later. If you intend migrating from another system, disk or backup, I recommend that you defer that until you’ve performed that update and your iBoot (firmware) version is at least 6723.50.2. The reason is that this all becomes much simpler with an M1 Mac once its firmware has been updated.
What if anything goes wrong?
To understand the importance of this firmware update, you need to know the options you should have if your new M1 Mac gets into trouble. Its Recovery mode is not dissimilar from that of a Mac with a T2 chip (see the Appendix). However, reinstalling macOS when it’s still running its original firmware can get far more difficult.
On an Intel Mac, you might try running the current Big Sur installer app, but you’re likely to discover that can’t perform any firmware update, so fails to complete, leaving your new Mac stuck with 11.0. Apple’s recommendation is to create a bootable USB installer, following the instructions here. Note that the USB drive must still be formatted in HFS+ for that to work.
By default, M1 Macs come with Secure Boot enabled, which prevents them from starting up from an external disk, but that doesn’t include a bootable installer. However, to start up from a bootable installer, you’ll still need to enter the first part of Recovery mode, which doesn’t use the traditional Command-R keys at startup, but the Power button: that involves holding the Power button in when starting up until it enters Options. Instructions are summarised in the Appendix.
Unfortunately, that doesn’t always work, in that the bootable installer may also fail to update the firmware, because of limitations in the first edition of that firmware: the error you then see refers to your Mac’s ‘personalisation’. Apple has detailed a workaround which you can try in Recovery mode, or you can go straight to the full features offered by Apple Configurator 2 (free from the App Store).
Are you still enrolled in a beta programme?
I hit problems because I migrated from another Apple Silicon Mac during initial installation. I had its Time Machine backup disk connected, and wanted to try migrating from that. Although that proved enormously successful and quick, it also restored enrolment of the Mac in Apple’s beta programme. When the M1 mini restarted, not only was it now enrolled in the programme, but it refused to offer me the 11.0.1 update, insisting that I wanted 11.1 beta instead, which I didn’t. I then unenrolled, but still couldn’t get any update apart from the beta. Predictably, perhaps, all other methods of installing the update then failed, and my only options rested with the Revive feature in Apple Configurator 2.
How to unenroll
The first step you should try is to open Software Update and click on the link at the lower left, below the text stating that Mac is enrolled. This takes you through a couple of dialogs in which you can unenroll it. A short while later, Software Update should have rechecked for updates, and offer only full releases again. If it doesn’t, close the pane and restart.
If restarting doesn’t help, you’ll need to open Terminal and unenroll there using the seedutil tool, which is buried deep in a Private Framework located in the path /System/Library/PrivateFrameworks/Seeding.framework/Versions/A/Resources/seedutil. The easy way to do this is to open Terminal and type
sudo
followed by a single space, without pressing Return. Then drag the seedutil tool from the Finder into that line in Terminal, so that its full path is pasted there. For the first command, add a space and the text
enroll CustomerSeed
and press Return. You’ll be prompted to authenticate with your admin password. This should then show a few lines of text and no errors. Then press the Up Arrow key to bring back that same command line, and Delete back to remove the last two words. Replace them with
unenroll
and press Return again. Slightly different lines should appear in response to that, without any errors. A little while later the Software Update pane should restore the 11.0.1 update, and you’re finally out of the beta programme for the time being.
If that doesn’t work, you’re probably going to have to use Configurator 2 to Revive your M1 Mac with the latest firmware.
Is this a half-baked Mac then?
These problems are confined to the first batches of M1 Macs which come with macOS 11.0 pre-installed, and are known issues with this first release of their iBoot firmware. Once that has been updated, it should become straightforward to reinstall macOS in Recovery mode, and if that fails, the fallback is to boot from a bootable installer. Using Apple Configurator 2 should become a very rare requirement with newer firmware: this isn’t something you should ever need to do.
Apple Configurator 2
Apple Configurator 2 has a daunting reputation, but it really isn’t in the least bit scary. In reality, it should be a comfort to those using M1 Macs. Because of their much simpler architecture than Intel Macs with a T2 chip, Configurator should be able to rescue Apple Silicon Macs from the most dire straits, and eliminate the danger of Macs becoming ‘bricked’.
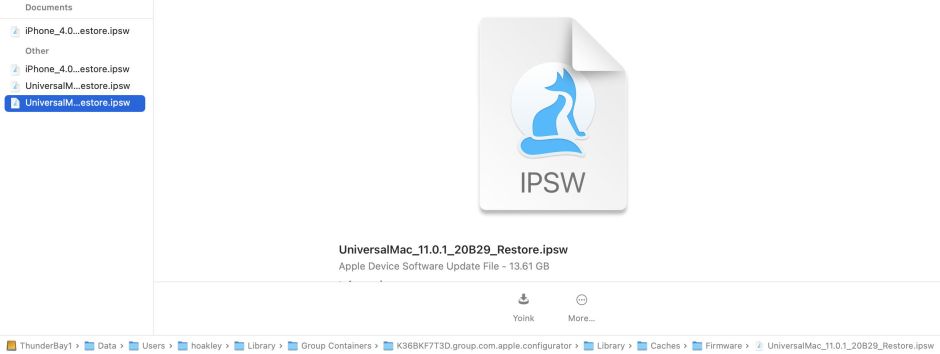
If you’re going to Revive your Mac or reinstall macOS completely, first arm yourself with the IPSW file containing the whole of its firmware and system software. It’s a snip at around 13 GB, and available from this link (direct download). Mr Macintosh maintains a list of available IPSW files here. Thankfully all M1 models use the same file.
If you don’t download that, Configurator will obtain it for you, install what’s needed from it, and leave the IPSW file in its cache, which is of course hidden from your eyes. If you use Spotlight to search for files with the extension ipsw, it should find it and any old iOS ipsw files left over from iTunes.
Before starting the process, shut your M1 Mac down and connect its USB-C port to the Mac which is going to revive it. I’m not doing to duplicate the detailed instructions provided here and here by Mr Macintosh or here by Apple, to which you must refer. The initial manoeuvre required to put your M1 Mac into DFU mode can be fiddly; on a mini it’s easy to engage but I found that I had to swap cable a few times before I found one that brought the mini up successfully in Configurator. Although all instructions say that you should connect up before starting your M1 Mac up, my mini was quite happy for me to swap cables until it all worked.
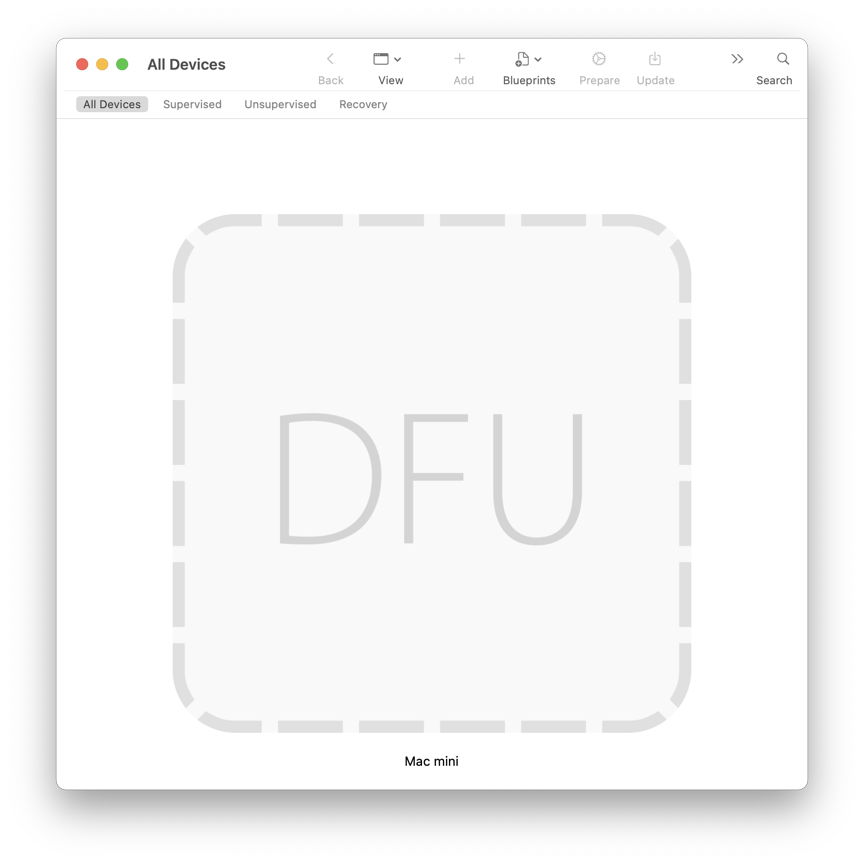
When your M1 Mac enters DFU mode marking successful connection with Configurator, it shows up as a ghostly DFU icon as above. Use the contextual or regular menus to choose what you want to do next. Revive doesn’t perform a full macOS install, but installs the current iBoot firmware and the Recovery volume. Although it’s implied that this requires a smaller download from Apple, that isn’t true: if you haven’t already downloaded the whole IPSW file and dropped it onto the DFU icon at this stage, Configurator will start the download automatically for you.
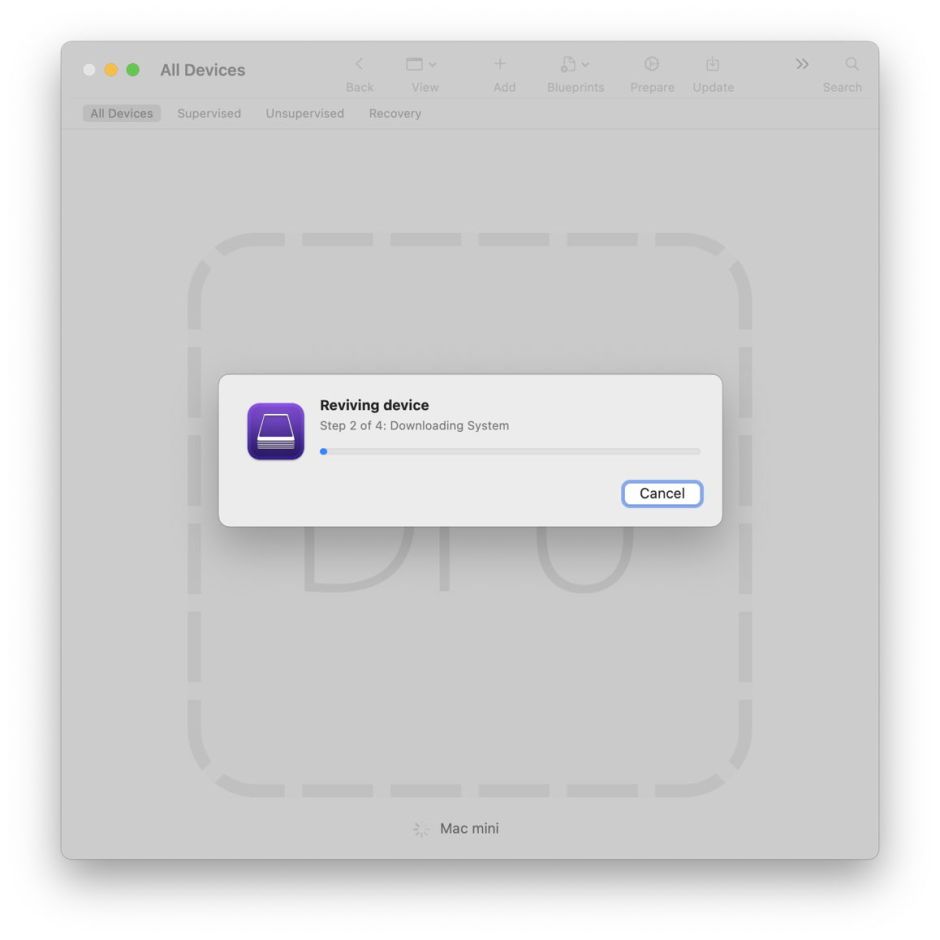
Once the IPSW has been downloaded and installed by Configurator, you’re likely to see an error message and your M1 Mac restarts.

Don’t be put off by the error: log into your M1 Mac and check its firmware. With a bit of luck it will have been updated.
In the coming weeks I will be providing more information to help you troubleshoot M1 Macs. A great deal has changed and many of our near-instinctive actions won’t work any more. But overall the M1 Mac’s tools appear much better designed and integrated than in Intel Macs.
Appendix: Changed Troubleshooting
To boot in Recovery mode
Press and hold the Power button until the display shows Loading Startup Options, then select the Options icon and click on Continue. Select the language to be used, then the user, and enter their password.
Tools available in Recovery mode
In the main window:
- Restore from Time Machine
- Reinstall macOS Big Sur
- Safari
- Disk Utility
In the Apple menu:
- Startup Disk…
- Restart
- Shut Down
In the Utilities menu:
- Startup Security Utility, to set whether to enable external boot disks (not required for a proper bootable installer, though) and security policy
- Terminal
- Share Disk…, in SMB ‘target’ mode, the replacement for previous Target modes
To boot from a bootable installer
(or another bootable volume, when security settings allow)
Start up in the first screen of Recovery mode, by holding the Power button until the display shows Loading Startup Options, then when the Options screen has loaded, you should see the Install macOS Big Sur installer disk among those options. Select that, and click on Continue underneath the icon. Work through the dialogs until the installer starts and then proceed as normal. Note this doesn’t give you the option to format your startup disk before installing.
Holding down the Option key during startup does nothing. To select a boot disk, you need to enter this first screen of Recovery, where startup options are displayed. External bootable installers don’t appear in the Startup Disk pane.
To boot in Diagnostics mode
Start up in Recovery mode. Once the Options icon appears, press and hold the Command and D keys until your Mac restarts and reports that it’s installing or loading Diagnostics. This should also give you the option of running either offline or online tests. The success code remains ADP000, but further information is available too.
I wish to acknowledge the great help provided by @mikeymikey, @ClassicII_MrMac and others, without whom I’d still be running macOS 11.0.
(Last updated 1950 UTC 26 November 2020, with details of starting up from an external bootable installer.)
