
Disk Images are a popular way to deliver software and a great deal more. Most users prefer to create and maintain them in Disk Utility, as the command tool hdiutil which handles them is so complex. But if you create a disk image in APFS format, Disk Utility has a problem: it can’t change its size. Trying to do so simply returns an error. And I believe that this has been the case since the first full release of APFS in macOS High Sierra eighteen months ago.
This is easily demonstrated. Use Disk Utility’s File/New/Blank Image… menu command to create a new disk image, setting its format to APFS, and its size to something reasonable like 100 MB. You can make its image format anything you like, including a standard read/write disk image or either of the sparse options.

Once it’s created, eject your new disk image. This is likely to provoke another lesser bug in Disk Utility: it will now start showing bursts of the spinning beachball and be sluggish in response. To stop that, simply select your internal disk at the left, and it should behave more normally again.
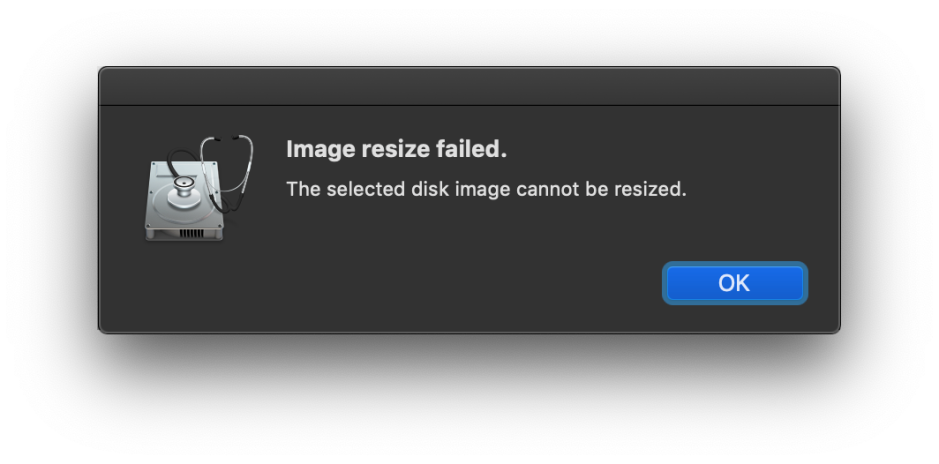
Now, follow Apple’s instructions for resizing that disk image using the Resize… command in the Images menu. You won’t even get as far as being invited to enter a new size, as Disk Utility comes straight back with an error.
There’s no workaround in the Disk Utility app. You can try mounting the image and then resizing it: all that does is change the text in the error message. You can try changing the size of its container by repartitioning the image, but as the total size of containers can’t exceed the size of the disk image, that also gets you nowhere.
It’s worth pointing out that if you repeated this but made the format of the disk image HFS+, resizing works absolutely fine.
The only solution must then be in the hdiutil command tool, despite its earlier warning that “hdiutil resize cannot resize filesystems other than HFS+ and its variants.” Thankfully, klanomath has worked out a solution here which is quite elaborate but appears to work on High Sierra and Mojave, with both regular and sparse disk images.
If you have worked with hdiutil in the past, you may now be wondering whether this fault in Disk Utility is because the disk image has strict resize limits. It’s easy to check this using hdiutil in a command of the form
hdiutil resize -limits ResizeMe.dmg
This may spit out a few lines of rubbish, such as
nx_kernel_mount:1461: : checkpoint search: largest xid 14, best xid 14 @ 3
but should then state the minimum, current and maximum sizes of your disk image, and confirm that your intended size is OK.
The next step requires your disk image to be unmounted, so now is the time to do that, either in Disk Utility or using the diskutil eject command.
Resizing the disk image is performed using a fairly straightforward hdiutil command like
hdiutil resize -size 200m ResizeMe.dmg
to change the size to 200 MB. This is usually followed by another few lines of rubbish before the command prompt returns. If you need more information about hdiutil resize, type hdiutil resize -help.
Inspect that disk image now and you’ll see that it has changed size as a result. But open it in Disk Utility, and you’ll see something strange: although the image has grown in size, the single container in it hasn’t changed. Neither can you do anything in Disk Utility to resize that container to match the new image size.

To resize the container, ensure that your disk image is mounted, then type
diskutil list
to list all mounted disks, so that you can find the correct name to use for the container. You should then see a list of all mounted disks, within which will be your disk image, with an entry like
/dev/disk5 (disk image):

#: TYPE NAME SIZE IDENTIFIER

0: GUID_partition_scheme +209.7 MB disk5

1: Apple_APFS Container disk6 100.0 MB disk5s1
which tells you that the container’s identifier is disk5s1, and the command to grow its container will be
diskutil apfs resizeContainer disk5s1 0
This provokes a long sequence of replies, such as
Started APFS operation

Aligning grow delta to 109,690,880 bytes and targeting a new physical store size of 209,674,240 bytes

Determined the maximum size for the targeted physical store of this APFS Container to be 208,646,144 bytes

Resizing APFS Container designated by APFS Container Reference disk6

The specific APFS Physical Store being resized is disk5s1

Verifying storage system

Performing fsck_apfs -n -x -S /dev/disk5s1

Checking the container superblock

Checking the space manager

Checking the space manager free queue trees

Checking the object map

Checking volume

Checking the APFS volume superblock

The volume Untitled was formatted by newfs_apfs (945.241.4) and last modified by apfs_kext (945.241.4)

Checking the object map

Checking the snapshot metadata tree

Checking the snapshot metadata

Checking the extent ref tree

Checking the fsroot tree

Verifying allocated space

Performing deferred repairs

The volume /dev/disk5s1 appears to be OK

Storage system check exit code is 0

Growing APFS Physical Store disk5s1 from 99,983,360 to 209,674,240 bytes

Modifying partition map

Growing APFS data structures

Finished APFS operation
Now when you inspect your disk image in Disk Utility or the command line, you should see its container fills the newly enlarged disk image.

Why can’t Disk Utility do what you just did at the command line? Perhaps because Apple’s engineers are all too busy tweaking their flying thumbnails, or maybe just because Apple doesn’t reward them for fixing bugs, or even see that as a priority.
Thanks to Dimitris for reporting the bug in Disk Utility, and to klanomath at this page for explaining its solution.
