If you’re used to working with the traditional partitions and volumes of HFS+, APFS can quickly become confusing. I too became a little confused when it was recently suggested that adding a new Container to a disk was a good way to solve a particular problem, because APFS Containers “share free space”. This article tries to make clear the differences between Containers and Volumes, so that you can choose better which to use.
Volumes in HFS+
In HFS+, a disk is partitioned into one or more volumes. You can change a disk’s partition map to add or remove volumes, and macOS tries to do this as non-destructively as possible, as it will when you want to change volume sizes. But volumes don’t ‘share’ free space on the disk: they have fixed sizes which you have to set when you create them using Disk Utility or diskutil, its command line equivalent.
Volumes in APFS
APFS Volumes are quite different, though. Although you can set minimum and maximum sizes, known as Reserve and Quota respectively, they share free space. So a 1 TB disk can be divided up into three or four (or more) APFS Volumes each of 1 TB nominal size. Of course free space on that disk can’t be imagined out of nowhere: if one of those Volumes already contains 0.9 TB, the total free space available to all Volumes is only 0.1 TB.
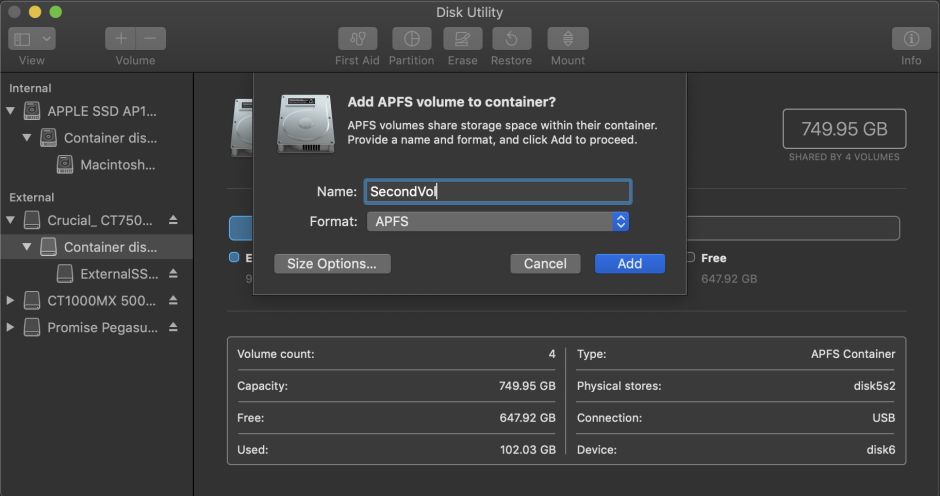
Creating a new Volume on an existing APFS disk is simplicity itself, very quick, and non-destructive. Select the Container on the disk where you want the Volume to be, and click on the + tool above, labelled Volume. You’ll then be prompted to supply a name and select which of the APFS formats you want it to use.

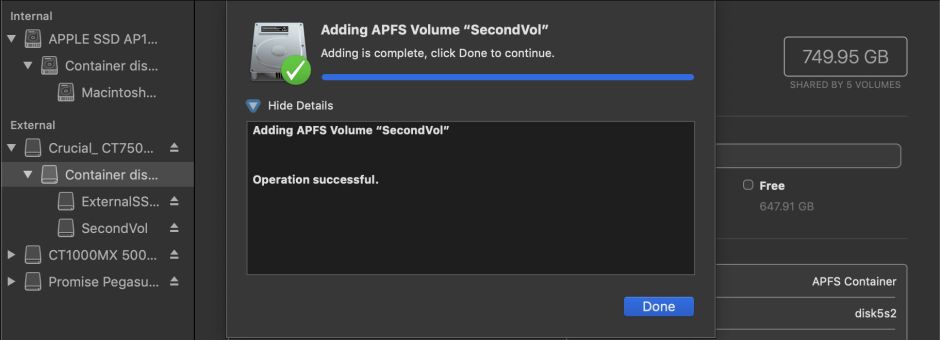
The new Volume will be added almost instantly, and then offer the total free space available in its Container.

Inevitably, removing a Volume is destructive of its contents, but is just as simple. Select the Volume you want to remove and click on the – tool at the top.

To view the Volumes in any given Container, select the Container first, and Disk Utility shows the Volumes allocated within that Container.

If you look at this in the command line using diskutil info, you’ll see the ‘synthesized’ disk gain or lose the new APFS volume, its size being given as a nominal 800 KB or so for the basic volume contents:
1: APFS Volume ExternalSSD1 92.7 GB disk6s1

2: APFS Volume Preboot 45.0 MB disk6s2

3: APFS Volume Recovery 512.3 MB disk6s3

4: APFS Volume VM 8.6 GB disk6s4

5: APFS Volume SecondVol 839.7 KB disk6s5
where volumes 2-4 are normally hidden or unmounted, so that you don’t see them in Disk Utility.
Containers
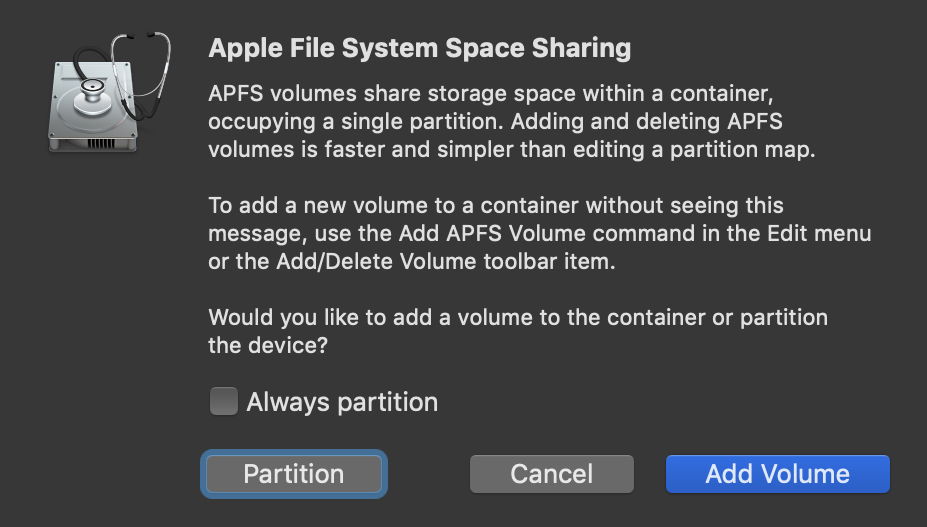
To add an APFS Container, you have to select the disk or Container and click on the Partition tool. Disk Utility then explains that it’s normally preferable to add a Volume rather than a Container, and offers three choices.

To create the Container, click on the Partition button, and you’ll then be offered the standard partition map to edit, just as when adding a new volume in HFS+.

Unlike APFS Volumes, APFS Containers have fixed sizes which must be allocated when they’re created. If you change your mind later, you can adjust them, and macOS will try to perform this non-destructively. The total size of the Containers allocated on any disk can’t exceed the size of that disk either, as they don’t share free space.
Creating and removing Containers is more complex than with volumes, and takes significantly longer. When it’s done, both Disk Utility and diskutil show something very different.

In diskutil, the basic listing of the disk shows the new container:
2: Apple_APFS Container disk6 550.1 GB disk5s2

3: Apple_APFS Container disk7 199.8 GB disk5s3
and there are now two separate ‘synthesized’ disks, one for each Container.
Removing a Container is again accomplished by changing the disk’s partition map, and shouldn’t be destructive to the remaining Containers on that disk.

Containers v volumes
So why might you ever want to add a Container?
macOS bootable APFS disks now contain four separate volumes, shown in diskutil as
1: APFS Volume ExternalSSD1 92.7 GB disk6s1

2: APFS Volume Preboot 45.0 MB disk6s2

3: APFS Volume Recovery 512.3 MB disk6s3

4: APFS Volume VM 8.6 GB disk6s4
where the first contains the bootable system installation. In HFS+, where volumes and partitions are the same, you couldn’t have two separate bootable systems on a single disk any more, as there’s no way of having two separate Preboot or Recovery volumes. In APFS, you can have two quite separate bootable systems on a single disk, because they can be accommodated in two separate Containers.
So you should be able to create a complete dual-boot system on a single APFS disk, one in each of two Containers. If you only have a single disk available, this is potentially a good solution, provided that macOS does play ball and recognises both Containers at boot time.
Does it have any advantages other than (potentially) working on a single disk?
Not as far as I can see. One illusory benefit is that copying files from one system to another on the same disk might be any quicker. If anything, it is likely to prove slower than between separate disks. APFS does perform ‘smart copying’, in which no file data is actually copied until one of the copies changes, but that only works within a single Volume. The moment that you copy a file between different Volumes, APFS has to copy the data in full.
In practice, copying between different Volumes in different Containers on the same disk can be significantly slower than between different disks, as all the data have to be read and written to the same disk, which loses at least some of the potential benefit of asynchronous I/O. I also don’t know how this would be handled by existing ‘cloning’ tools if you were to try cloning the whole of one Container into the other.
It would be an impressive party trick, to have a MacBook Pro which could boot into 10.14, 10.14.3 and 10.15 beta all from its single internal SSD.
