
In the first part of this tutorial, I showed you how to create and configure a new Xcode project for a PDF viewer app for macOS. This second and concluding part takes you through creating its interface, and adding the final code to bring it all together into a working app which you can use.
Interface Builder
Xcode’s Interface Builder works in mysterious ways which may seem unnatural at first. As you get more used to it, you will see how it saves a great deal of work, and is actually a very efficient system. To move on now, select the Main.storyboard item in the file listing at the far left of the window.
The code editor will be replaced by Interface Builder (IB). First, remove the placeholder text from the View Controller by selecting that item in the IB view and pressing the Delete key. Then start building your View Controller.
Holding the Option key down (which stops the Library browser from closing every time), click on the Library button at the top right of the IB view.
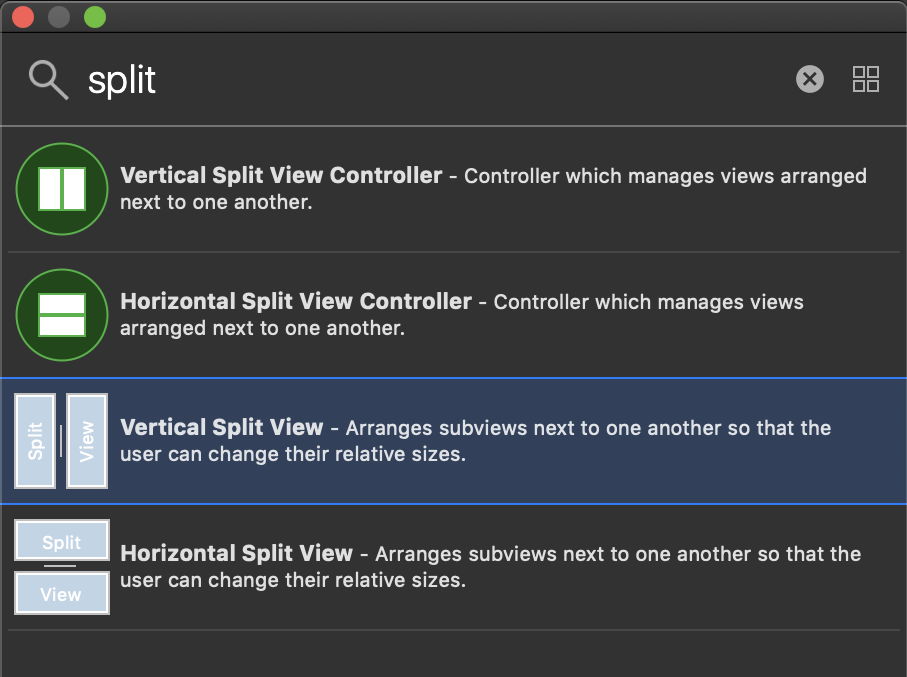
Search in the Library for the Vertical Split View using the word split. Drag and drop that into your View Controller, and drag it out so that it fills that view. Adjust its divider to form a narrow column at the left, and a wider one to the right as shown below.
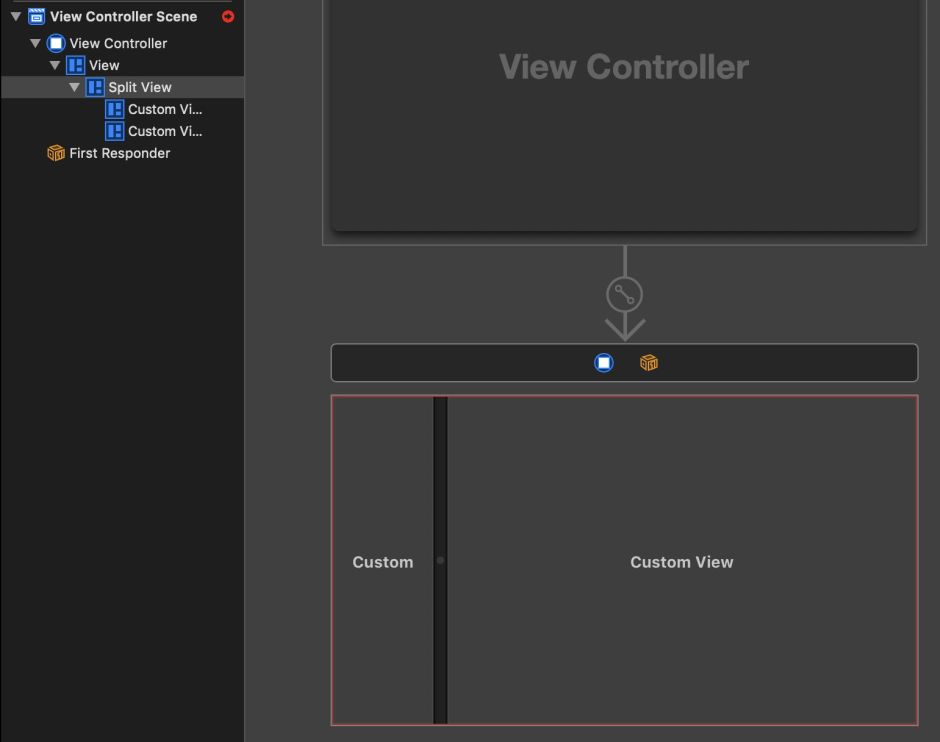
With the Split View selected, select the Size Inspector at the upper right. These rather confusing icons each have informative Tooltips.

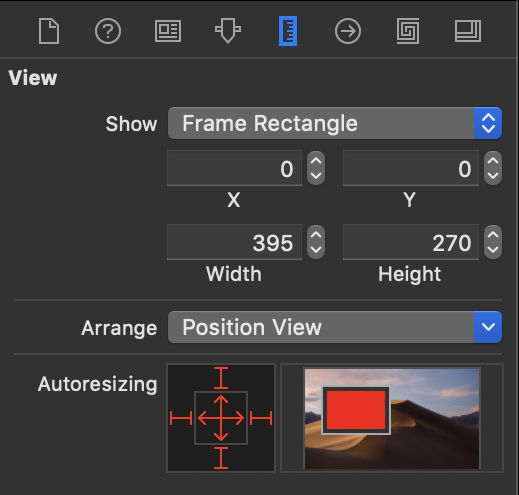
In the Split View’s Size Inspector, set the Holding Priorities so that the Left has 250, and the right has 100, which will give roughly the correct behaviour when the user changes the size of the window. In the Autoresizing section, set the controls as shown, so that the Split View is anchored to all four sides of the view and resizes both horizontally and vertically, always filling the whole of the window.
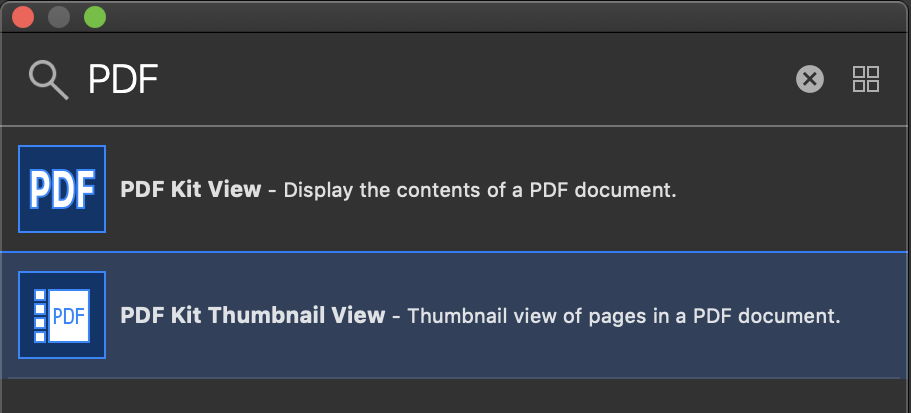
Next, add the two specialist views to go inside the Split View. In the Library listing, search for PDF, and drag and drop the PDF Kit Thumbnail View into the left side of the Split View.
Select that thumbnail view, and in the Size Inspector, set it too to autoresize to fill the part of the Split View in which it is placed.
Repeat this to place the PDF Kit View in the right side of the Split View, and set its autoresize just the same.
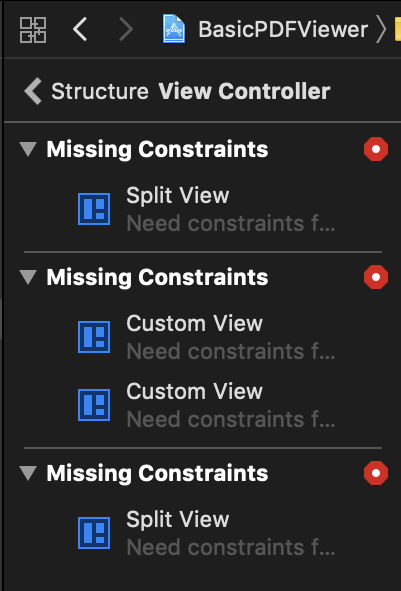
If you have done this correctly, by now there will be a red warning in the IB sidebar because there are missing constraints in your View Controller. Select that View Controller, and use the Editor / Resolve Auto Layout Issues / Add Missing Constraints command to fix them. The warnings should then go away. Constraints are not an easy part of IB to understand, but set limits to where elements should appear as they are resized.
If you start getting warnings about constraints, one simple process which often fixes them is to select the View Controller, and using the Editor / Resolve Auto Layout Issues menu command, remove all constraints. Then adjust items in your View Controller to their correct locations and sizes, ignoring the warnings for the moment. Once you are happy with the layout, use the Editor / Resolve Auto Layout Issues / Add Missing Constraints command to try to silence those warnings. It’s a kludge, but often works.
Wiring interface to code
At the moment, you have your interface all neatly built in IB, and your code in your Swift source files. You now need to link the two together. At first, this may seem the most difficult task to master in Xcode, but it quickly gets much easier and makes sense too.
With your interface still open in IB, select the PDF Thumbnail view, then click on the Assistant Editor tool at the top left (the two interlinked circles). This should open the Swift source code relevant to the selected IB items, in this case in your ViewController.swift source file, in a view below IB.

Select the PDF Thumbnail view with the Control key held down, and drag down towards the source below. You should see a straight line drawn along the line of drag. If you do, drop it where a horizontal line appears just below the class definition line starting with class ViewController: This will be flagged with Insert Outlet, and a small Action/Outlet window will appear, as shown here. Put the Name of that as theThumbnailView, and click on the Connect button.
There is a knack to doing this, but once you have got it you’ll find it quick and simple.
This will insert a line of code for the IBOutlet of the PDFThumbnailView, and will quickly be flagged as an error. This is because ViewController.swift doesn’t yet import Quartz: add that import so that the compiler stops objecting to these classes from PDFKit.
Repeat the same process to create an IBOutlet for the PDFView in IB, and your source file should look like this:
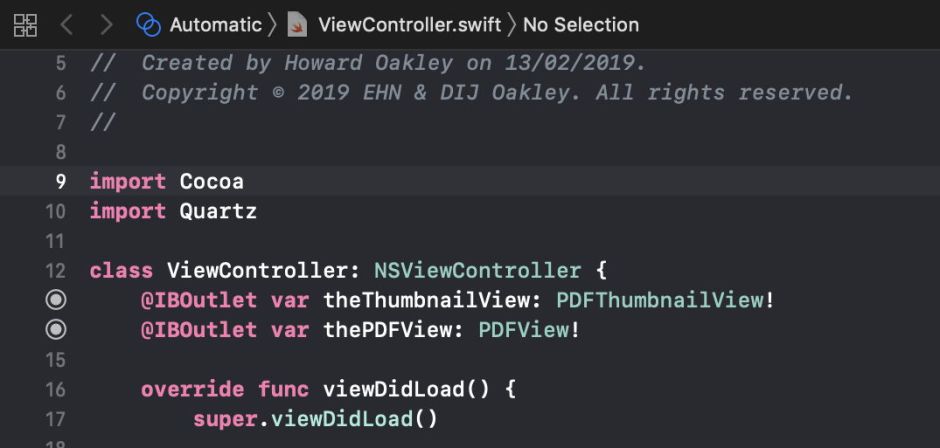
Note the filled circles where the line numbers would be. These indicate that those variables link to items in your interface. In complex apps, there can be many such links, not only for IBOutlets, but also for IBActions which are triggered by clicking a button, for example.
Final coding
Once you have those two links in place, close the bottom part of the split window, and select the ViewController.swift source file at the far left to make the final code additions to make this all work.

Joining up the final pieces is the task of a new function in the ViewController, viewDidAppear(), which is run once the document’s window has loaded. I leave this until late in the process of displaying the window, as it often needs to perform other initialisations before these steps are safe. You may be able to move them into viewDidLoad(), which is called earlier, or that could cause a crash.
The first line of code gets the parent Document, which is then used to obtain the PDFDocument associated with that, hence set that as the document for the PDFView part of the window. This is set to autoscale, so that when you change the size of the view, it automatically zooms in or out to fill that view with the PDF content. You could set that to false, and provide a separate zoom control instead. Finally, the PDFView is set for the thumbnail view. PDFKit and AppKit between them get on with all the hard work.
Check, build, test
Check through all the source files and ensure that there are no warnings or errors showing. To build and run your app, just click on the arrowhead at the top left of the window. Test your new app out.

When you’re happy that it does what it should, there’s a final bit of cleaning up to be done: hiding away menu commands which aren’t functional. Quit any running copy of your app first.

Select the Main.storyboard item at the far left to enter IB again. Select the Application Scene at the top, and work through its menus disabling and hiding commands which you don’t want to appear. For each command like New and Save, select that item and, in the Attribute Inspector at the right, uncheck the Enabled box, and tick the Hidden box instead. Once you’re finished, tuck the menus out of the way by collapsing the Application Scene.
Build and test your app once again. When you’re happy, you can select the app in Products, and at the far right you’ll see its location shown. Click on the tool by that to reveal it in the Finder. That will be a debug version, though. To get a normal runtime, use the Archive menu command, and you’ll find a regular version of your app tucked away in that archive. If you want to have the app notarized, that is an option available in archiving.
The complete project and source code to this example is available from here: BasicPDFViewer
and from Downloads above.
