

Of all the methods of migrating settings, apps and other files to a new Mac, the best is Migration Assistant – when it works. This article explains what it does, how it works, and where it can go wrong. My aim is to help you decide whether to try to use it for any given migration. Apple does provide a Windows partner; as I have no experience of using that, I will confine this to migrating between Macs.
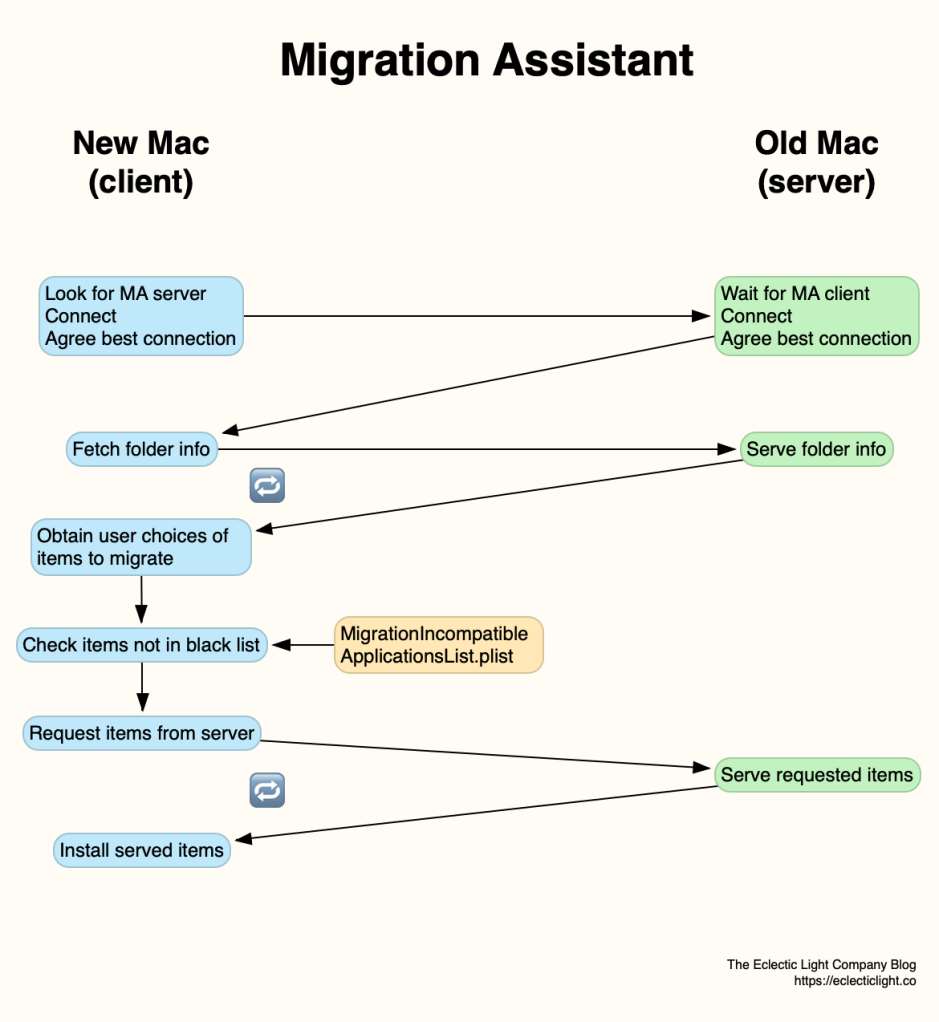
Migration Assistant consists of a common front-end to what are in effect two quite different apps: one which acts as a client, requesting and installing files on your new Mac, the other working as a server which delivers those files from your old Mac. These are run with elevated privileges, effectively from outside any existing user account, and with all user apps closed.
In fact, Migration Assistant is even more complex than that, as it can perform migrations from Time Machine backups rather than a server.
When to used to its full extent, Migration Assistant will migrate:
- complete user Home folders, including all settings in ~/Library;
- all apps in /Applications and its sub-folders such as Utilities, except Apple’s apps which are protected by SIP;
- settings and support files in /Library;
- support files in other hidden folders.
Migration Assistant runs with SIP turned on, as in normal use, so cannot migrate protected parts of macOS or related files, including the great majority of /System/Library. On a new Mac, they are already pre-installed.
The easiest way to run Migration Assistant is when it is offered during the standard macOS setup sequence, when you have first powered your Mac up. It is then presented as just one of the several steps required to configure your Mac and its primary admin account. However, it is also most likely to be unable to complete its tasks at that stage. You can run Migration Assistant at any time thereafter, so shouldn’t be panicked into doing so at that first asking.
One common problem is when your old Mac is running the latest version of macOS, and the new one has an older version pre-installed. In most cases, what happens is that you are unaware of the disparity in macOS, Migration Assistant spends a long time examining how much there is to migrate, and finally informs you that it cannot help until the new Mac has been upgraded to the same version of macOS. There’s no easy way around this as far as I can tell, and in those circumstances you will have to configure the old macOS on your new Mac, upgrade it as soon as possible, then run Migration Assistant after that.
Migration Assistant therefore works best when:
- both Macs are running the same version of macOS (and Migration Assistant);
- there are fewer items to migrate. Hundreds of thousands seem OK, but millions may overwhelm;
- it is migrating the primary admin user account from your old Mac to the primary admin account of your new Mac;
- there are no disk errors, damaged folders or files on source or destination storage;
- the old Mac has no custom extensions or other software which might upset the new Mac;
- the user names, particularly the short version used to name the user’s Home folder, are the same;
- an old user account is entire and doesn’t use any ‘tricks’ in its Home folder.
You can improve Migration Assistant’s chances of success by preparing your old Mac to address those, before starting the migration.
Mojave’s Migration Assistant auto-detects the best connection between the two Macs, and should use the fastest available. Although that is important, and something within your control, the time required to migrate is also heavily dependent on the number and total size of the files that have to be moved.
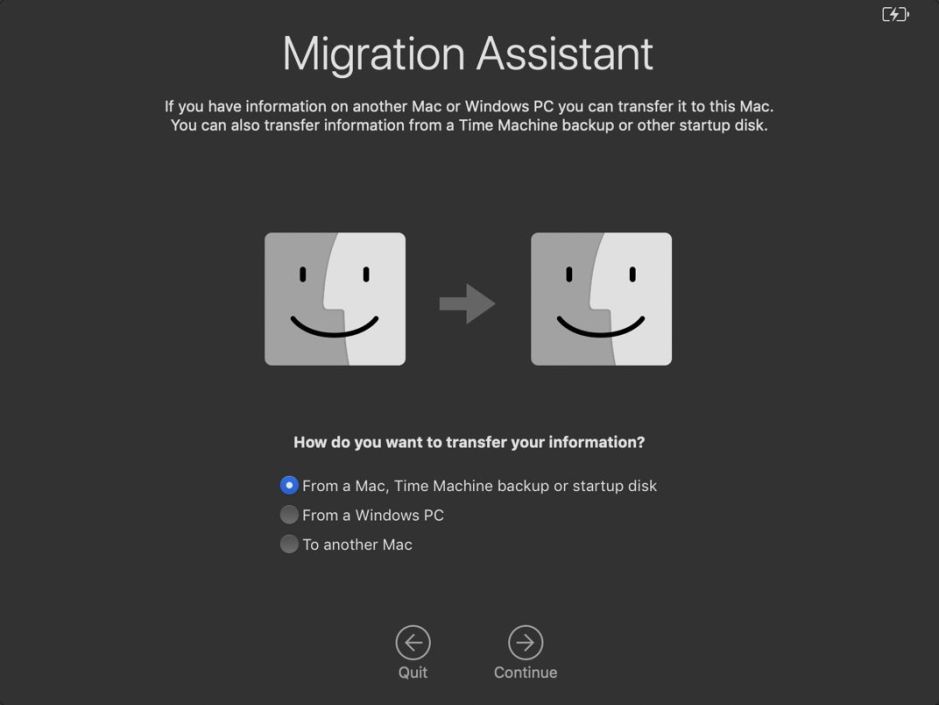
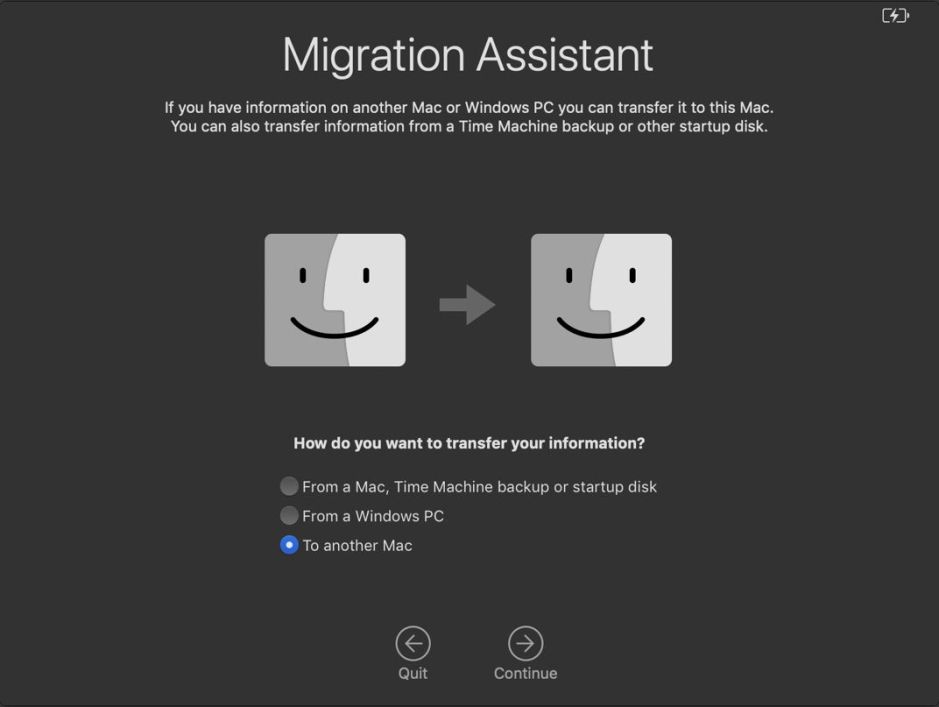
At the start of the process, Migration Assistant on your new Mac looks for Migration Assistant on your old one (unless migrating from a Time Machine backup). As soon as you have opted to use this feature, you need to open Migration Assistant on your old Mac and set it to supply the files To another Mac, acting as the server. The app running on your new Mac (the client) then obtains listings of those files which can be migrated from the server. This enables you to decide what to migrate, and Migration Assistant to determine whether there is sufficient free space.
The client Migration Assistant checks with a blacklist of apps and other software, and won’t migrate items on that list. The list is stored at /System/Library/PrivateFrameworks/SystemMigration.framework/Versions/A/Resources/MigrationIncompatibleApplicationsList.plist, and Apple does update it occasionally. The current version, which should have been silently updated on all Macs running Mojave, is 10.14.177 dated 29 October 2018.
If you’re running Migration Assistant during initial configuration, any migrated primary admin account is by default used to configure and populate the new primary admin account. When you run Migration Assistant after initial configuration, you’ll be prompted to choose whether to fold any migrated account into the primary admin account on the new Mac.
Although it may be tempting to turn a migrated account into a secondary account on the new Mac, that can cause problems. Much of Unix, hence macOS, identifies different users by number, with the primary admin account normally being 501. If you end up with a secondary account, that will be numbered 502, which means that all files and folders associated with that account will bear that number. If you’re then tempted to try to remove the primary admin account, number 501, that can lead to utter chaos. Only use migration to create and populate secondary accounts if you’re sure that you know what you’re doing.
The good news is that Migration Manager does do a very effective job of folding your old Mac’s primary admin account into the primary admin account on your new Mac, if that is what you opt for. This ensures that keychains and other vital user data are transferred correctly, and the new primary admin account should be fully ready to use.
If you run Migration Assistant after initial setup, it works quite differently from a normal app. It first logs out of your account, and prompts you for an admin user’s password so that it can obtain the privileges that it needs. This involves closing all open apps, and may result in the unmounting of some external volumes too. To support migration from a Time Machine backup, volumes containing potentially suitable backups aren’t unmounted, and Migration Assistant normally checks those to see if they are suitable sources for migration.

Apart from the refusal of migration because of version incompatibilities, the most common failure in migration using Migration Assistant is its apparent hanging in the midst of a migration. If this occurs before any files have been migrated, the best way ahead is to abandon migration at this stage and continue to set the new Mac up as a completely new system. Once that has completed, and all updates have been installed, try again using Migration Assistant.
If Migration Assistant fails after it has started to install files on the new Mac, the migration will at best be incomplete, and at worst may have made the new Mac unusable. If that occurs, and the new Mac remains usable, it should be possible to complete the migration later. If all else fails, it may be necessary to restart into Recovery mode, and re-install macOS from there.
The most common problems after an apparently successful migration relate to the transfer and installation of extensions and other software, or even preference files, which prove incompatible. The probability of this is greatly reduced by migrating between Macs which are running the same version of macOS. In theory, they should then be completely compatible.
In practice, clashes and strange mis-settings can still occur, most probably when the types or models of Mac are very different. Use Migration Assistant between two desktop Macs running 10.14.1, and you’re unlikely to suffer such issues. But go from an older macOS on a Mac mini to Mojave on a MacBook Pro 2018 and you are more likely to encounter glitches.
You can circumvent those by limiting what you migrate, but that reduces the value of Migration Assistant, and leaves you with more work to finish off. I haven’t yet located any migration log left by Migration Assistant listing either what it did copy across, or what failed. At the end of a migration, a list is provided of those items which it expected to copy but didn’t, but this doesn’t seem to be written out to an accessible file.
One potential workaround if you suspect that there could be problems is to migrate from a Time Machine backup instead of the old Mac itself. This is generally considered to be smoother. If you can connect that backup to your new Mac using Thunderbolt, or even USB 3, it should also be reasonably swift.
Finally, Migration Assistant isn’t the quickest way to move files. Allow plenty of time, several hours at least, unless you’re moving very few apps or documents.
Apple’s current articles about Migration Assistant include:
Set up your new Mac (very basic)
How to move your content to a new Mac (introductory)
Restore your Mac from a backup (migrating from a Time Machine backup).
